I havent had the Carlists on table for such a long time so we decided we would get a few out for a Sharp Practice game.
Steve kindly organised the game where I would command the Isabelino's and Chris Flowers would command the Carlists.
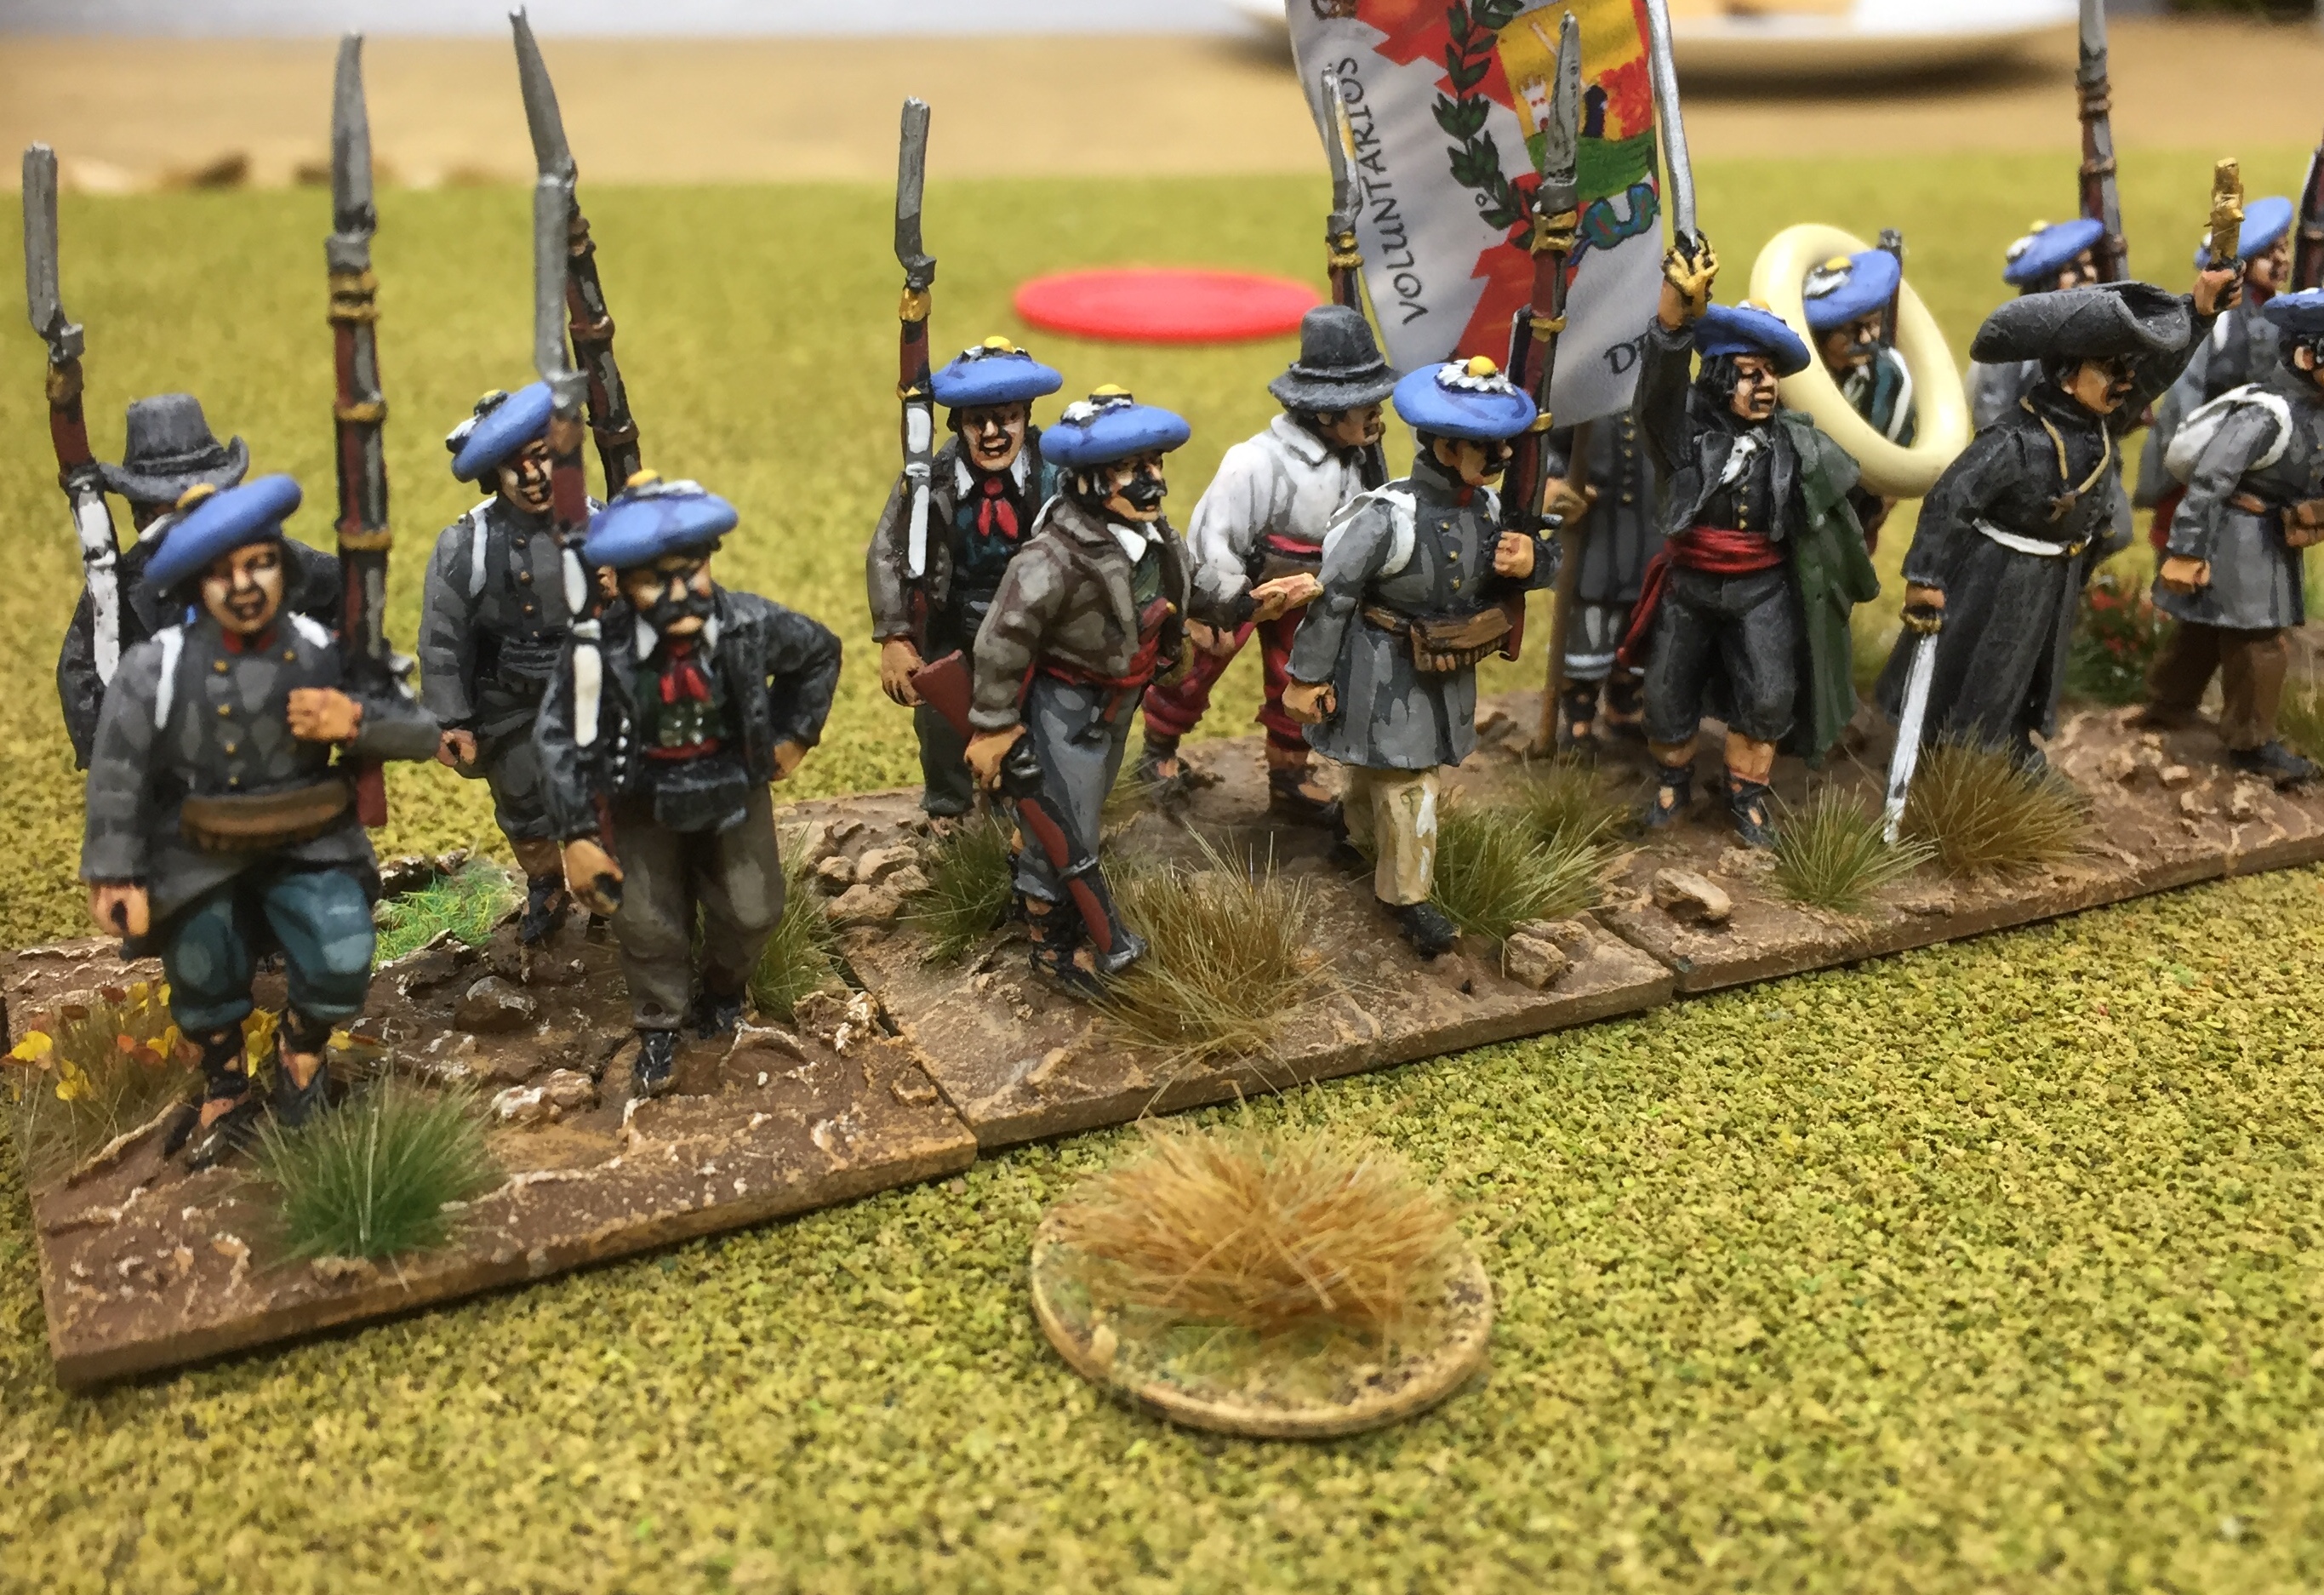
On the Isabelino side I had a formation of 2 units of 8 line (I used guard just for fun) with a 6 man skirmish screen. Then a formation of 3 x 8 Legionaires again supported by a skirmish screen.
Oh and a couple of folks (Shaun and Mark) asked for more close ups so I have added a few.
The Carlists had 3 formations each with 2 x 8 figure groups and 2 x 6 skirmish groups in support. One of these units was Militia the other two were line.
Move one and I get in a devastating shot from my Legion skirmishers on the Carlist Skirmishers which Chris manages to all but shrug off.
The last of Chris's troops enters in the form of the Militia formation.
I have my right flank skirmishers forward and we manage to knock off one of Carlist skirmishers.
I have two commanders on top of the individual unit commanders, this is the level 3 force commander, both Foundry figures.
A long range volley from my Line sees shock and a casualty on the Militia.
These Red capped Carlists would prove a tricky thorn in my side. Chris cleverly but two units of 16 against my Legion formation but has them at right angles so I could only really fight one or the other other at once.
These Valencians formed the other arm of the right angle on a hill to the extreme left of the Legion.
The Militia advanced to keep my line infantry busy, taking shock and casualties along the way.
Pretty soon however they have arrived in effective range and delivered a devastating volley taking three casualties from my line and a bunch of shock.
On the left the legion have been flayed by the two 16 man formations but advance steadily, I use the Pas de Charge rule to advance more quickly and remove some of the shock that is stacking up.
The skirmishers on the left flank have simply taken each other out of the game.
Finally the Militia formation is broken and the left hand militia group retires the test removes the first Carlist Morale point. My skirmishers are on their flank now too and inflicting double shock.
The advancing Legion have taken a proper pasting but are now almost in position to unleash their volley. I use the Pas de Charge again to get them nearer and remove a bunch of shock.
My line volleys the command base remaining to the Militia and destroys it causing another morale fail for the Carlists.
The Legion are at effective range and can unleash their first controlled volley, as the first volley its also one easier to hit and I play the cards to allow for a devastating volley. All aimed at the Valencians.
The Impact on the Valencians is devastating, with 3 casualties and nearly 20 shock they are sent reeling back and the Carlist morale takes another drop.
The Carlists however have a completely untouched unit almost on the flank of the Legion and out of arc of their fire which now blasts the Legion in retaliation.
The Valencian skirmishers also take another casualty but score against my line troops again.
I have removed all the shock from my line but the Valencian skirmishers have hit my officer, a role of a one and he is down and out. Fortunately I already have a spare leader available or this would have been a real problem.
The Valencians are drawn and are forced to retire again, however a double one means they do not lose any more force morale.
My Legion have taken quite a bit of pasty so I decide I will withdraw them, too much shock really to advance, hoping to get them out of effective range and reduce my shock before re-engaging the remaining effective Carlist unit.
The remnants of the Militia are hit again by my skirmishers and pushed further away and another force morale is removed. Just four remain of the 16 man formation.
There is still a game remaining, the Carlists have one unit completely untouched still and whilst the Isabelinos have all their force morale intact they are close to having to test the legion.
By the end though we had fought each other to a standstill. My moral was higher but Chris still had the only intact unit on table sandwiched between two very badly mauled formations. A winning draw for the Isabelino's?
A cracking game either way.


It was great to see this this morning because SP2 Sharp Practice is something that I game too. I have all the units except the FFL but could substitute. It was good to see some close up shots too. Did the stream work as a linear obstacle? It's an interesting shape to recreate.
ReplyDeleteThe close result is something that I often find SP2 gives me but not invariably so. Thanks for sharing - I look forward to more sometime.
Stephen
Cheers Stephen yes the stream was an obstacle hence why it took a while to reach the Valencians.
DeleteA great looking game and lovely collection. 👍
ReplyDeleteCheers very much Matt
DeleteLovely looking and sounding game Roger - I have not played Sharpe Practice for a while now but it has always delivered us a good, fun game - nice to see it used for a slightly different period too!
ReplyDeleteCheers, it translates well right across the period I feel.
DeleteVicious stuff. Sorry I missed it. You’re right that it doesn’t get on the table enough. Cheers Chris
ReplyDeleteOn table again soon Chris for General De Brigade.
DeleteA fine looking game!
ReplyDeleteChristopher
Cheers Christopher
DeleteIt really is a great looking game, but please, please could you paint up some casualty figures so you can avoid those rings? They strike the only discordant note in an otherwise fantastic table.
ReplyDeleteHaha ok Peter I will give it some thought.
ReplyDelete