Showing posts with label PAINTS. Show all posts

Thursday, 28 September 2017

Short Painting Tutorial

So I thought I might take the opportunity of the arrival of some nice figures for the Egypt 1801 project to talk through the painting process I use from start to finish.

The first thing to say is that I owe a lot of my style and ability to Ken Riley the "Yarkshire Gamer" you can view his great blog here http://yarkshiregamer.blogspot.co.uk/. When in my twenties I started to paint the odd commission, mainly to help put food on the table when the kids were little and money was tight. Ken painted proffessionally at the time ( I think he still takes the odd commissions now) and liked my basic painting style, he offered to smooth off some of rough edges and teach me a number of techniques as he wanted an apprentice of sorts to help with the backlog of work he had. Whilst my style of painting has developed a bit since those early days it owes a lot to Kens patient help. Thanks Ken.

So a box of French for Egypt arrived in the post today and inspired me to have a play around with this project.

First thing to do of course is clean off any flash and mould lines with a craft knife. The Brigade games figures that arrived this morning had no flash or lines to clean off so that was a simple task.

The next job is priming, Personally I prime in black using a halford spray paint, its not designed as a primer but works really well.
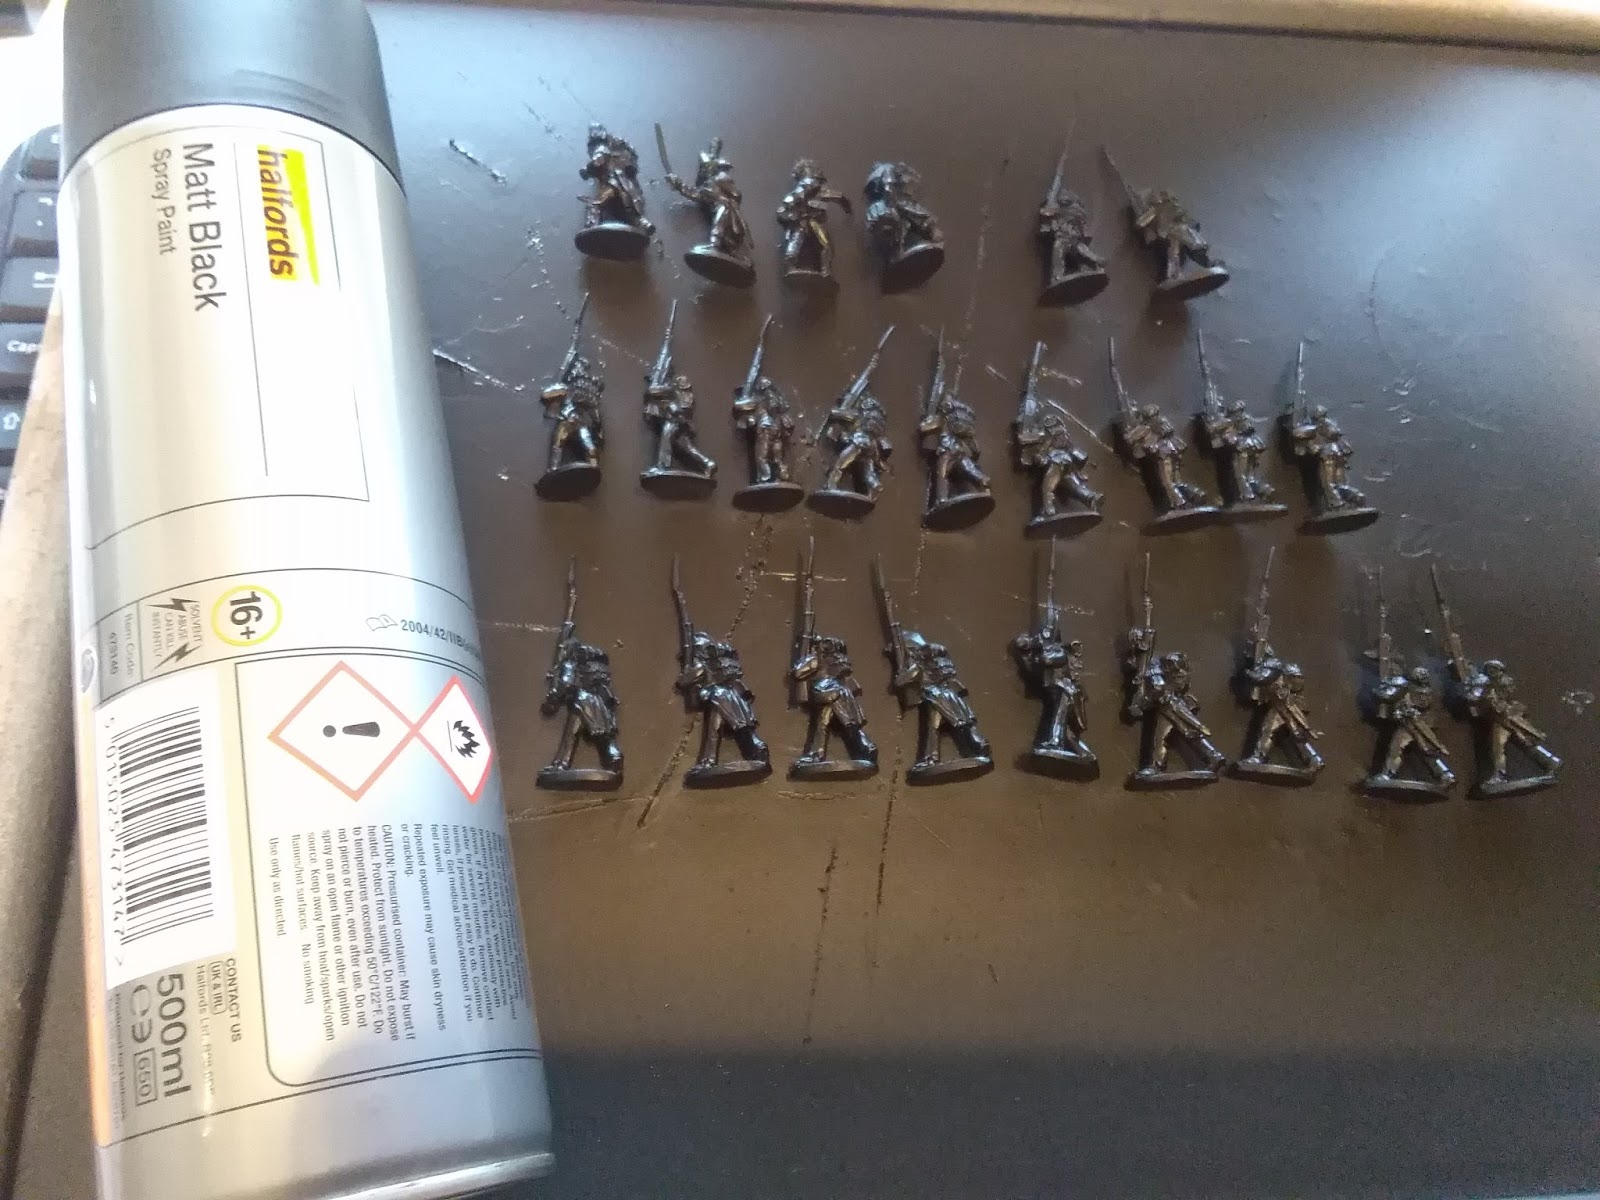
I glue the figures to a base for handling when painting and then touch up any bare metal spots.

Next thing, anything thats going to be black (Bicornes, cartridge boxes, boots etc) gets a quick dry brush with a mid grey to highlight the edges. Priming in Black is of course great for this, Black horses are also a favourite. It should be no surprise that my El Cid collection started with the Almoravid Black Guard!

OK so next is base coats. I will slap on a darker colour than the end result I want, usually just the main areas, trousers, jacket, webbing etc. It doesnt need to be perfect, I can tidy things up when it comes to detail. A lot of the paints I use are from Colour Party, I really dont like the plastic bottles of paint you have to shake and mix before you can use them. I suppose it helps that Colour Party are just around the corner in my home town, find them here http://www.colourparty.co.uk/


Next I will use the Foundry three colour system to paint the flesh, its the only part where I use the Foundry paints or system. This really suits my technique and I ensure I leave a slim line of black around the fingers, eyes, nose and mouth etc. This is one area where my approach differs quite a bit from Kens.A decent covering of dark flesh, the chaps in green are Coptic Christians so darker skinned.
The tiniest ammount less coverage of basic flesh so the dark flesh is just visible except the lip which remains dark.

Then the light flesh, I apply a thin line on the nose, cheekbones and the tip of the chin, I also sometimes add a bit to the ears. Bald heads may get a bit of this too.

Now I am going to move onto the webbing and the weapons. I will usually put a not too bright metalic on all the iron or steel parts to start with. Then its shading, everything gets a least one layer of shade to bring out all the creases etc. The elbows, knees etc will usually get a further highlight.  Lastly I will use my Uniball silver pen to highlight any edges on the steel such as the Swords and bayonets. 

I have changed the colour scheme on the French Fusiliers based on a bit of further research.

With the figures painted I will now give the figures a good layer of Gloss spray varnish, this is mainly to give them a tough protective layer. Usually I use Humbrol. I finish with one or two layers of the Figures in Comfort quick drying matt spray which gives the whole a finish that is more eggshell than matt but not too shiny. I find that a flat matt drains a bit of colour from the finished figure. I have managed to add a few more British.

I am normally careful to only varnish when its dry but forgot when doing these. That said no frosting and I have never had that problem with the FIC spray unlike some others.
First two fusiliers, got some more on the workbench now, I know I could have gone for more exotic colours but I do like my French in Blue. The background is a bit green for Egypt but never mind.
These two Coptic legionaires are my least favourites. I am not sure the skin tone works so well as it usually does with my middle eastern figures. Also the un-tucked trousers are not as food as all those tucked in gaiters in the pictures I have seen. Lastly the cuffs are wrong. Painting no more of these until I can make my mind up about them.

No such concerns about the British., the 90th Perthshire Light Infantry have come out just as I wanted, even if they look a bit dark in this picture. I am going to be skirmishing with the Egyptian figures so these should fit the bill just nicely.

I need to paint a few more and decide how I want them basing before passing to the basing department to finish them off.

So I hope that was at least a little bit informative on my approach and if nothing else you get a view of my latest mini project.

Thanks for reading.

Saturday, 11 March 2017

Back in Black (Or blue really) to the workbench

Well after a 4 week enforced holiday from painting I am starting to ease myself back in.


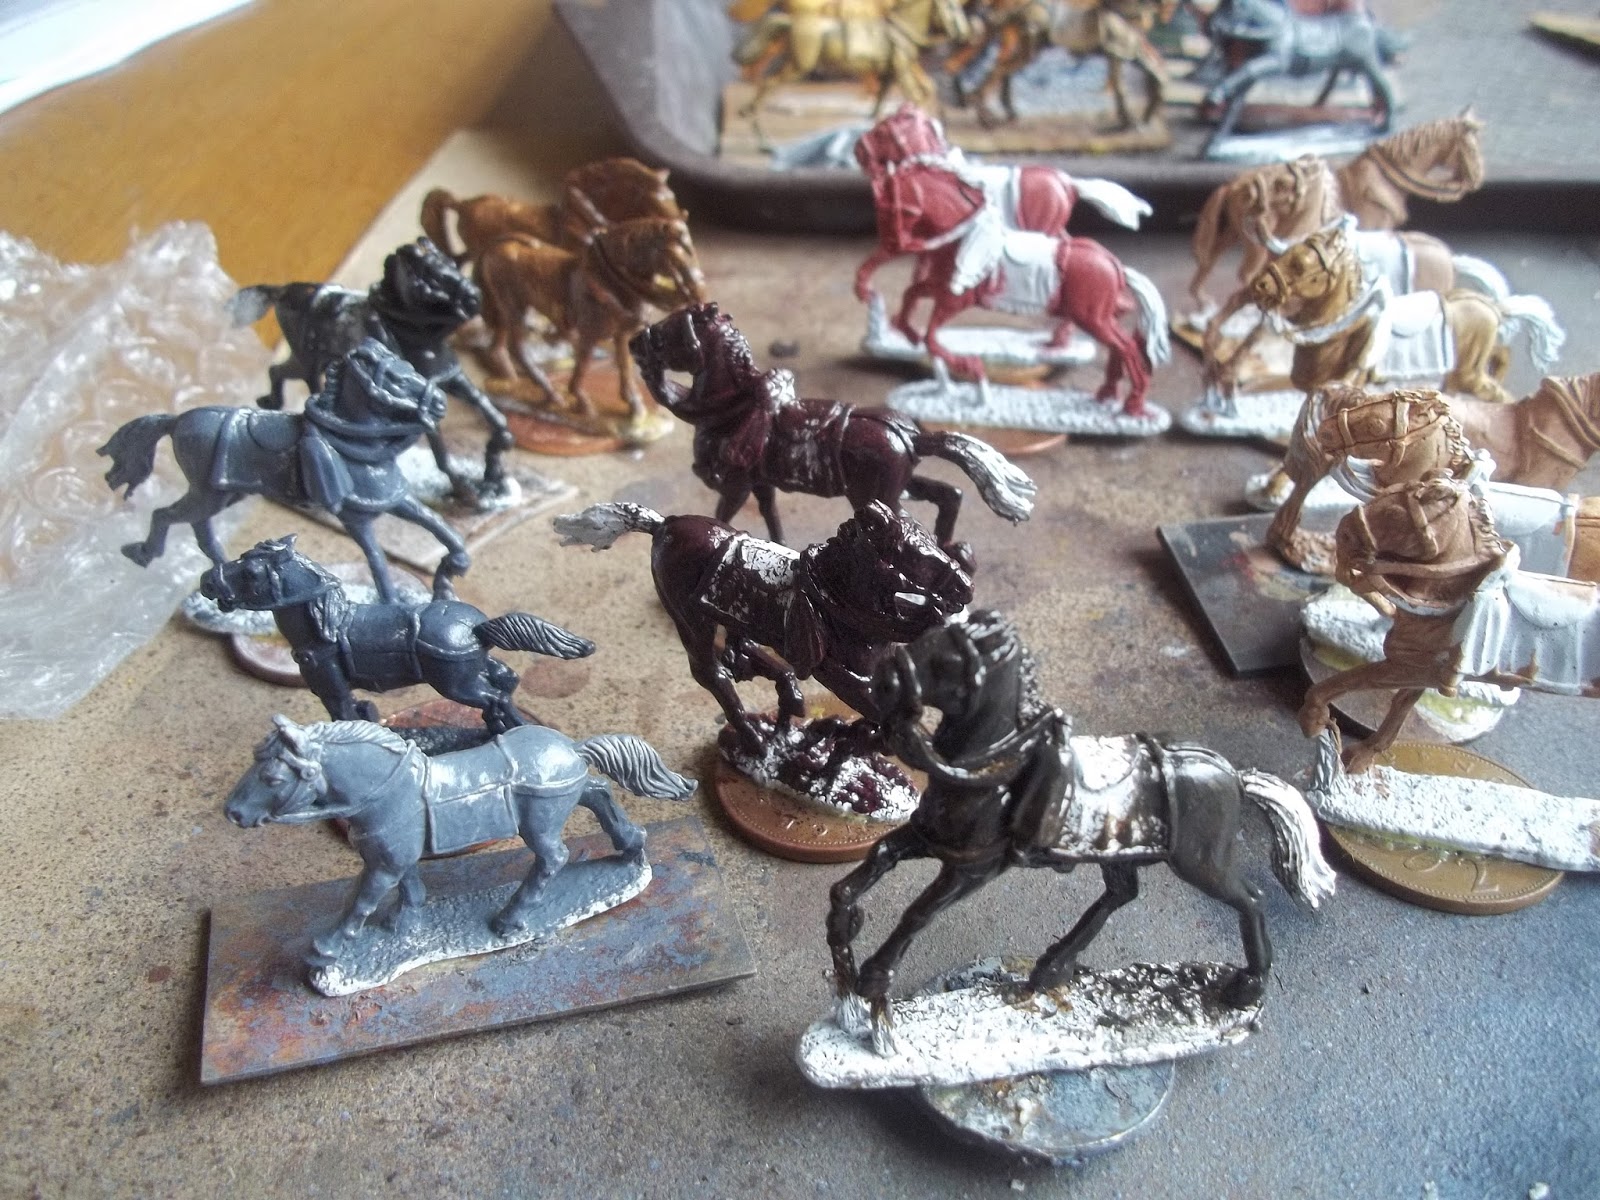
And whilst I couldn't paint detail, oil painting horses wasn't an issue. At the same time I have been introduced to coloured primer spray. My usual method is to primer horses in white, acrylic paint them a brown or sand colour then oil them before wiping off.


The purchase of a leather brown and sand coloured spray primer has removed one of these processes speeding things up, it does however reduce slightly the variety of colours I am getting so I need to beware of that.
 So as you can see I have managed to get quite a lot done. In essence there are the horses here for 3 units of Poles (Pancerni, Hussars and Cossacks) one unit of Ebor Swedish Dragoons and two units of Warfare Swedish Life Guard. The saddles and bridles etc all need painting (not to mention the riders) but its a useful pool of work done.
 Heres how the first three of these horses come out once finished, quite nice if a little samey (apparantly not a real word!)
 So as I am painting 10 -20 minutes per day again the first two results of this are a couple of Swedish Life Guard. That gives me 9 of the old Warfare figures painted and varnished, once the new ones come out I can add another 9 and we have the two units of Swedish Lifeguard, when you consider the horses are already oiled and dry this should mean two units completed fairly quickly.
 Last week I went to see the basing department in a short play she had written and directed and took the opportunity to pop in to see Nick from Ebor, I picked up 5 battalions of Norwegians for Mark and a unit of horse for me. Really interesting to see whats in the pipeline for Ebor. WSS and GNW period heavy cavalry with breastplate over their coats are available with floppy hats (Saxons) tricornes (Danes) and Helmets (Danes again). French dragoons in fur hats almost complete and also Polish dragoons in the pipeline (now that's exciting)


I also picked up his King Charles figure, taken from a famous painting of the Warrior King. I have not yet decided if he will have a command base or slot into a unit of Guard Dragoons leading them forward.


You might also notice the ticket for Black Star Riders tonight just behind the King. He's not going I am. For those of you who have not heard of them this is the surviving members of Thin Lizzy who have a raft of their own new music as well as some old classics.


Has this post gone off piste and given itself a bit of a Rock theme?
 Talking of Guard Dragoons the unit I picked up from Nick is painted, Huzza! These are the Life Guard Dragoons, note that the trumpeter is replaced by a drummer here. I have also used one of the Generals as an officer to add some variety from the other units. Really please with these and particularly pleased to be back in the saddle.
 So dont expect volumes of figures rolling off the production line but I am back at it and hope to have some more to share in due course.


Thanks for reading, nice to be back (In Black)

Friday, 14 October 2016

Painting Great Northern War Saxons

OK so as threatened this is a post talking you through my process for painting. I wont call it a tutorial, that suggests I know more than someone else, this is just my approach and I hope one or two people can pick something from it.


For this exercise I have followed the painting of a small number of Saxons, casualties, Standard bearers and my new heavy cavalry, this will allow me to share how I do both figures and horses.


These particular figures are mostly Warfare with a couple of Ebor standard bearers.
 For the figures I always prime in black and I use a tin of Halfords Matt Black car spray which gives a nice finish to paint onto.
 The horses are primed white as this suits my purposes with the horse much better, again its Halfordsthis time white primer.


Back to the figures and the first job I always do is anything that needs to be black, this is an advantage of priming in black, a quick dry brush of dark grey and your black boots and hat are complete. Particularly handy when painting the Black Guard for El Cid!
 Next I am adding base colour coats or block painting as others call it. The Saxons are in red so a nice dark base coat, the cavalry need a dark buff for their waistcoat trousers and bets, the foot need a pale grey for their cuffs and breeches which will be white later on.
 I personally like to use colour party paints (though not exclusively), they have a good range with decent coverage and best of all are only three miles from my house. http://www.colourparty.co.uk/
Colours used here are MA22 ECW Buff, MA40 Crimson, MA5 Panzer Grey, MA20 mid grey , MA10 Negro Brown.
 Whilst that is drying I have then started to base coat the horses. I have painted an acrylic base coat on the horses. I am painting a bas coat at least 2 shades lighter than the colour I want to achieve, we will add a much darker oil to this later then wipe it off.
 With base coats on its time to start the face. The European flesh is the only Foundry paint I use and I have the three shade set and use all three. I try to keep a narrow dark outline around the eyes, nose and mouth as the two below.

 I am then going to add the mid flesh shade, attempting to leave another narrow line of the darker flesh and also leave the bottom lip dark flesh.
 Finally adding the light flesh highlight only to end of nose, cheekbones and chin point.

I have then added a lighter buff to the ECW Buff and lightened the Scarlet to add a shade to the coats. The foot troops have had white added to cuffs breeches and stockings, leaving decent gaps so that the mid grey folds give a contrast.
 Whilst that si drying into the Kitchen to get the oils out. I always start with the greys and get darker, I tend to mix the colours any old how and throw colours in until I am happy, above a simple grey two shades darker than the white base coat.
 
A

 Slap the colour on fairly liberally, its going to be wiped off in about 5 minutes.
 Then taking a rag, I prefer T shirt type material (currently using old underpants no jokes please, I have washed them) gently wipe the material over the model using a clean piece of cloth this will wipe off the majority of the paint, staining lightly the exposed, raised parts and leaving a darker area in the crevices.
 Your going to need to leave them for a couple of days to fdry now, I place mine on the window sill near the radiator to speed the dryng process up.

 So back to the figures, I have now added a third layer of ivory to the belts but only on the raised points across shoulder etc, I have painted the musket and pistols a chestnut brown and added the metal work and hat lace, the figures are finished.


With the horses dry I am now painting the saddlery and the mains and tails black. along with the saddle cloth

I have added a pale grey border and also used the pale grey on some of the horses hocks and foreheads. Not 100% what this units saddlecloths should be but as Beausts have black facings and the only other Cavalry with black facings (Golts dragoons) had black piped white saddle cloths its a decent bet.
Finally I add white to the piping and hocks/foreheads and adark grey shading to the saddle cloth. Chestnut to the wood of the pistols, bronze pistol buts and steel bits to the reins and the horses are complete.
 I Areldite the riders to the horses and we are ready for Varnish.
Firstly a layer of Gloss, this adds toughness and protects them from wargamers fat fingers.
 Then a good layer of matt. I really like this figures in comfort quick dry matt, I don't like flat matts but satin is too shiny, this gives a slightly egg shell tint to the matt and I like that a lot.

An then we are done. Finished figures are here.


So there we are, hopefully that's enough detail without being too detailed and sending you all to sleep. I will do a follow up post on the basing (I may even base some myself rather than sending to the basing department) and I still have those Polish Cossacks to share with you.


Thanks for reading.