

The first thing to say is that I owe a lot of my style and ability to Ken Riley the "Yarkshire Gamer" you can view his great blog here http://yarkshiregamer.blogspot.co.uk/. When in my twenties I started to paint the odd commission, mainly to help put food on the table when the kids were little and money was tight. Ken painted proffessionally at the time ( I think he still takes the odd commissions now) and liked my basic painting style, he offered to smooth off some of rough edges and teach me a number of techniques as he wanted an apprentice of sorts to help with the backlog of work he had. Whilst my style of painting has developed a bit since those early days it owes a lot to Kens patient help. Thanks Ken.
So a box of French for Egypt arrived in the post today and inspired me to have a play around with this project.

First thing to do of course is clean off any flash and mould lines with a craft knife. The Brigade games figures that arrived this morning had no flash or lines to clean off so that was a simple task.

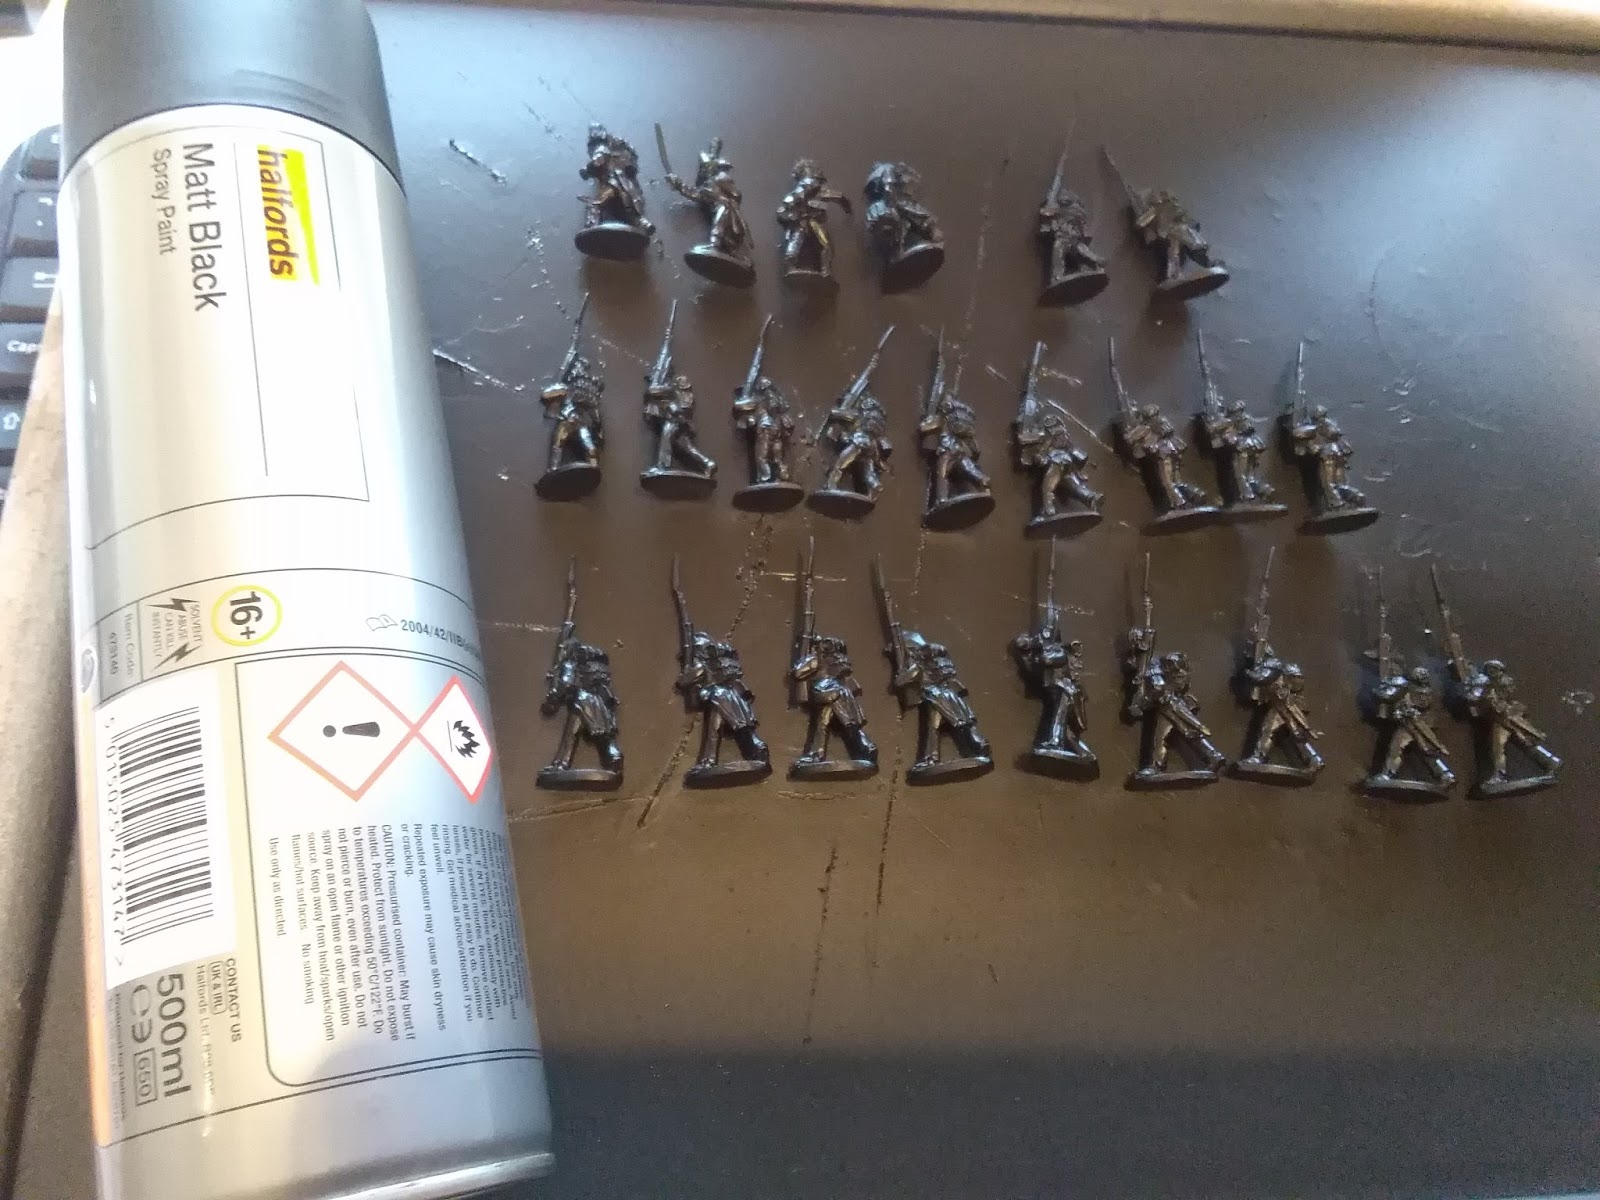
The next job is priming, Personally I prime in black using a halford spray paint, its not designed as a primer but works really well.
I glue the figures to a base for handling when painting and then
touch up any bare metal spots.

Next thing, anything thats going to be black (Bicornes, cartridge
boxes, boots etc) gets a quick dry brush with a mid grey to highlight the
edges. Priming in Black is of course great for this, Black horses are also a
favourite. It should be no surprise that my El Cid collection started with the
Almoravid Black Guard!

OK so next is base coats. I will slap on a darker colour than the
end result I want, usually just the main areas, trousers, jacket, webbing etc.
It doesnt need to be perfect, I can tidy things up when it comes to detail. A
lot of the paints I use are from Colour Party, I really dont like the plastic
bottles of paint you have to shake and mix before you can use them. I suppose it helps that Colour Party are just around the corner in my home town, find them here http://www.colourparty.co.uk/


Next I will use the Foundry three colour system to paint the
flesh, its the only part where I use the Foundry paints or system. This really
suits my technique and I ensure I leave a slim line of black around the
fingers, eyes, nose and mouth etc. This is one area where my approach differs
quite a bit from Kens.A decent covering of dark flesh, the chaps in green are Coptic Christians so darker skinned.

The tiniest ammount less coverage of basic flesh so the dark flesh is just visible except the lip which remains dark.


Now I am going to move onto the webbing and the weapons. I will
usually put a not too bright metalic on all the iron or steel parts to start
with. Then its shading, everything gets a least one layer of shade to bring out
all the creases etc. The elbows, knees etc will usually get a further
highlight. Lastly I will use my Uniball silver pen to highlight any edges
on the steel such as the Swords and bayonets.
I have changed the colour scheme on the French Fusiliers based on a bit of further research.
I have changed the colour scheme on the French Fusiliers based on a bit of further research.


With the figures painted I will now give the figures a good layer of Gloss spray
varnish, this is mainly to give them a tough protective layer. Usually I use Humbrol. I finish with one or two layers of the Figures
in Comfort quick drying matt spray which gives the whole a finish that is more
eggshell than matt but not too shiny. I find that a flat matt drains a bit of
colour from the finished figure. I have managed to add a few more British.

I am normally careful to only varnish when its dry but forgot when doing these. That said no frosting and I have never had that problem with the FIC spray unlike some others.


No such concerns about the British., the 90th Perthshire Light Infantry have come out just as I wanted, even if they look a bit dark in this picture. I am going to be skirmishing with the Egyptian figures so these should fit the bill just nicely.
I need to paint a few more and decide how I want them basing before passing to the basing department to finish them off.
So I hope that was at least a little bit informative on my approach and if nothing else you get a view of my latest mini project.
Thanks for reading.
I need to paint a few more and decide how I want them basing before passing to the basing department to finish them off.
So I hope that was at least a little bit informative on my approach and if nothing else you get a view of my latest mini project.
Thanks for reading.
Cheers Roger, kind words. Not another project !
ReplyDeleteI know, the inner butterfly Ken
DeleteThank you, your figures look so nice that I would have thought you would use more processes, so that is very helpful.
ReplyDeleteNeat post. Thanks.
ReplyDeletePleasure Paul, look frward to seeign you soon.
DeleteBrilliant, thanks for the many nice tips
ReplyDeleteLittle tips here and there, you take what works for you from one person a dn the same from the next to develop what you are hhappy with. Happy if any of it us useful
DeleteExcellent, from the beginning to the end!
ReplyDeleteAppreciate it Phil thanks.
DeleteGood you're doing Napooleincs, mean I can comment on your blog,(still trying to avoid GNW temptations)
ReplyDeleteHa, nice to have you back on board Truls.
DeleteAn excellent article and I learned a couple of new techniques. Many thanks.
ReplyDeleteThats great o know Rod, thank you.
DeleteThanks Neil
ReplyDelete