Showing posts with label AWI. Show all posts

Thursday, 18 December 2025

AWI Action with new British Grenadiers and Militia

Tonight’s game with Steve's rules had 4 Brigades of Kings Troops vs 5 Brigades of Rebels. Although the numbers of troops were very similar and the British had a very serious edge in quality.

Steve had his new British and Hessian Grenadiers and British lights on table, he also had his new Rebel Militia so it might prove interesting 2 of the British Brigades were top class and 3 of the Americans were Militia.

Steve and I had the Americans, I had a Brigade of Veteran Militia Rifles in a single unit supported by a gun deployed int eh centre of the table with two small 2 battalion brigades of Continentals, one to my right and one off table to my rear.

Steve had a brigade of poor Militia deployed forward with a battalion of Lees legion is support and two battalion of continentals off table.

Facings us from their left to right Chris F had a Hessian Brigade with one battalion of musketeers, another of Grenadier and a company of Jaegers. Then, facing my Veteran Militia two battalions of British Grenadiers both A class so very good.

Chris C then had 2 decent battalions of British with a Gun with the end Brigade being a battalion of A class British Light infantry, a decent Loyalist Militia unit and a British Line battalion.
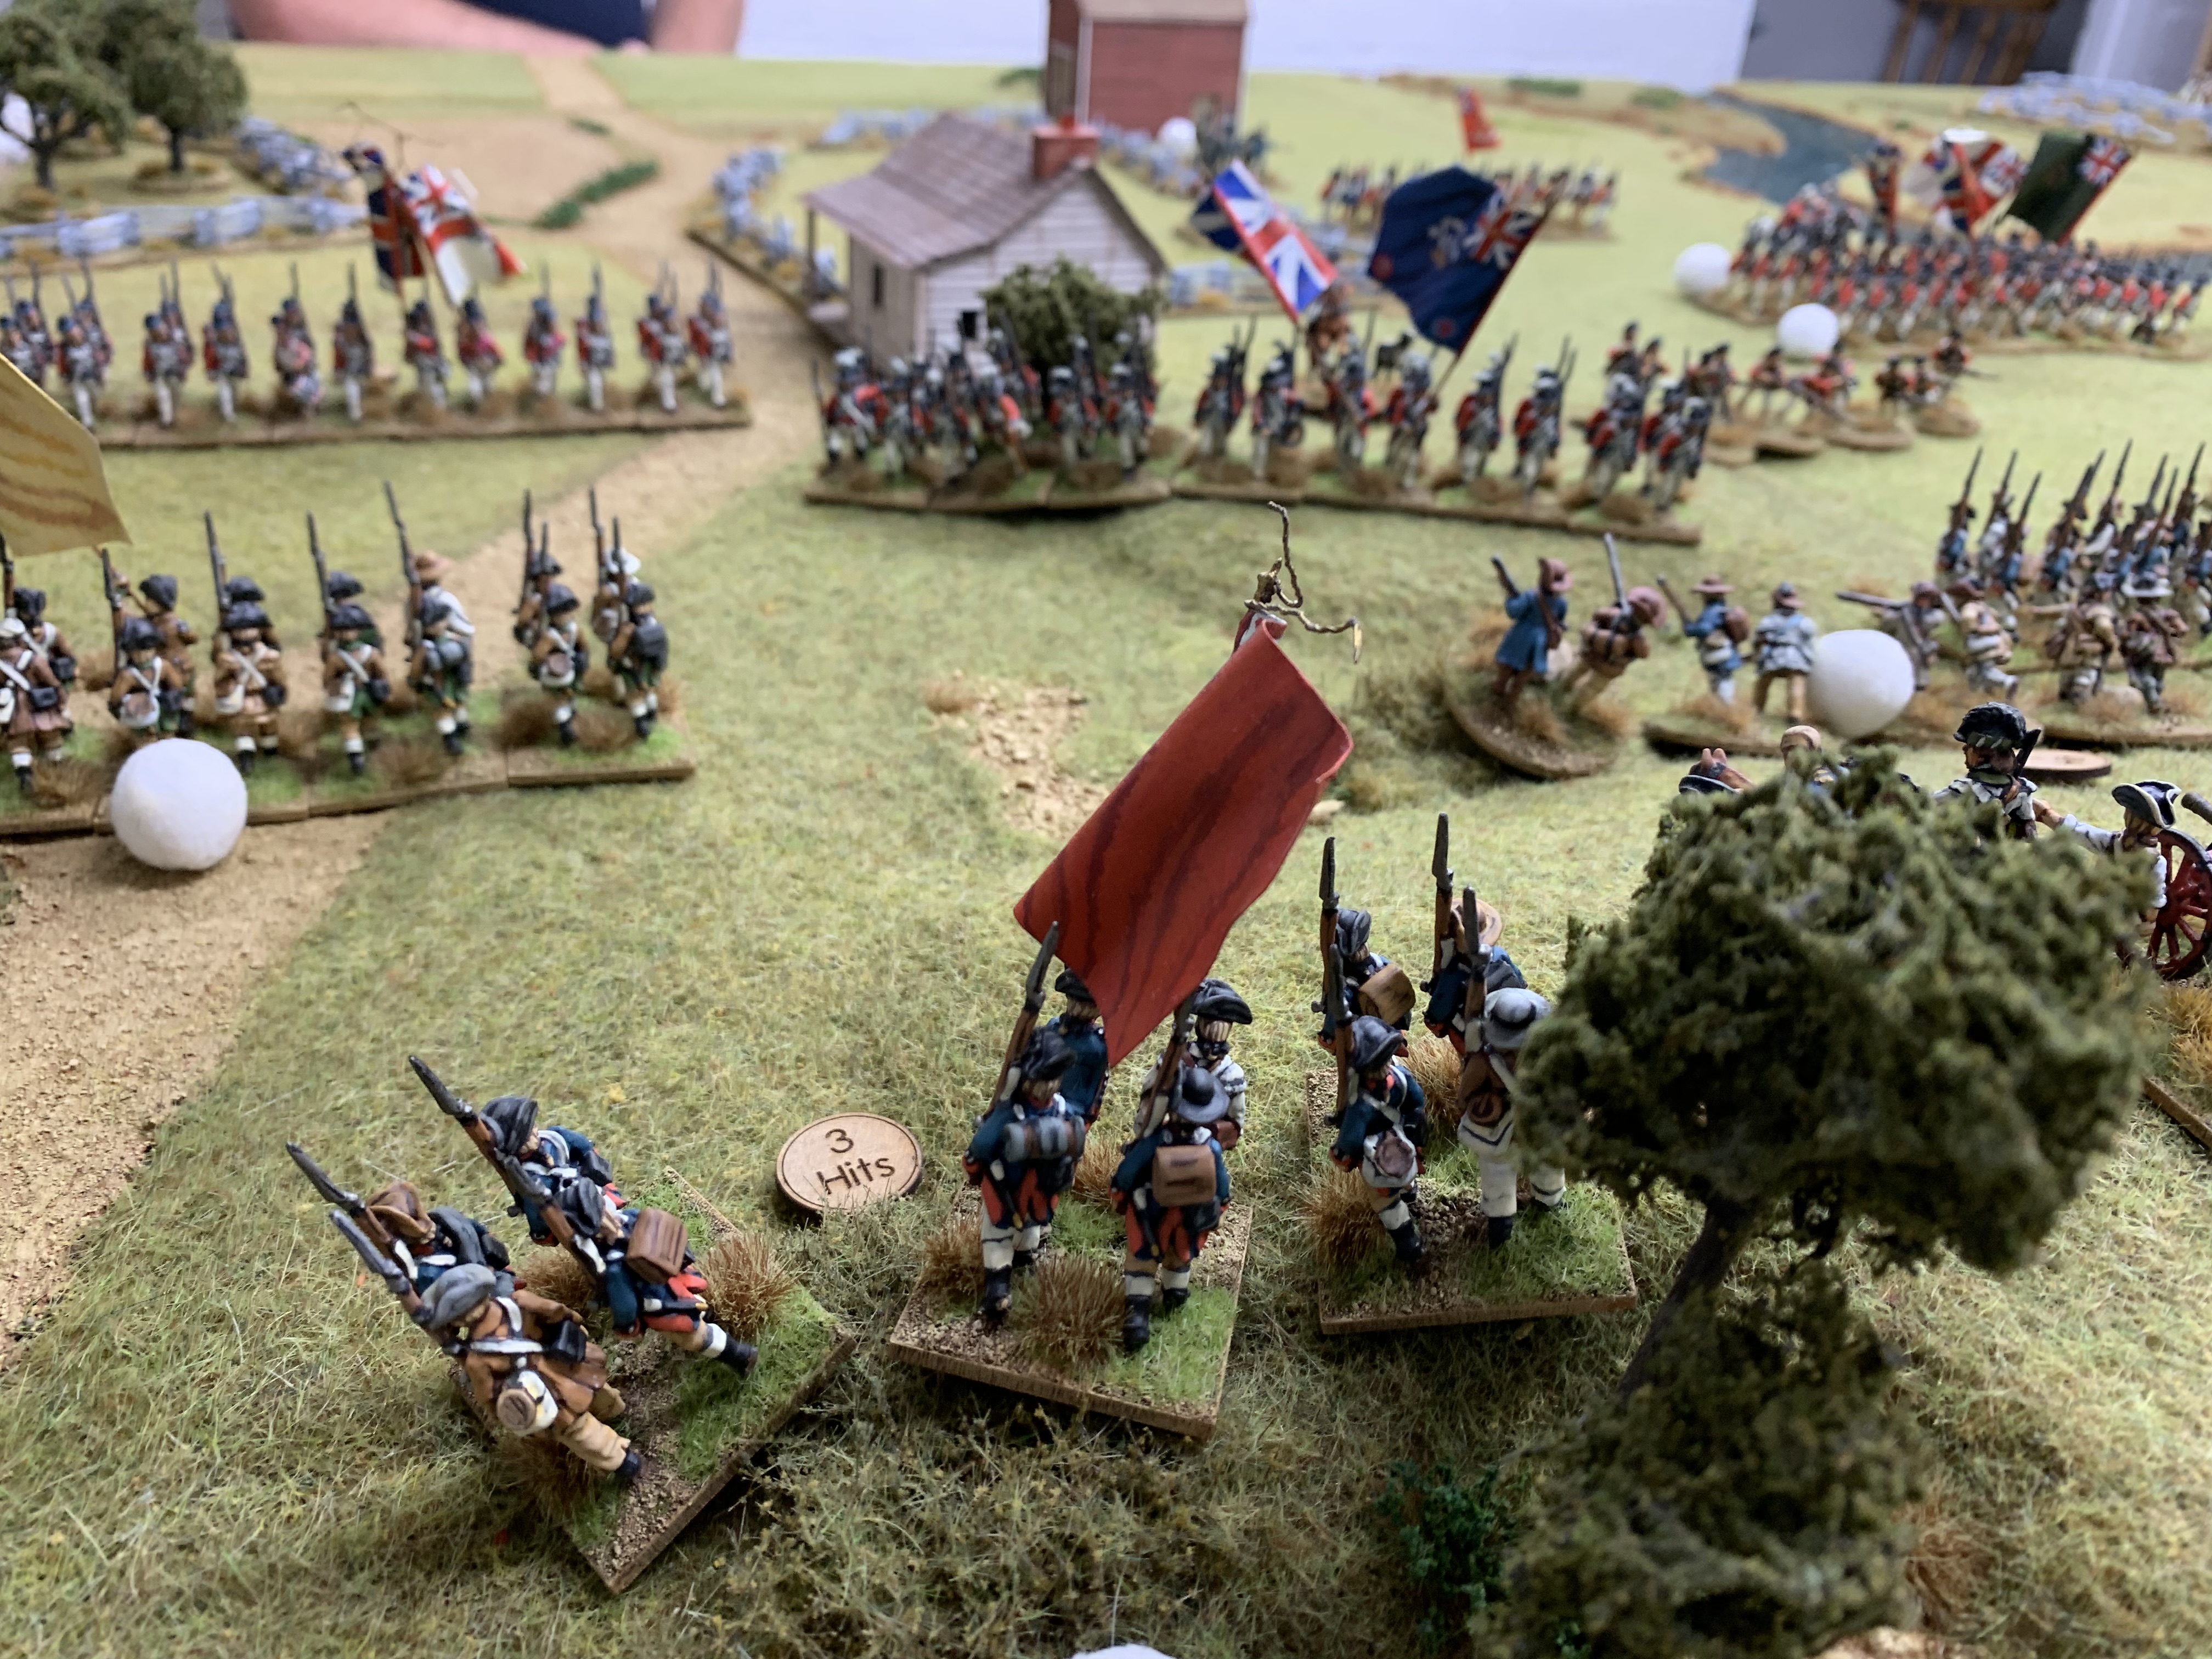
Like most of his AWI collection these all have fabulous hand painted Mark Allen flags.

Particularly like this lovely Mark Allen flags. Nice!
Initially not much happens in the centre where we are expecting the outcome of the game. The rifles are drawn first and have no target, the Grenadiers then fail to make much headway at all with movement failures, no doubt having stumbled into some marshy ground. 
The Highlanders have however made good progress and reach short range of the gun.
Unfortunately for the Highlanders the Continentals also reach the gun and unleash a volley supported byt he gun, two bases of casualties are removed and they fail their morale retreating back though the line infantry behind them and dis-ordering them in the process.
On the left a protracted and on the face of it uneven firefight develops between the British light brigade and the Militia brigade, the Militia manage to hold their own and inflict heavy casualties on the British over a number of moves.
The Grenadiers finally get going and the Veteran Militia unleash a devastating volley, despite huge casualties the stoic Grenadiers press on and then charge the Militia with predictable results.
What remains of the veteran militia retreats in disarray. 
The British Grenadiers push on now facing a second line this time of continentals with flanking fire from the skirmishers. There a lot less of them, now down to half strength and they are finally forced to retreat,
Unfortunately for the Americans the second battalion of Grenadiers volleys the gun and destroys the crew. Seeing the rout the next battalion of Continentals is forced to check morale and breaks, in a ripple effect three regiments for continentals either break or retreat in the corresponding chaos leaving a great big gap in the centre of our line. One the left the Militia have finally succumbed to the uneven firefight, leaving the field to a badly mauled light brigade. 

On the right the continentals and Hessians have fought each other to a stand still, the Continentals have the best of it but are not able to support the broken centre.
Its a victory for the British, but a Phyric victory at best as they dont have the troops to press on. Huzzah for the king!

A cracking game that came right down to the wire with one really bad Morale throw turning the game for the Kings forces, but still a very small chance of the Rebels rescuing something from it when we ran out of time.

Thanks for stopping by.

Thursday, 2 January 2025

Second AWI Playtest

Tonight we had a second playtest of Steve's AWI rules.

Not a good day at the office for my Continentals.

The British had brigades, on their left 3 battalions of Hessians needed to take and hold the ford supported by Jaegers already over the ford. In the centre 2 battalions of British regulars supported by a battalion of Tory militia and a field gun, on the right three more battalion of British regulars with a large unit of light infantry.

Facing them I had a 4 battalion brigade of continentals in the centre but off table. To my right a brigade of 2 continental battalions supported by a small battalion of Lees Legion and a unit of rifle skirmishers. on my left the same again with an additional support of a light gun.

Similar numbers of troops with the British having the advantage of quality.
A portion of my troops were off table and I wasnt exactly sure when they would be joining me so I needed to consider holding ground whilst they arrived. My objective was to stop the Hessians securing the ford and the British driving in my left.

My right hand brigade, whilst on table was in march order near the edge so need to try beat the Hessians to the ford.

The Jaegers started already deployed across the ford and in cover. As skirmishers in cover need a 6 to score a hit but have an advantage to hit themselves, coupled with rifles, these were extremely difficult customers.
The British advanced quickly from the centre and their right with the field gun deploying to the front.
I had a light gun and started forming my own line to counter the British, unfortunately with one brigade of my best troops off table I was spread very thin especially on my left facing the British regulars (Getting my excuses in early here).
My right brigade formed a line with rifle skirmishers on the extreme right and advanced on the ford.
Chris pushed his light infantry forward early, they have a movement bonus being less restricted by terrain and quickly began an unequal duel with my riflemen.
The British regulars in the centre advanced quickly and whilst the gun got an early shot in the crew took 3 turns to re-load it which would be a recuring theme. 
Perhaps worth mentioning for those who have not read a previous game report on these rules. Each unit once activated has between 3 and 5 actions. A quick dice roll decides if the units in a brigade have more or less than their standard 4 actions. Moving, firing and re-loading are all actions and whilst firing does not need to be rolled for every other action needs to, a 3 required for most actions but the harder the action the higher the roll required.  Hence 3 attempts to re-load a cannon, Chris kept rollign a 2. 
My third brigade now enters the fray and deploys on table but will be pushed to arrive in time to stop the advancing British over running the Continentals on my left.
Meanwhile the Jaegers begin to score casualties on my right hand brigade.
Chris rolls well for his Hessians and they have 5 actions marching with 4 and deploying into line the first two battalions are immediatley over the ford and in position to hold it whilst the rest of the Germans deploy into line over the river in support.
My two battalions deploy to fire upon the Jaegers and the fight is on for the ford.
My Lees Legion infantry charge and scatter the Jaegers but are held by the Hessian Musketeers.
Getting lucky my centre brigade moves forward 5 times to occupy the centre of the line and face point where the Hessians and British meet.
Finally I am in position to hold back the British charge up the centre.
Unfortunately for me, hit by the gun and the British my unit loses two full bases and goes dis-ordered. Not a great start
Anpther volley and another basee removed, this time I fail morale and retreat in dis-order.
The British advance to take advantage of the gap in my lines whilst I scramble about to plug it with other troops needed elsewhere.
Wheeling my right hand unit I must pull back my whole line or be rolled up, the Hessians, already having the better of the firefight at their end are releived of pressure.
The last vestiges of my centre fold under another volley, however the British are at least now open to flanking fire from my continentals.
I wheel another unit in leaving my left under strength and the Light infantry battalion is already inflicting casualties on it.
 

Meanwhile on the left the British flank both of my units and decimate them with volley fire before charging the left hand unit and breaking it. My left now consists of one mauled battalion, a few riflemen and a light gun facing an almost untouched brigade of British regulars.

I am down to 4 weak battalions facing 9 battalions of Kings troops mostly untouched. Its been a bit of a wash out for the Americans who must retreat and fight another day.
Charged from the flank another unit of Continentals breaks. With both flanks gone and British objectives achieved its a washout for the Rebels. (Sorry this image was out of order and I couldnt change it back)

Again the rules worked really well. skirmishers are very powerful, so large units of skirmishing infantry need to be treated with caution, other than that really enjoyable game.

More to come I am sure, thanks for popping in.

Sunday, 15 September 2024

AWI New Rules Playtest

We have been enjoying Live Free or Die, but had a few bits we were not so pleased with and Steve wanted to try something else, he has been working on a set of his own rules, incorporating what we like best from other sets whilst also adding some new ideas.

Chris C and I would have 3 small brigades of troops each to test the rules out.

Each Brigade tests for initiative at the start of the game with the roll of a D10 determining who has initiative, this can be passed to a player with a lower roll if the highest initiative player wishes to go later in the turn.

Not knowing what order you will go in adds a distinct level of uncertainty. This is added to by the requirement to roll for troops to complete actions. Each unit has 4 actions, with moving, firing and re-loading in there along with manouvreing. As you start you first roll to see if you get one extra or one less action for each brigade (1 or 2 down to 3 actions, 5 or 6 up to 5 actions). To load, fire or move straight forward a roll of a 2 is sufficient, but to wheel or oblique for instance a roll of a 4 is required. This can amended based on the trainign of your troops.
We fire with one dice per base, so a unit of 3 bases of skirmishers is pretty useful especially as you are needing 5's to hit them at effective range or 6's in cover. Morale is taken each time a unit loses a base. Most units require 4 casualties for base removal but top class troops need 5 casualties making them that bit more robust.
Chris has 2 units of Hessians on his right  along with a small brigade with lots of skirmishers and Tarlatons Legion.
Then 3 regiments of British regulars on his left.
The Hessians unleash a volley with Chris rolling 5 sixes out of 8 dice! Thats a base straight off and immediate morale test for my Continentals. They pass but its not a great start.
A firefight with the British line causes 50% casualties with one of my C class Continental units, there are morale modifiers for 25% and 50% casualties and not surprisingly we fail, fleeing 24 inches and disordered.
Lees Legion are one of the better units so get class B but are in a tricky spot with the Hessians to one side supported by a cloud of skirmishers. The British lights are on of the few units that class A. 
My right flank have taken some getting going and the British brigade here, having all but destroyed one battalion are swinging into my centre to cause more havoc.
On the left flank the Continentals facing the Hessian Grenadiers have also been broken leaving Lees Legion all but surrounded.
However the Hessians have taken casualties going in and are in turn driven back by fire from the Americans.
Tarlatons Legion have taken a lot of casualties from Lees, but keep coming with supporting troops on both of their flanks.
Lees Legion have done OK but are looking very exposed now with double the number of Kings troops facing them.
In the centre my Continental battalion that was pushed back is now moving back up but unlikely to influence the outcome.
The very badly damaged Continental unit to the right of centre reforms but is hardly likely to influence the outcome now either.
In the centre my Continentals supported by rifles and a light gun play havoc with the leading battalion of redcoats. Eventually combined firepower is too mcuh and the British are pushed back disordered.
Good for the Americans but too little too late now I think.
On my left we have the odd occurance of two irregular skirmish units in melee, whilst the American rifles see of the Loyalist Milita it has kept them from putting more pressure on the formed units.
At the end of the nights gaming the British have the edge in the fight and whilst there is still a game in it we declare the British winners.

A great first attempt for these rules, really enjoyed it with enough familiar aspects to be easy to pick up.

Another game soon, thanks for stopping by.