After a week off we were back for another AWI game and another shot at the Live Free or Die rules.
This time I would be British alongside Steve with Chris C and Chris F commanding the Americans.
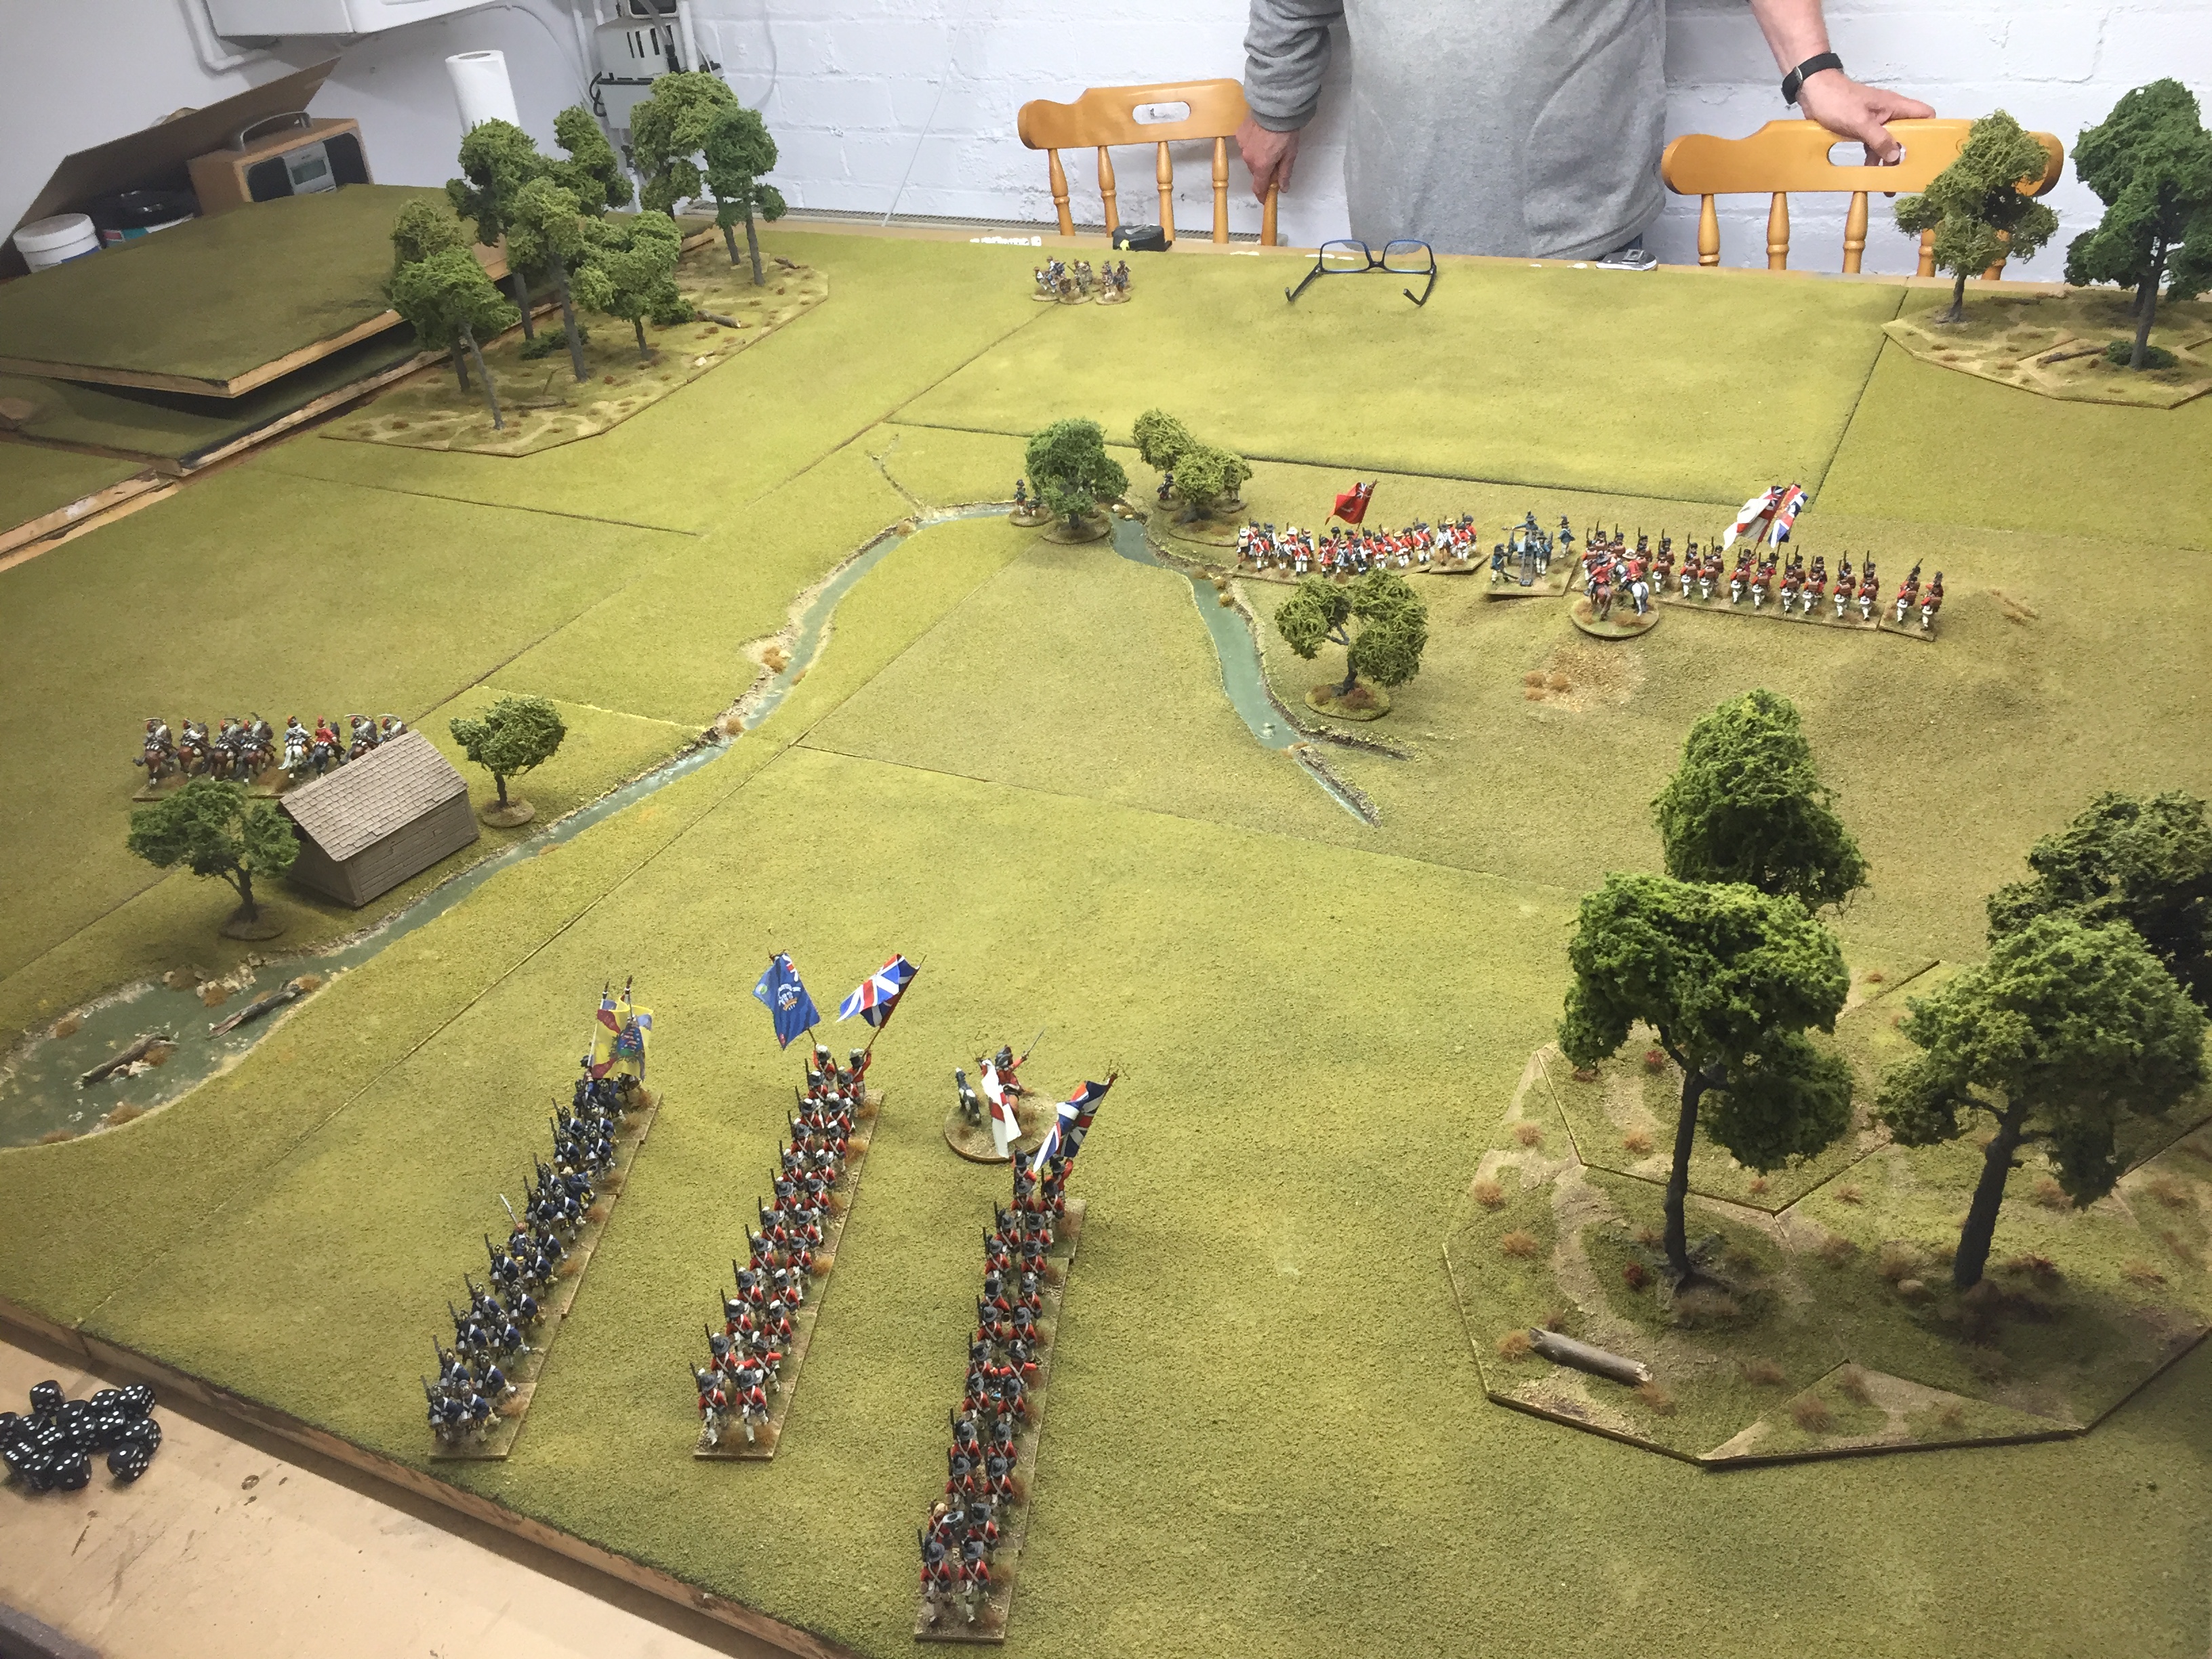
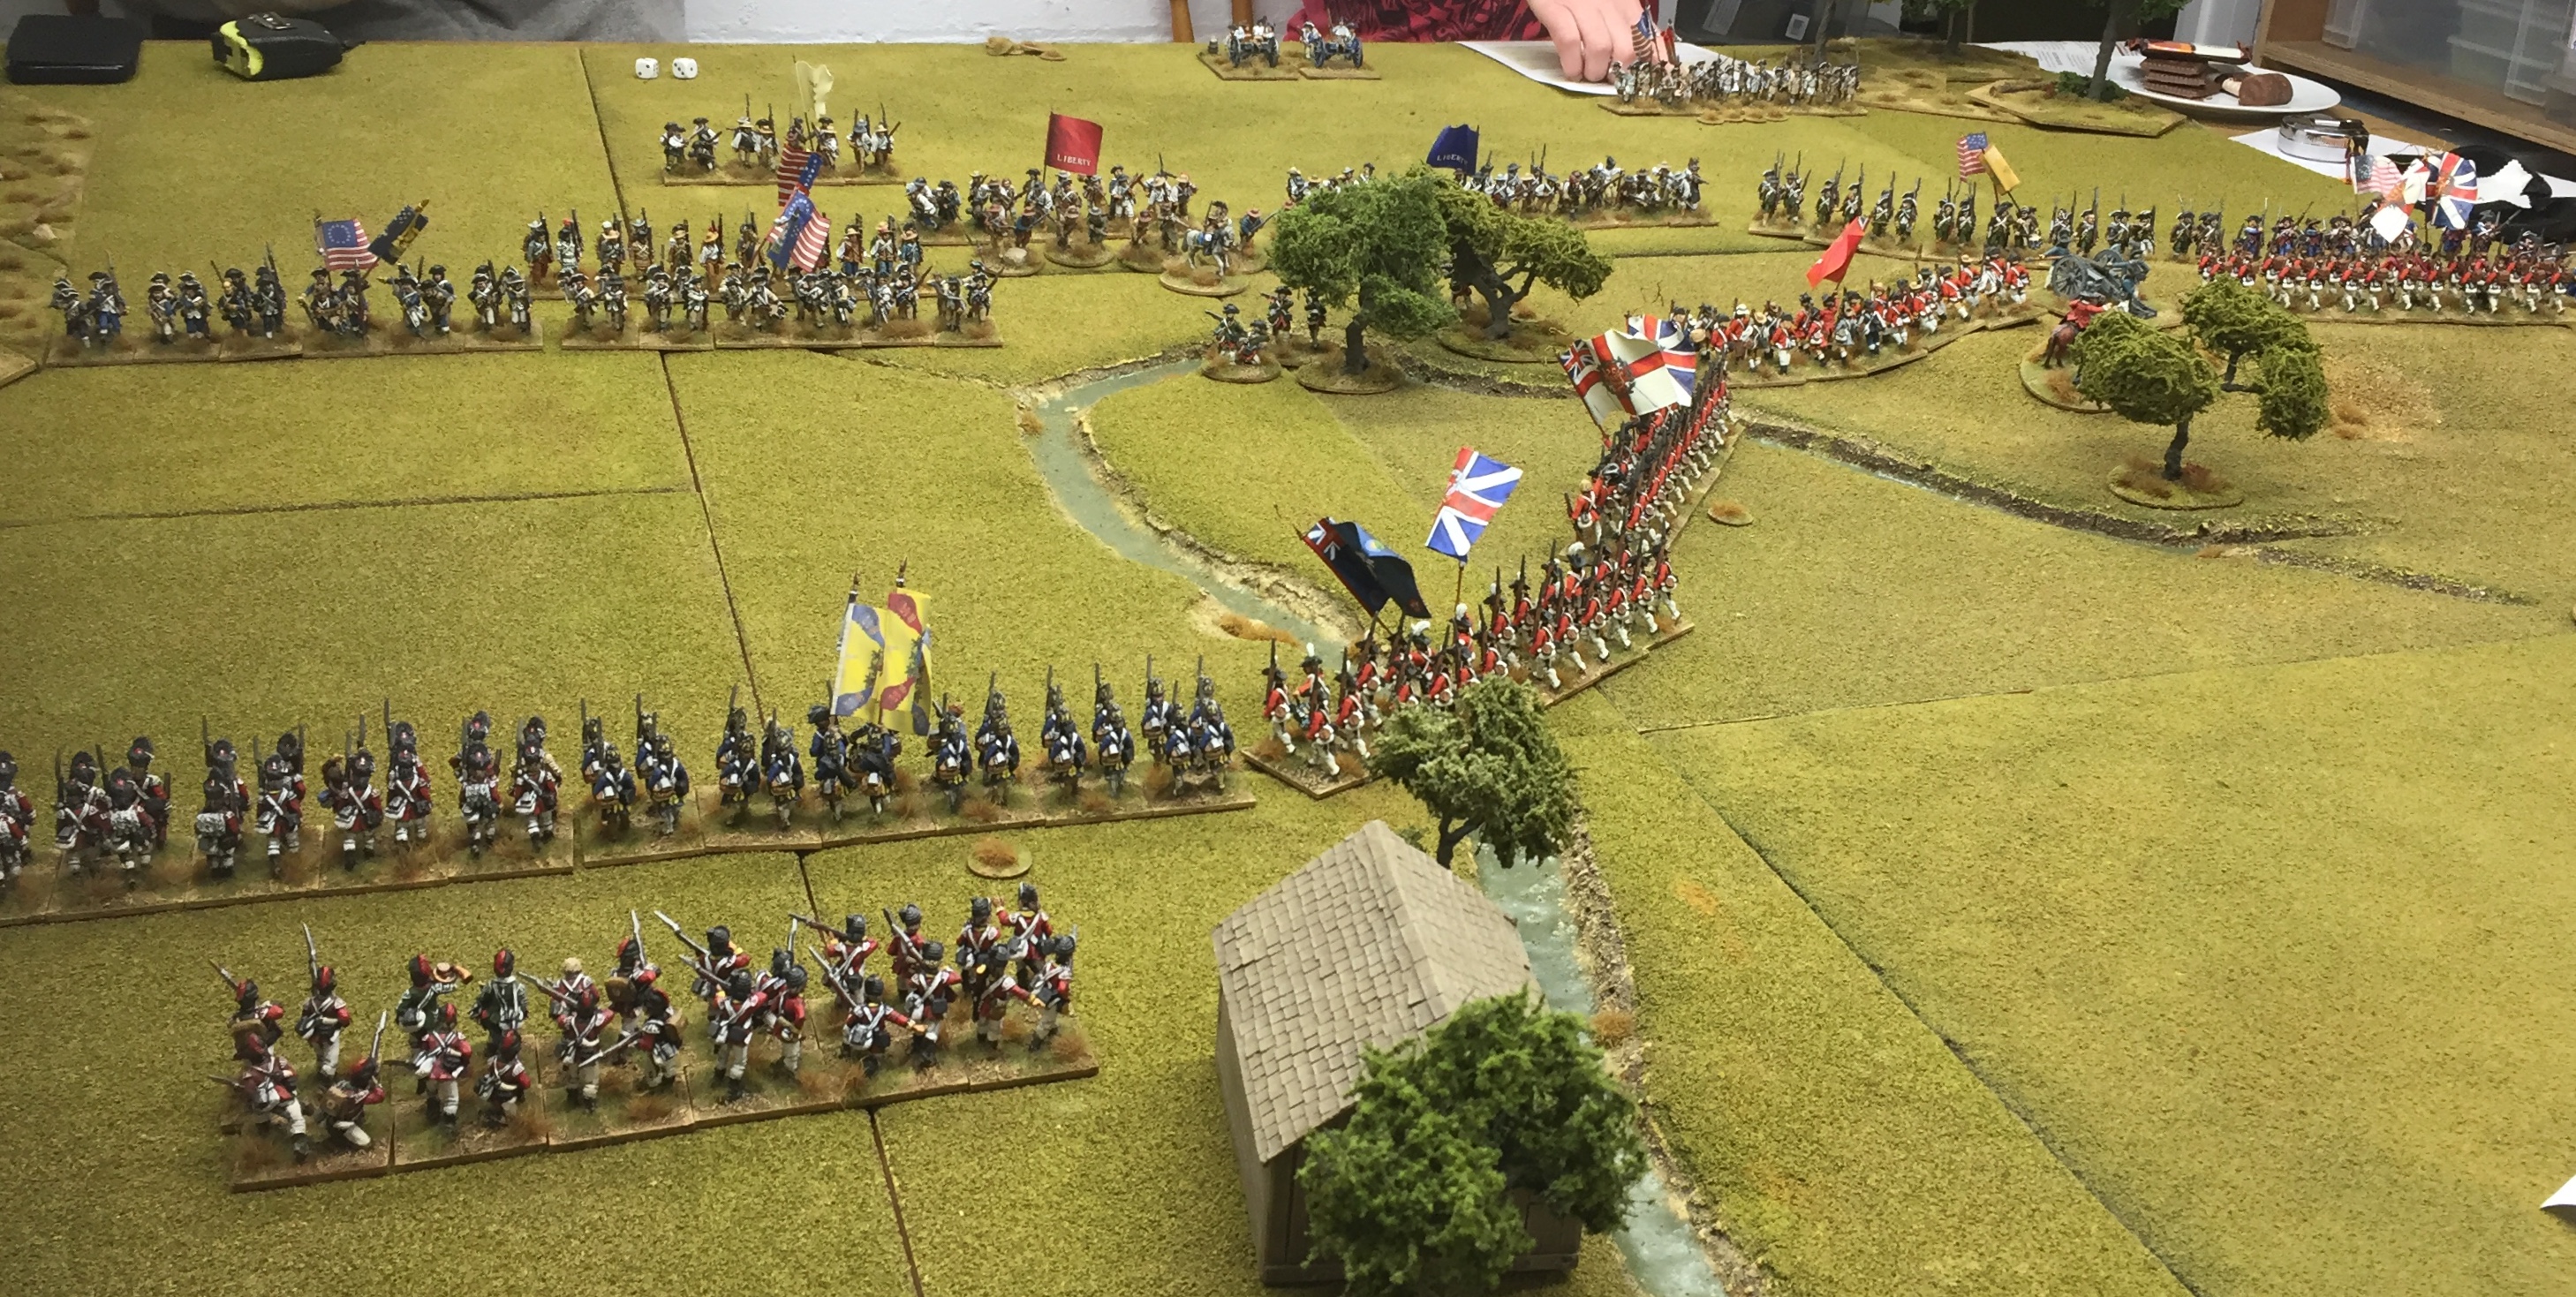
Steve commanded one Brigade on the hill in the centre of the table whilst I marched a second on to reinforce him. The Americans had three brigades advancing to drive us off. On my far left we also had a troop of light dragoons.
The troops on both sides were of varying quality so we could see what impact this had on the game. The advance brigade having both top level troops and Militia, whilst mine had British regulars and Hessians.
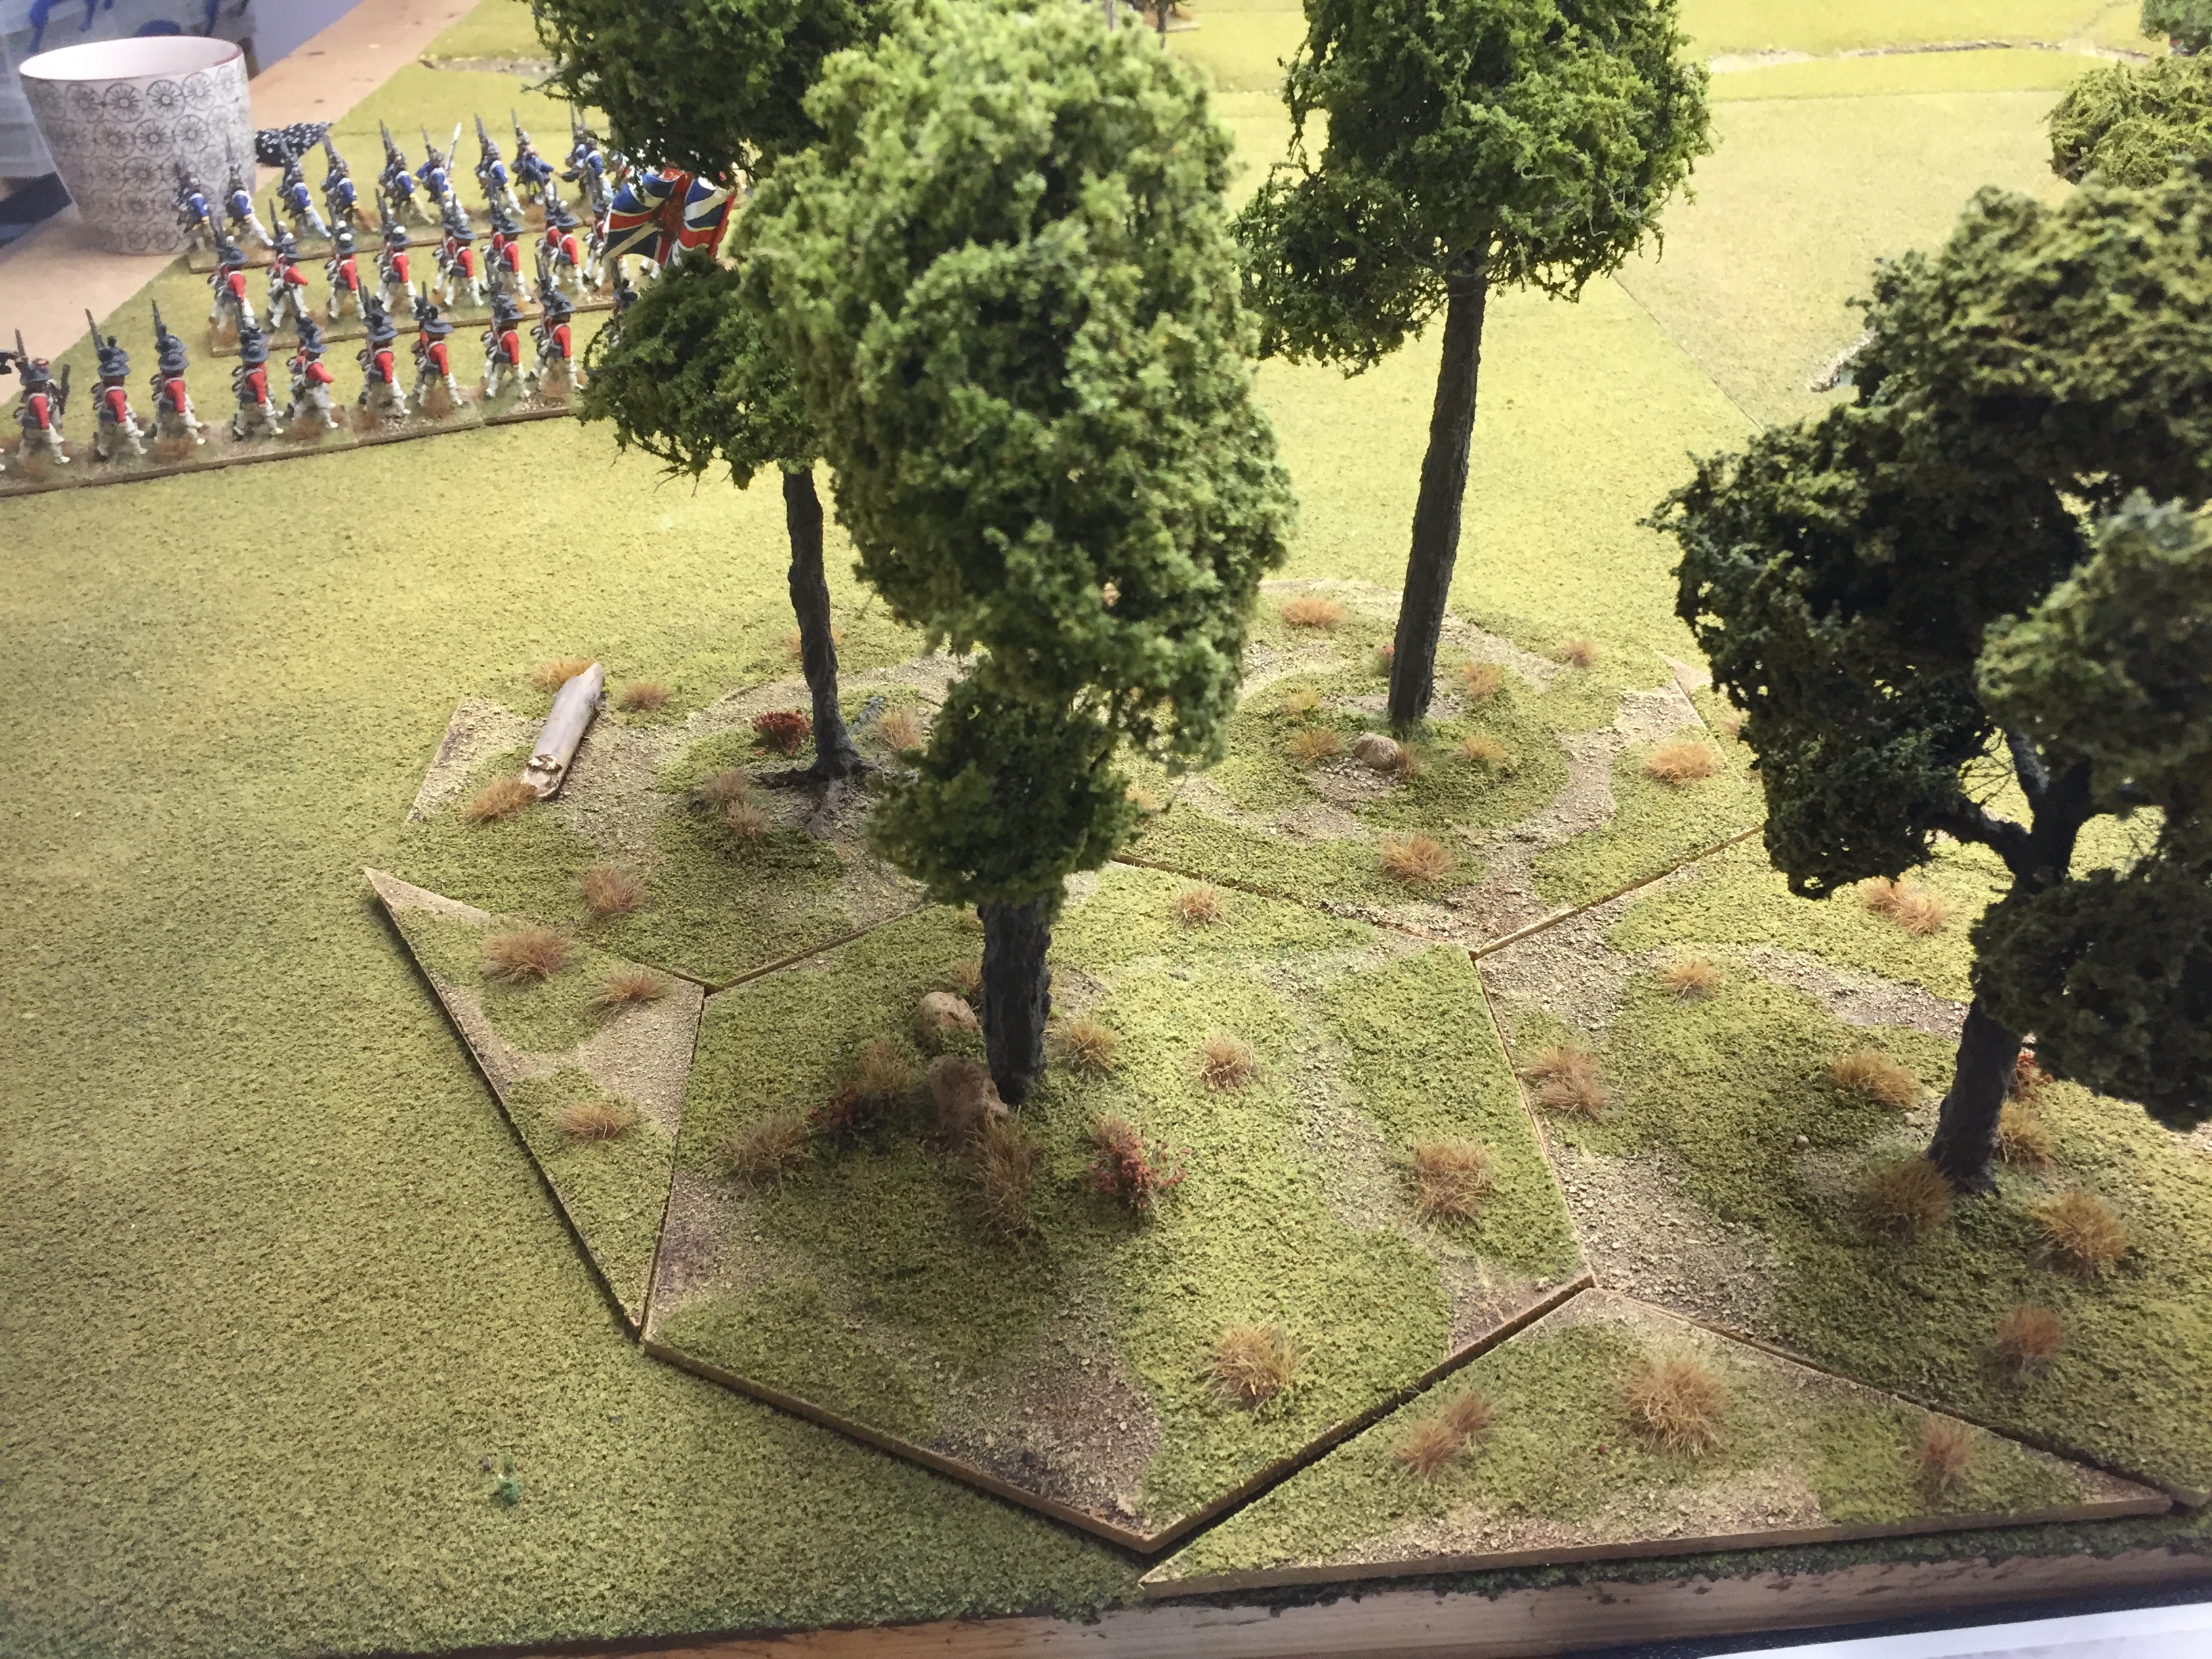
Steve new trees were ready, I reckon these will be ideal for 40mm Lol.
Steve also provided sustenance in the form of Tea, cakes and biscuits all very civilised especially for the British players.
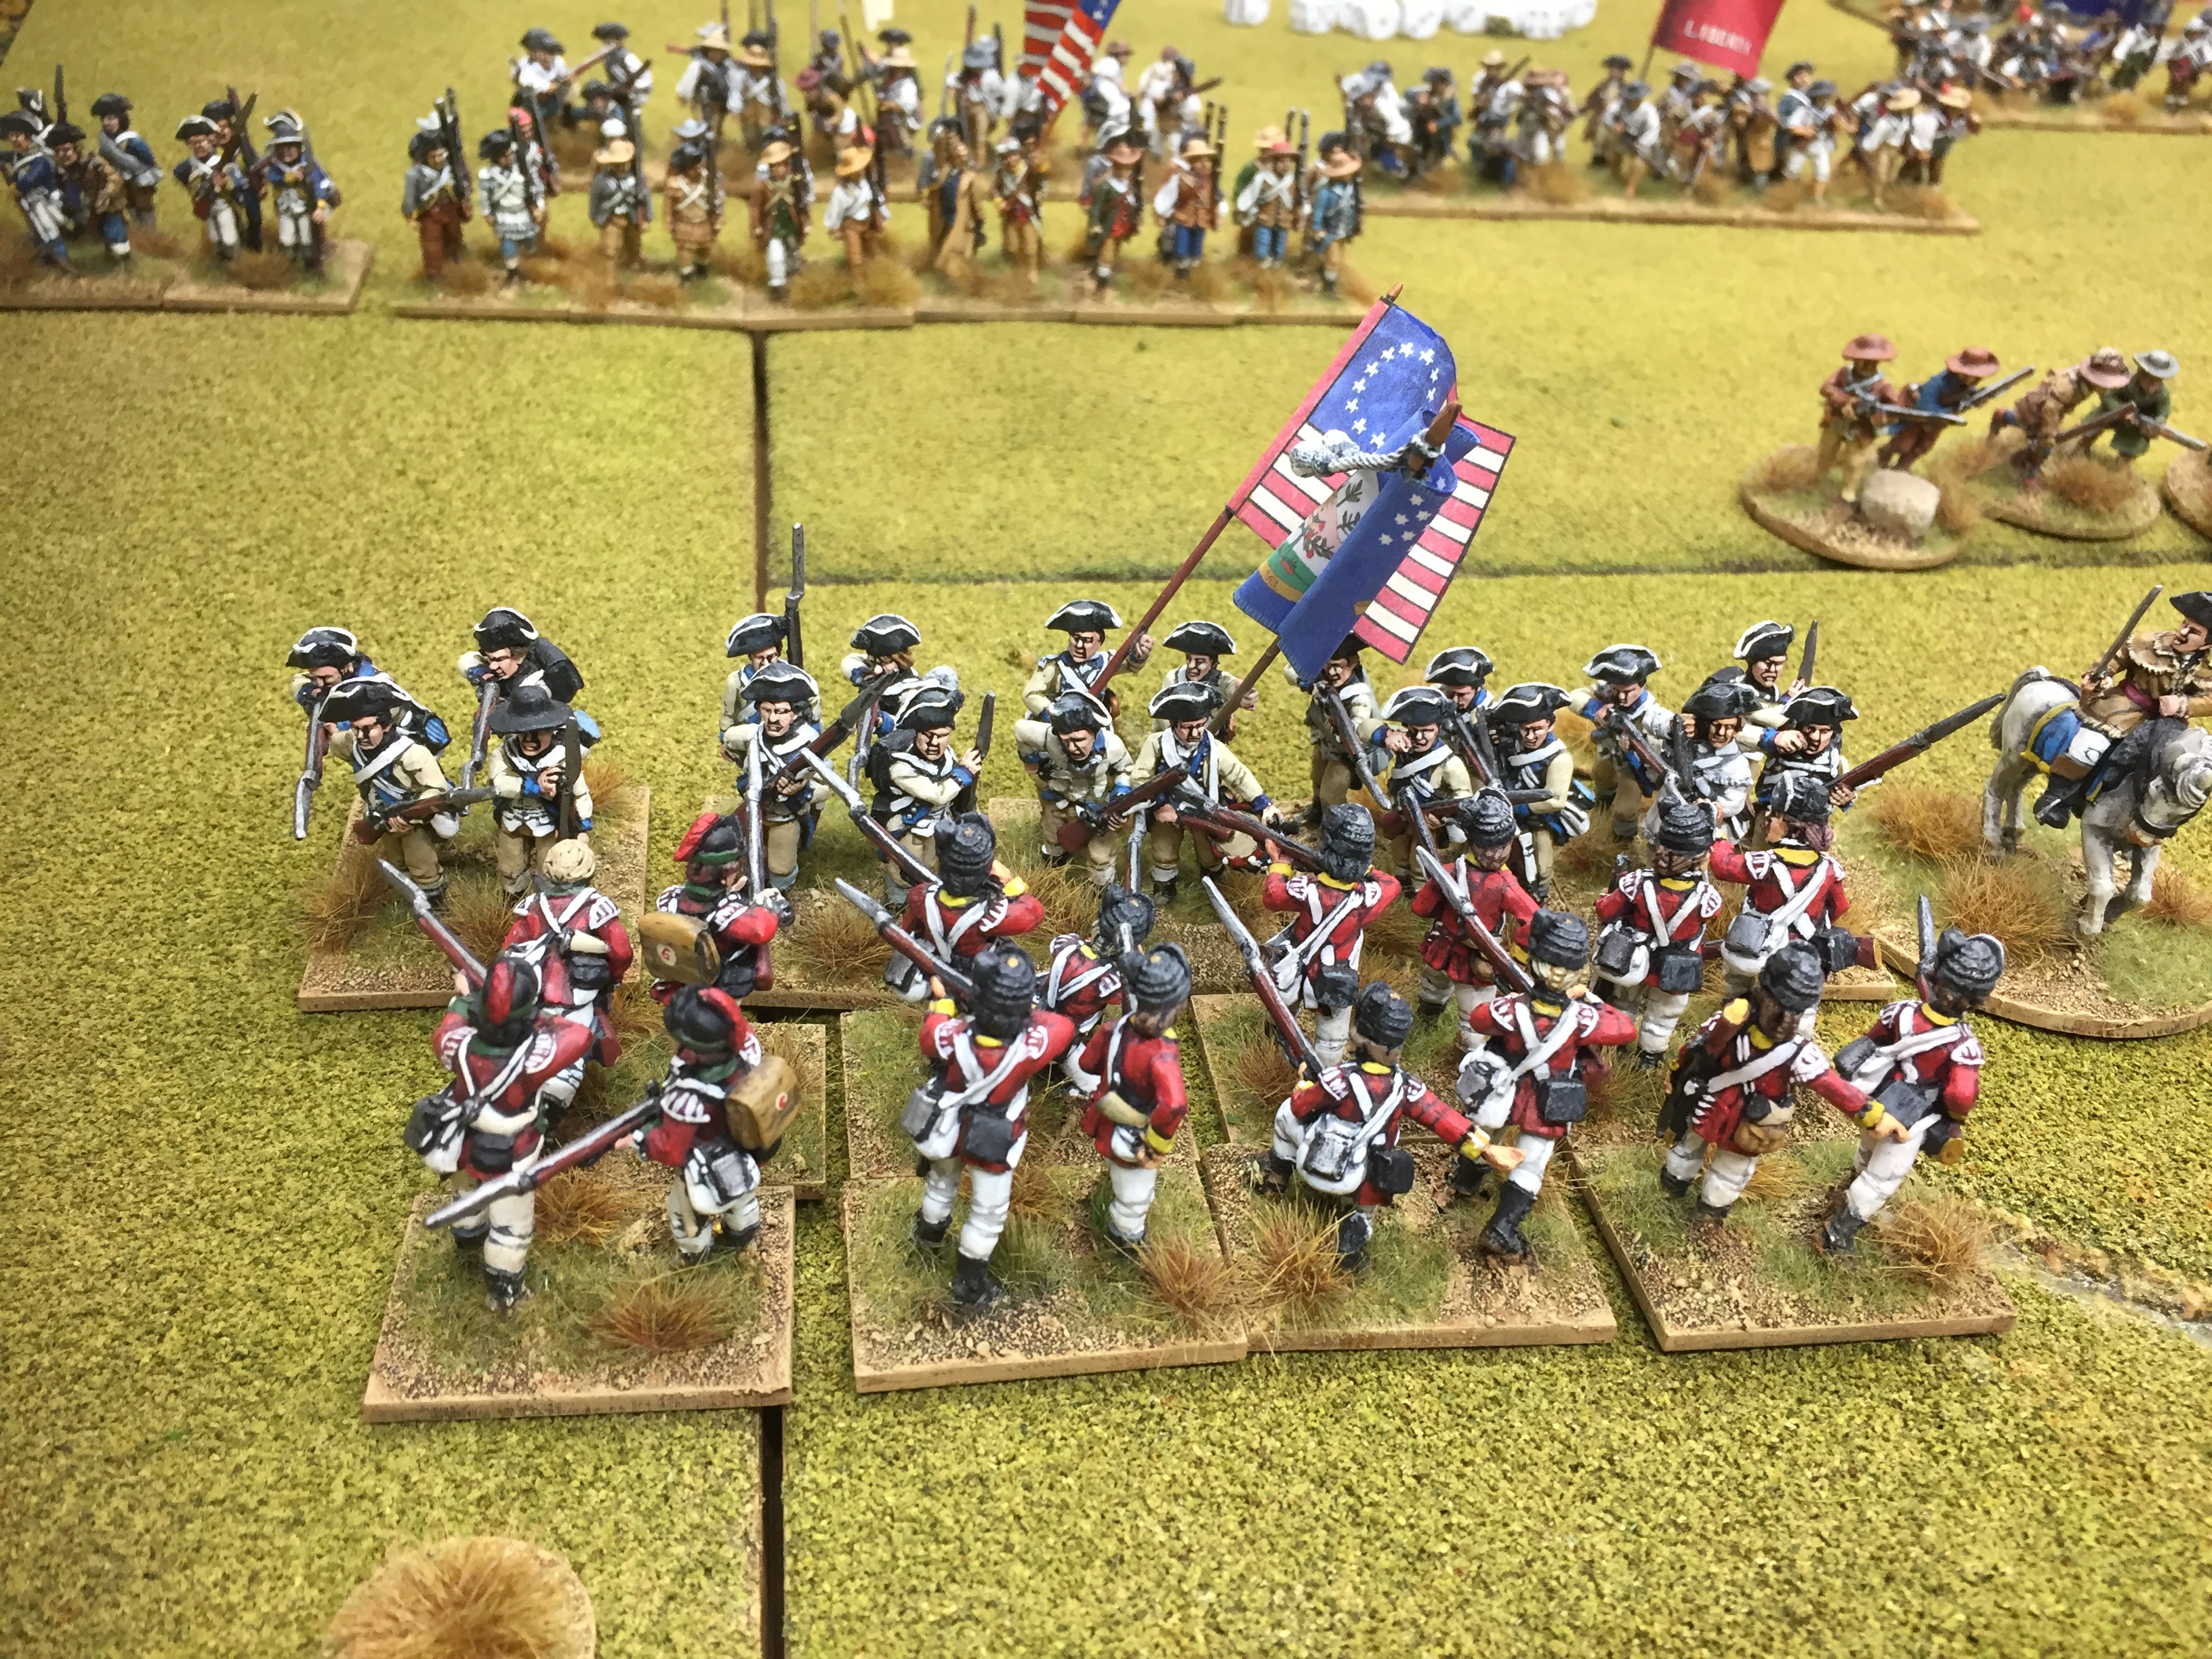
The advance brigade consisting of the 71st highlanders, Tory militia and a gun.
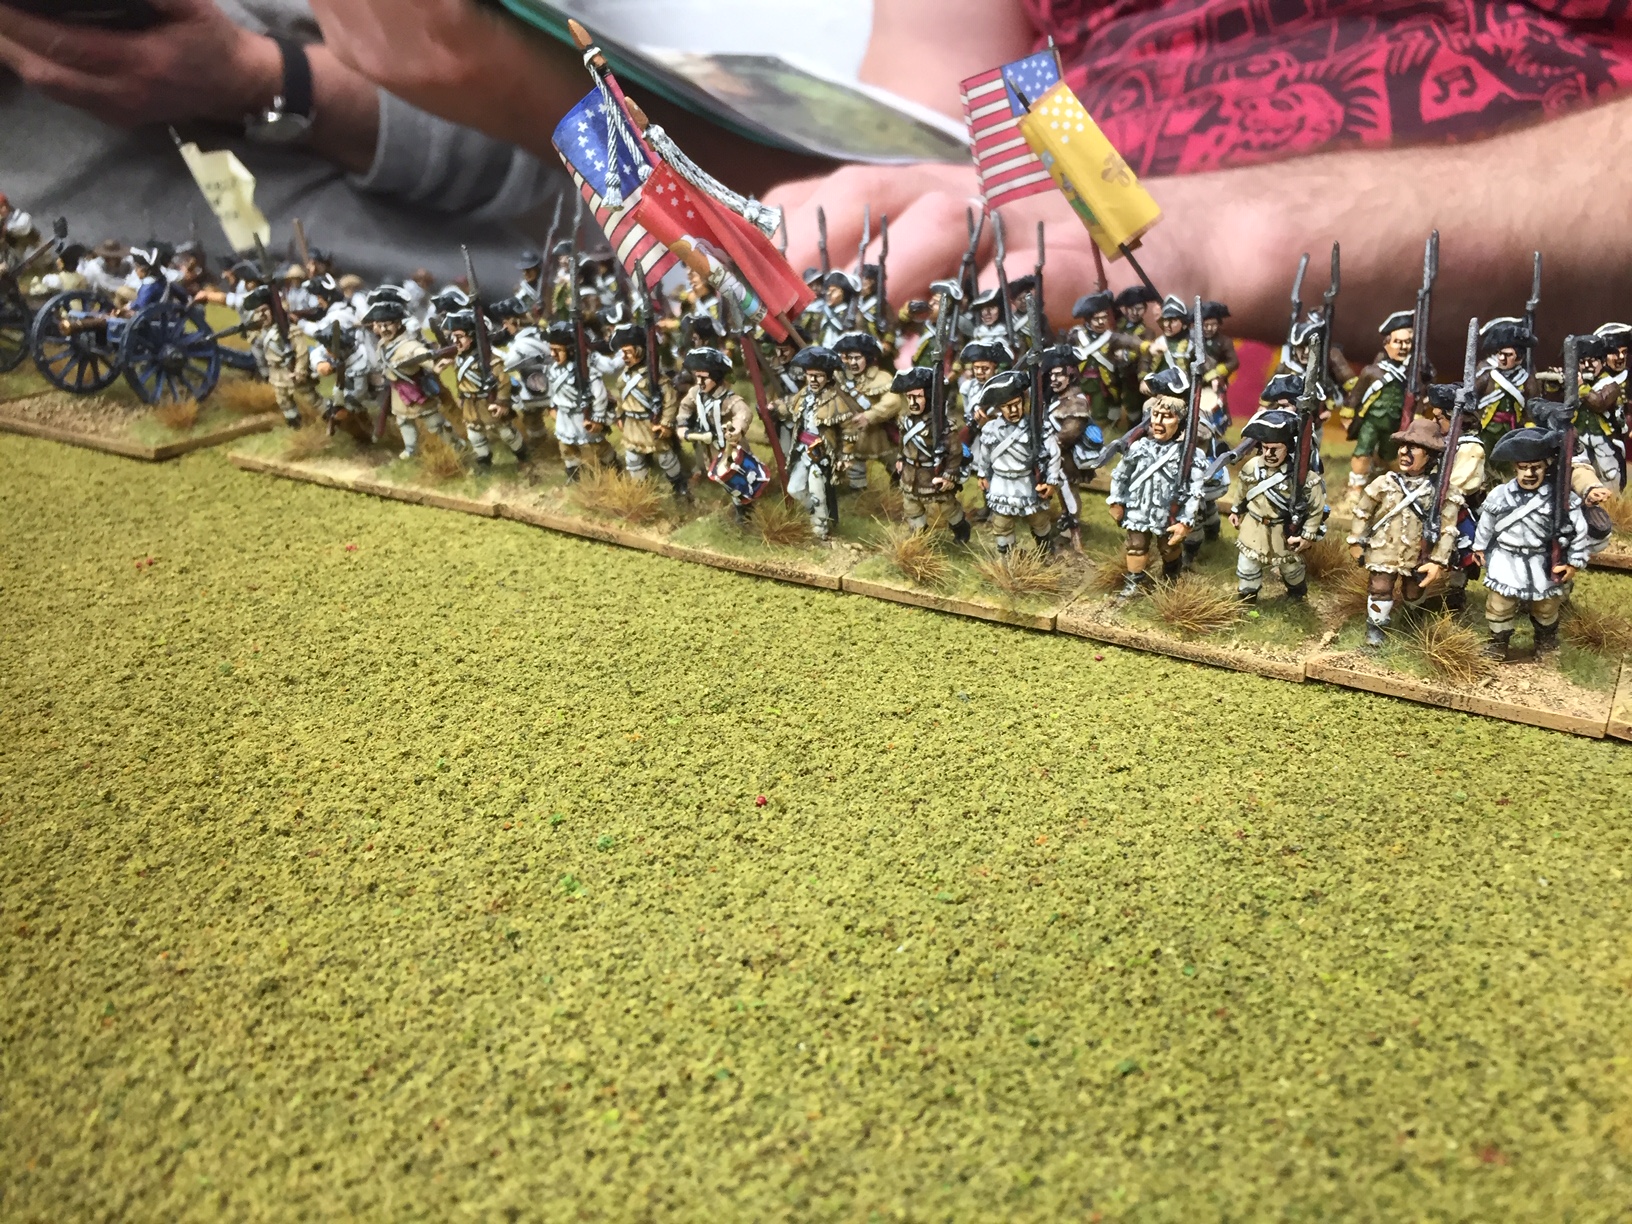
Opposite the the best of the Americans 3 battalions of very good continentals.
In the centre 3 regiments of Militia, although the two veteran militia were every bit as good as some of the continentals.
The big trees are on hex bases for another of Steves projects, I measured the gap between base and leaves is 60mm so perfect for the 40mm Spanish, not that it was on Steves mind when he made them but happy days.
Marching on in march column increases movement, the disadvantage being to change formation adds a DMZ.
Initially the ranged fire consists of an artillery duel, as the patriots close the gun doubles firing dice and starts to add casualties, with a base taken off of the hunting shirt troops before they have reached musketry range.
Three moves in and a number of volleys, the first American battalion is pushed back bbut twith the fire of two battalions concentrated on it so is the battalion of highlanders. Elsewhere the Americans are unpleasantly surprised to find a third brigade of British marching on to reinforce the defenders.
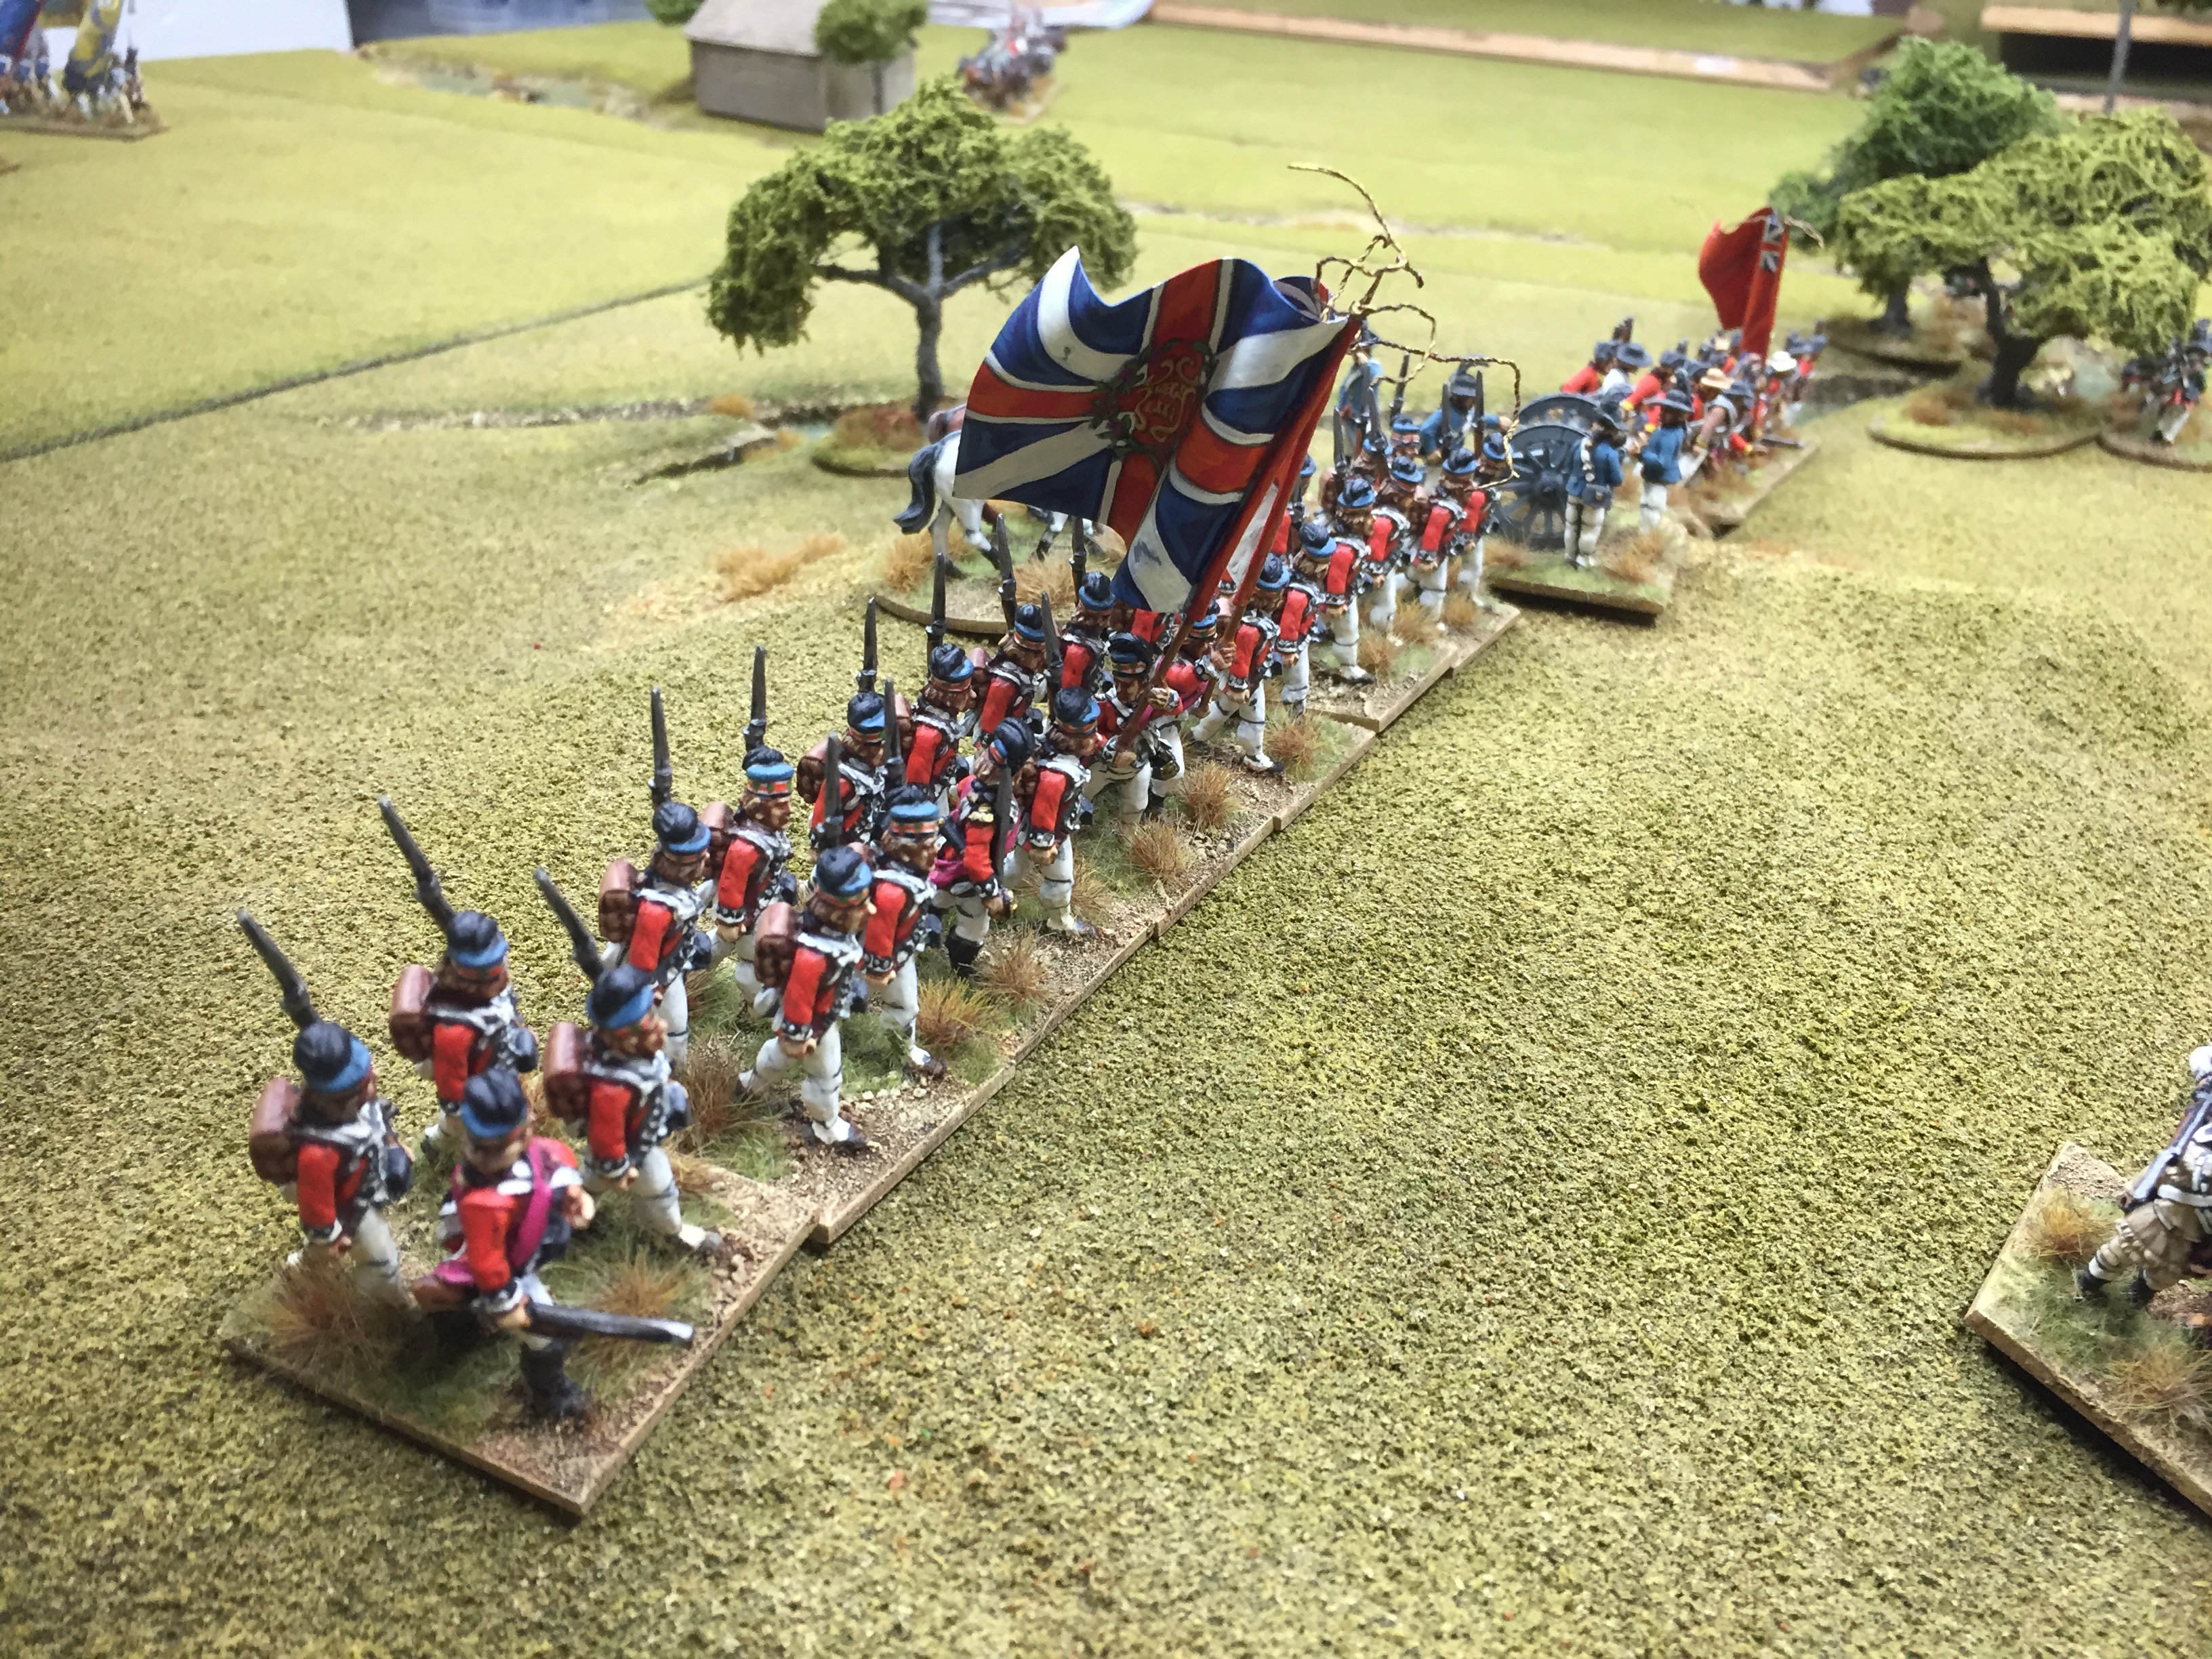
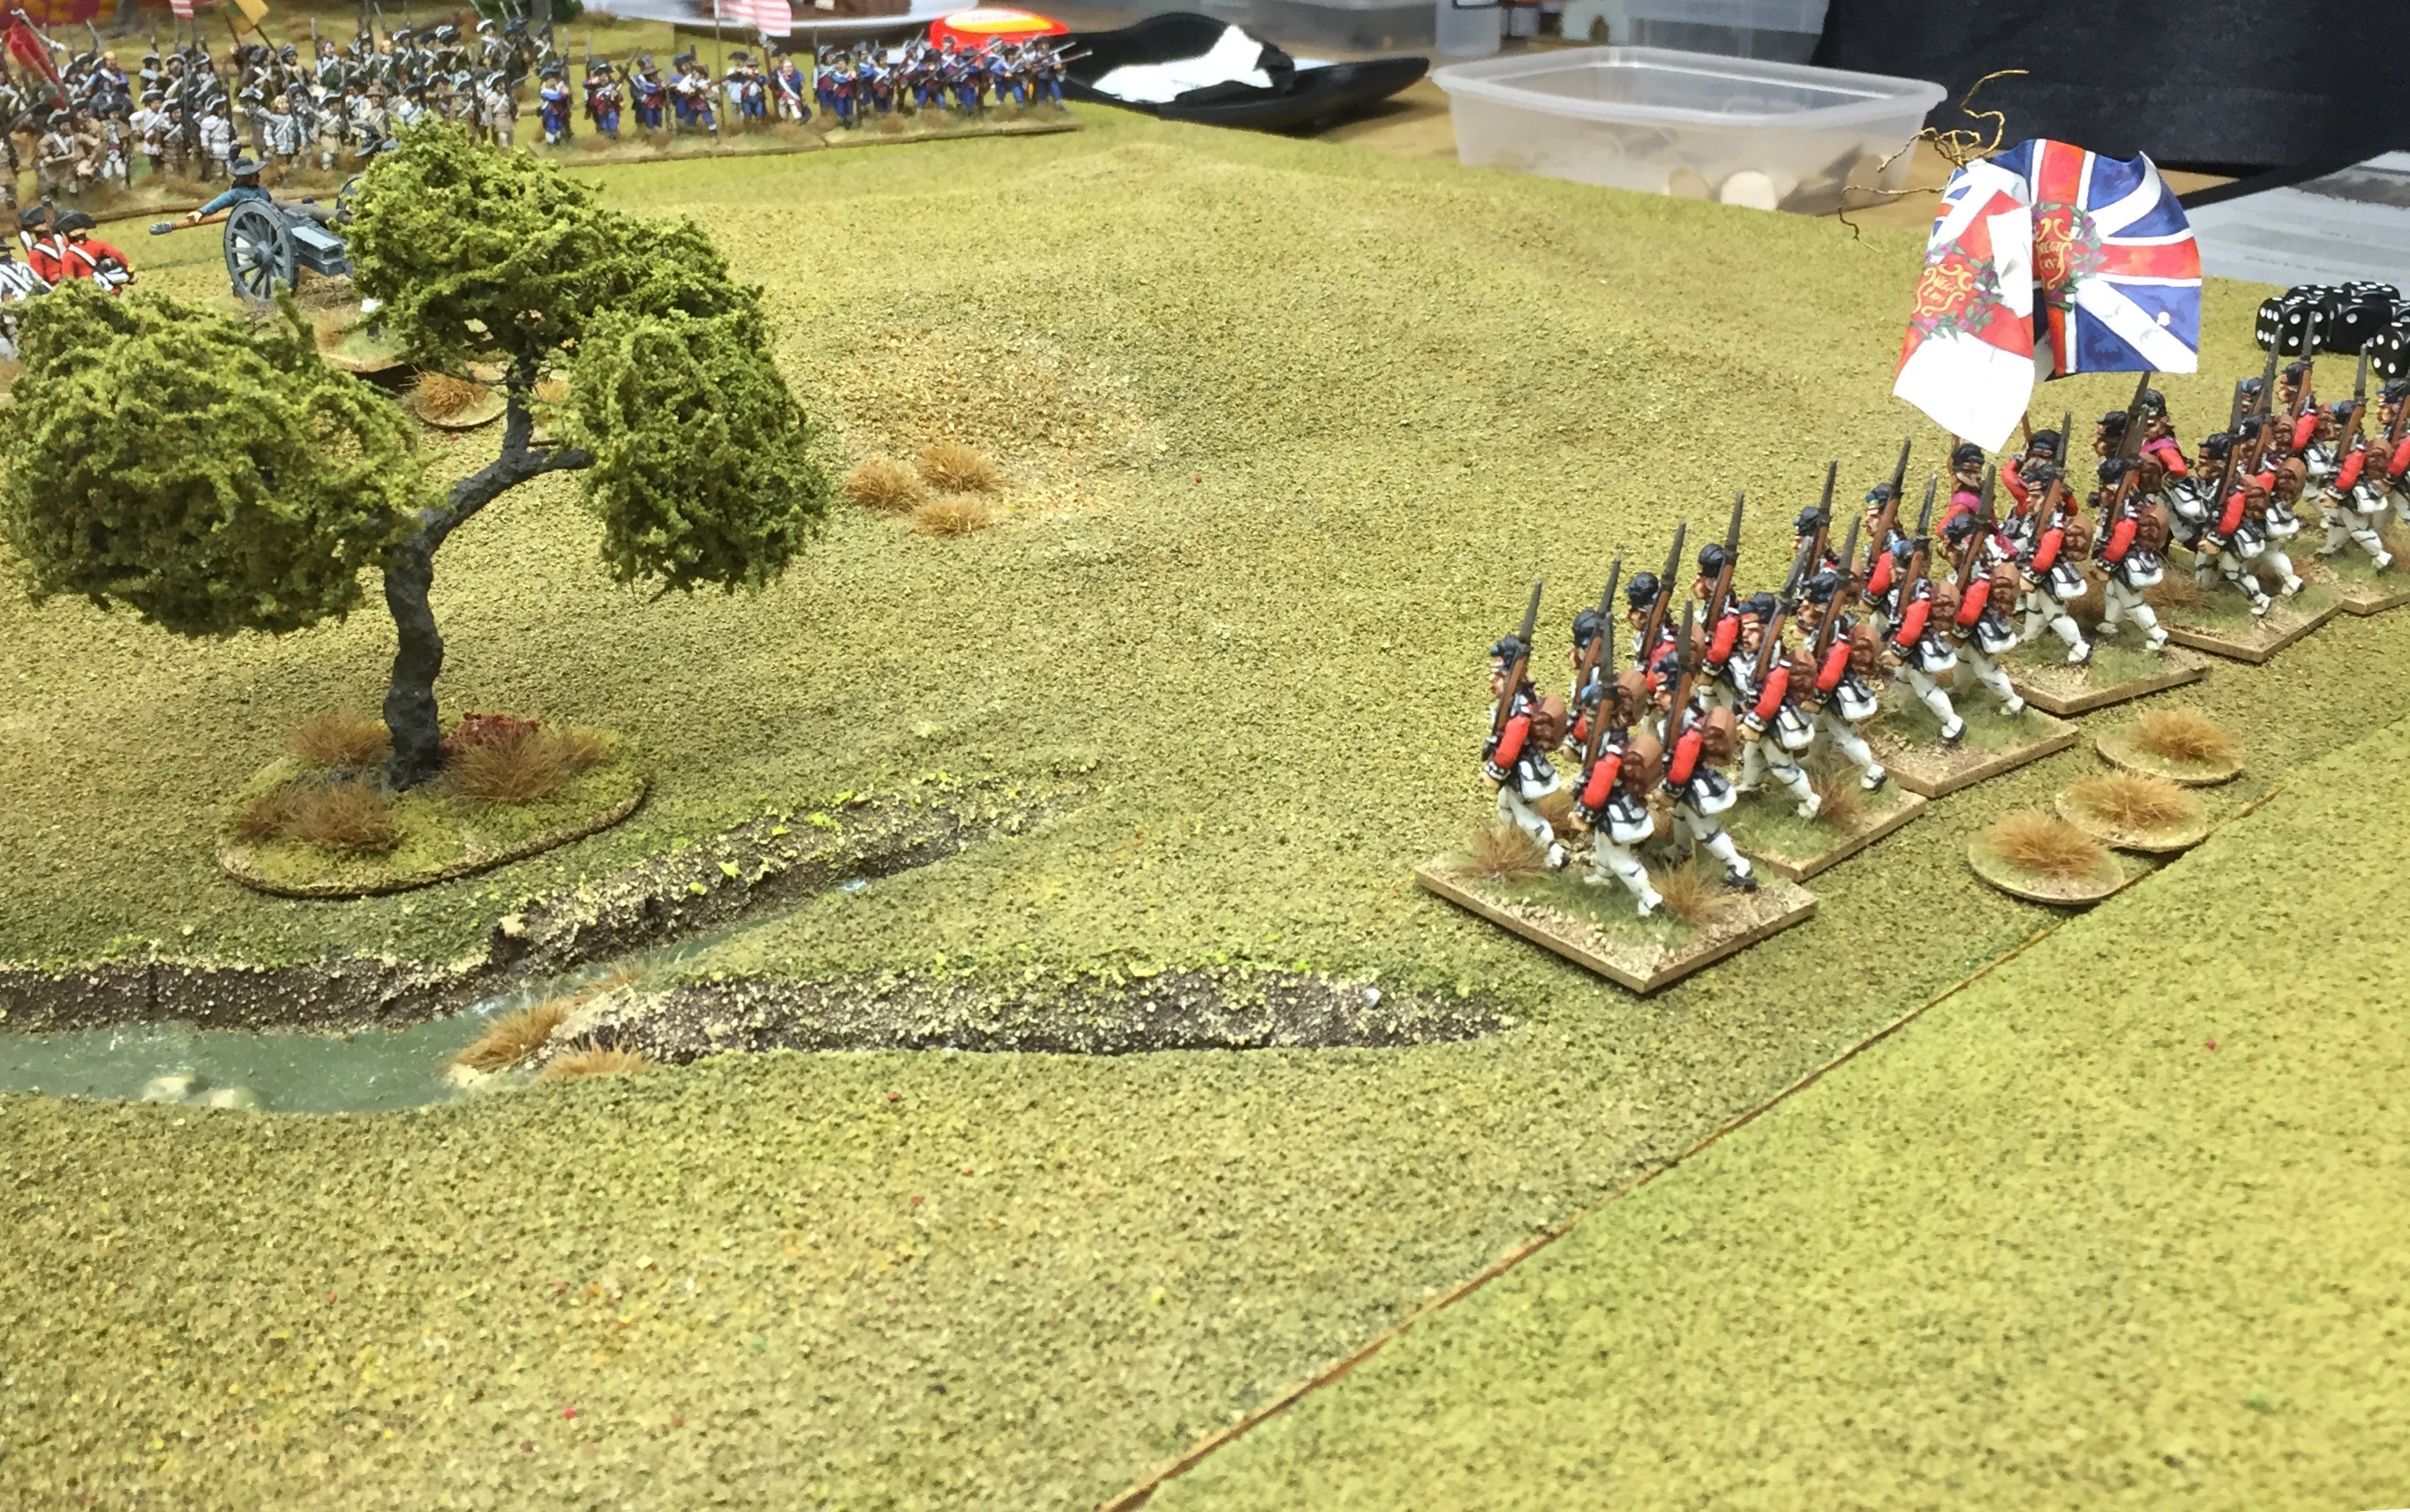
The British and Hessians have formed a line to recieve the Americans but the Yanks have wisely slowed their advance with the cavalry poised on their open flank.
Move four and the brigade of grenadiers and lights are pushing forward to fill the left flank of the British line.
The skirmishers from both units spend most of the game ineffectually firing at long range at each other with the odd DMZ added now and again.
On our right the colonials have closed to short range and both sides are knocking lumps out of each in a sustained firefight with the British just getting the edge.
.

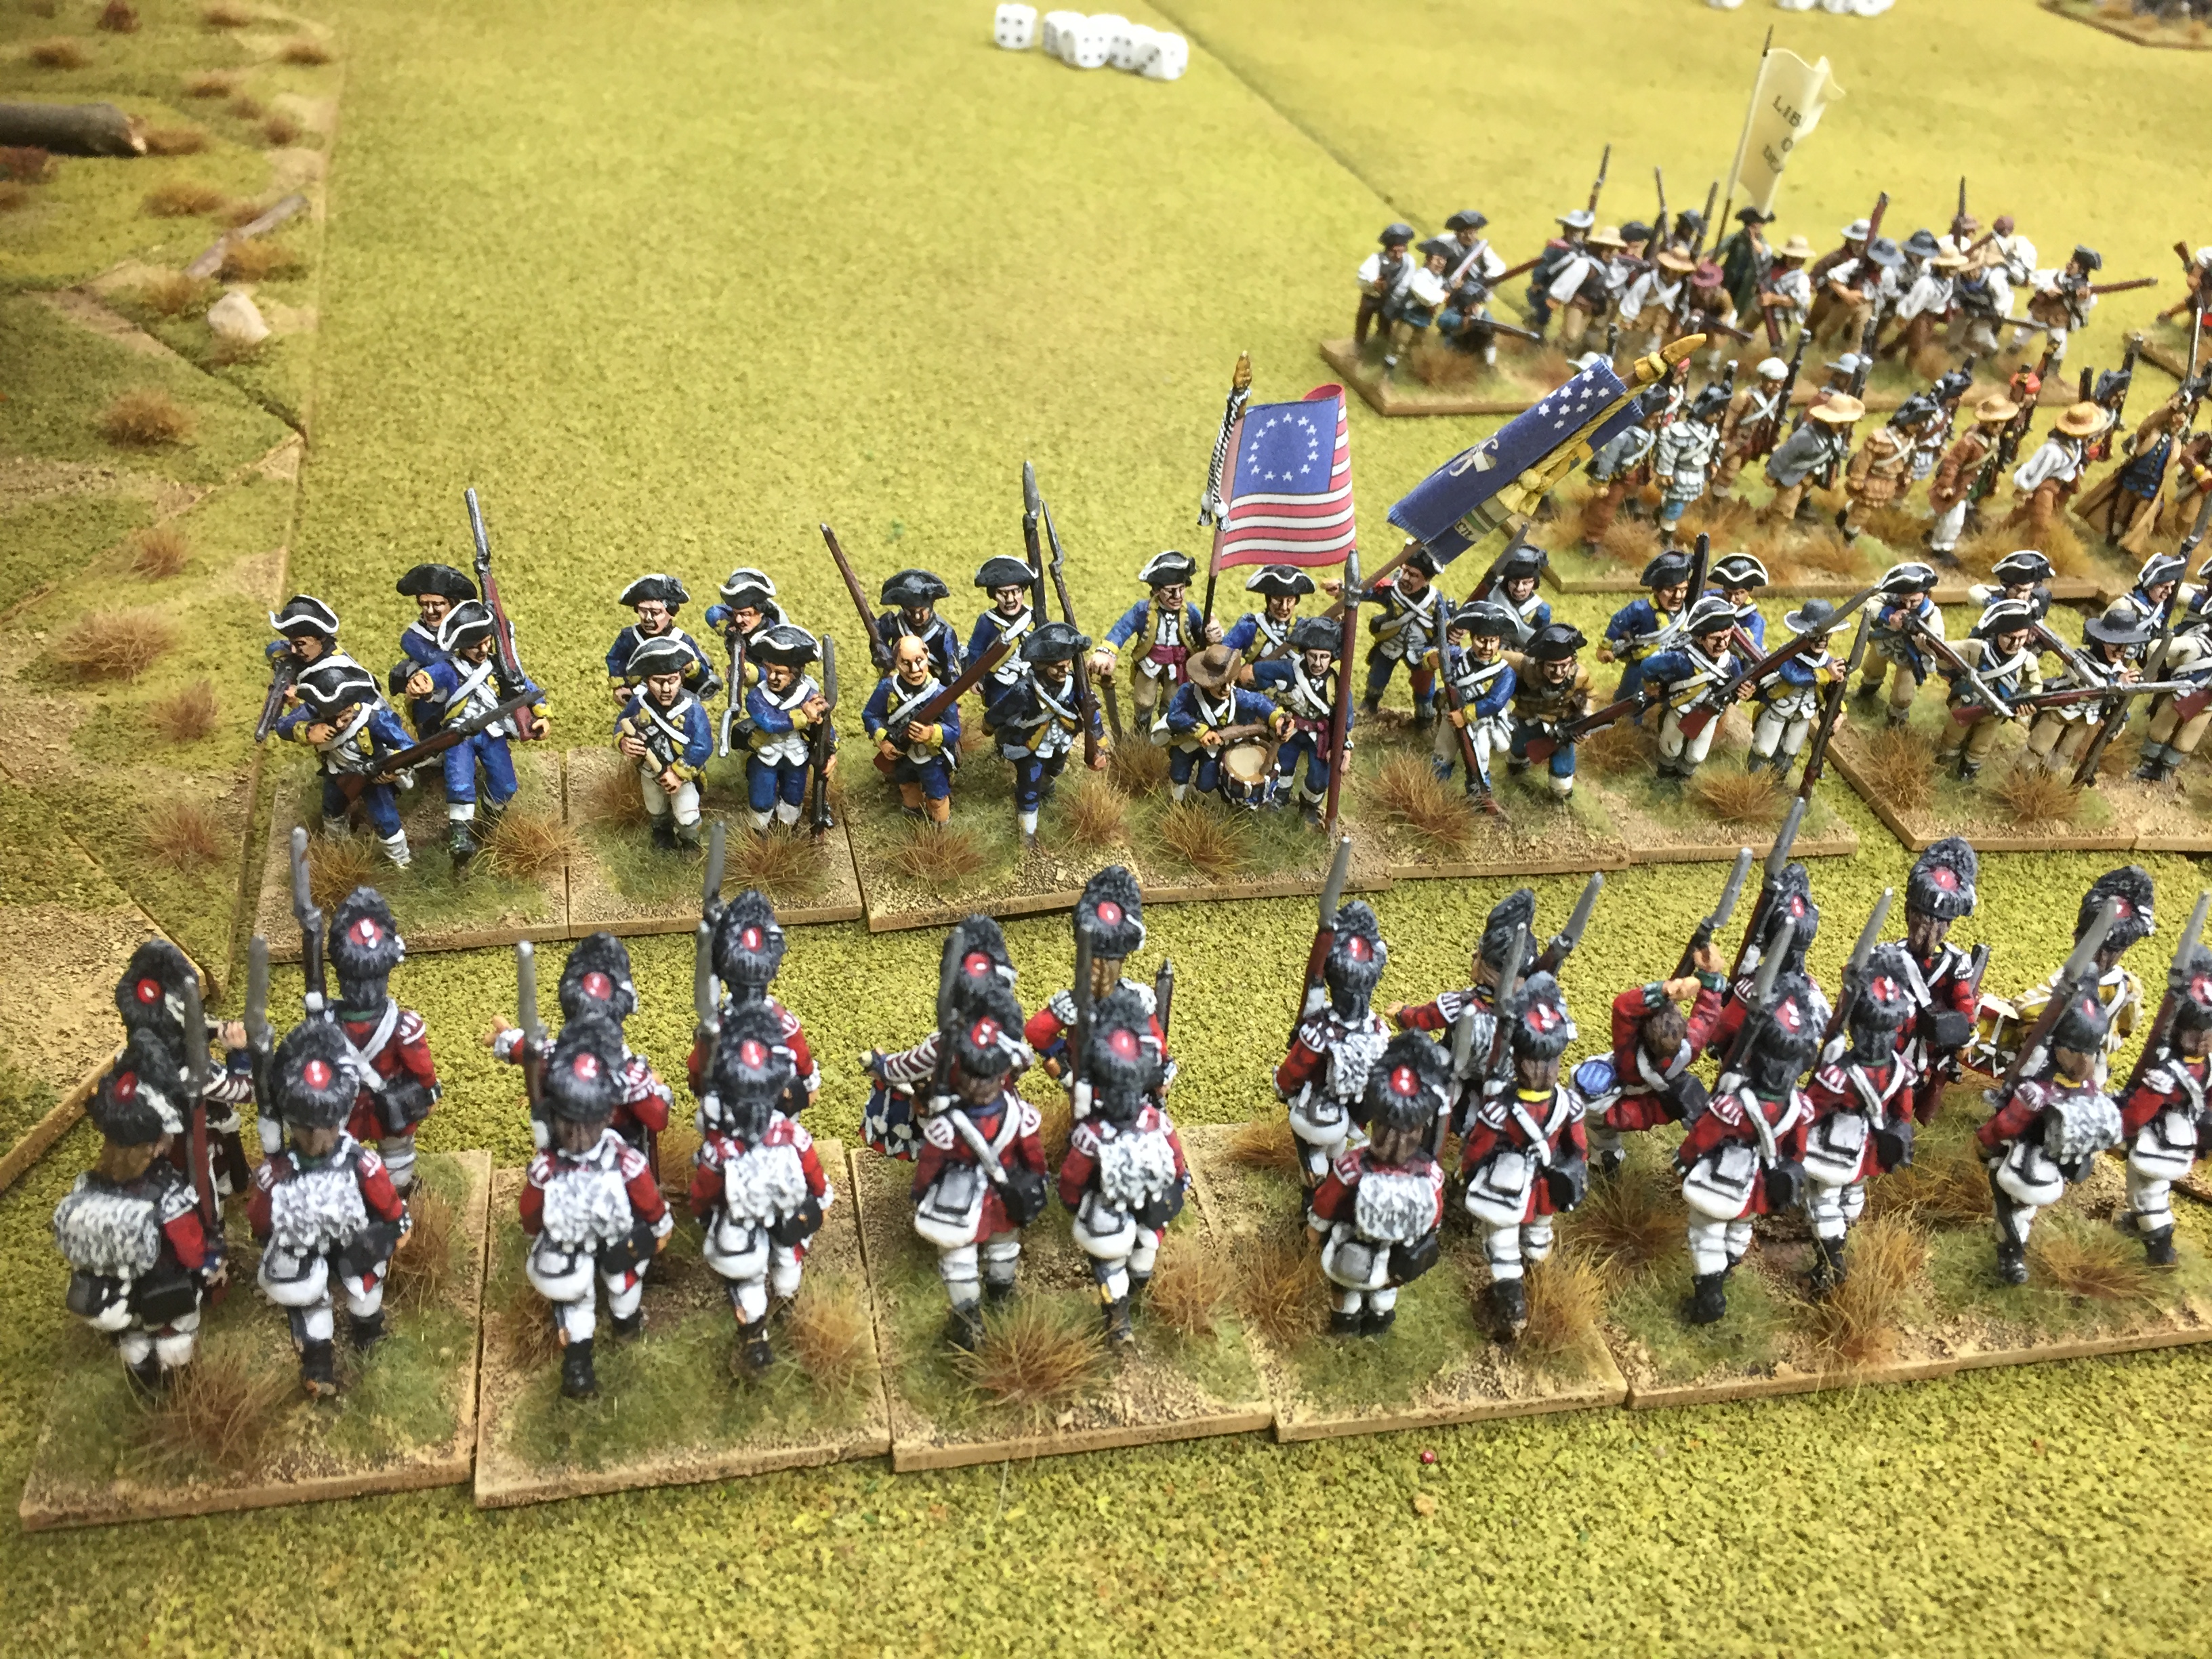
To the left Steve is pushing me to bayonet charge, its the big advantage the British regulars have and we have rolled enough command points to spend the four we need. Against my better judgement I throw caution to the wind and the Grenadiers storm forward. Chris rolls a brilliant defensive fire but I still go in. Chris's defensive dice are also good and both units are forced to take a morale test and fail retiring one full move to lick their wounds.
Undettered next go I throw the lights forward, again amongst the best troops on table, another fabulous rll on defensive fire and melee and the lights are seen off with the Americans baring their arses at the retreating British. Charging is really not workign out so far. Poor dice on my part with great dice from Chris for the most part though I think.
As Chris F decides to pull back the New Jersey troops that saw off my lights charge to cover the retreat of the brigade. Closing fire sees these guys off before they can even close however.
My Grenadiers try again and despite more good dice from Chris his continentals are forced to retreat.
The 33rd now weigh in and charge the skirmishers, easier against unformed troops and these are quickly seen off.
There is plenty left in the game with the rebel Militia almost untouched and yet to get involved, I think Chris was reluctant to take them near the fighting due to how brittle they can be. The Patriots have been forced to retire across most of the line and are in marginally worse state than the British.
However Chris feels the Americans have shot their bolt and its late, I certainly wont argue with him, the British are lucky to pull a narrow victory from the game.
Another enjoyable game, I wonder if we need to organise a game with a bit more time to really see it through to conclusion. Another game of this soon I hope.


Continuing to enjoy these rules. And getting to play with such lovely figures. Company ain’t bad… :-P
ReplyDeleteCheers Chris
DeleteCharging seemed a good idea at the time - shows you shouldn't pay any attention to me though doesn't it!! I agree that we need a day game with more room and more troops to really put the rules through their paces. I am really enjoying them though!
ReplyDeleteAgreed on both counts, lets sort somethign out.
DeleteNote to the Yanks: Lead with the militia. Better troops ignore the retreat of lesser sorts. Morgan used this at Cowpens with great success, Greene with less success at Guilford Courthouse. Soften up the redcoats with them.
ReplyDeleteThat would certainly work, that said you do get that concertina effect where one goes and the rest follow if your not careful.
DeleteGame looks great!
ReplyDeletecheers
DeleteRoger, why does changing formation by a regular unit from a march column to a battle line, a simple evolution, result in a DMZ (demoralization?)? Jim
ReplyDeleteIt is demoralization and disorder.
DeleteHi Jim, honestly I dont particularly like that myself, no idea why that would cause disorder with well drilled British regulars, Militia I get, it may one of the things we look at after a few more playtests,
DeleteIt is a leftover from the original rules, Loose Files and American Scramble. In LF&AS, units get 1D changing formation, 2 if under fire. Units acquired D's from all sorts of movement. They could rally them off as long as not in close combat (4").
DeleteOne idea: if a unit rolls class rating or higher on 1D6, no DMZ.
Cheers for that we have another game planned so may try that.
DeleteThat's a beautiful looking game!
ReplyDeleteChristopher