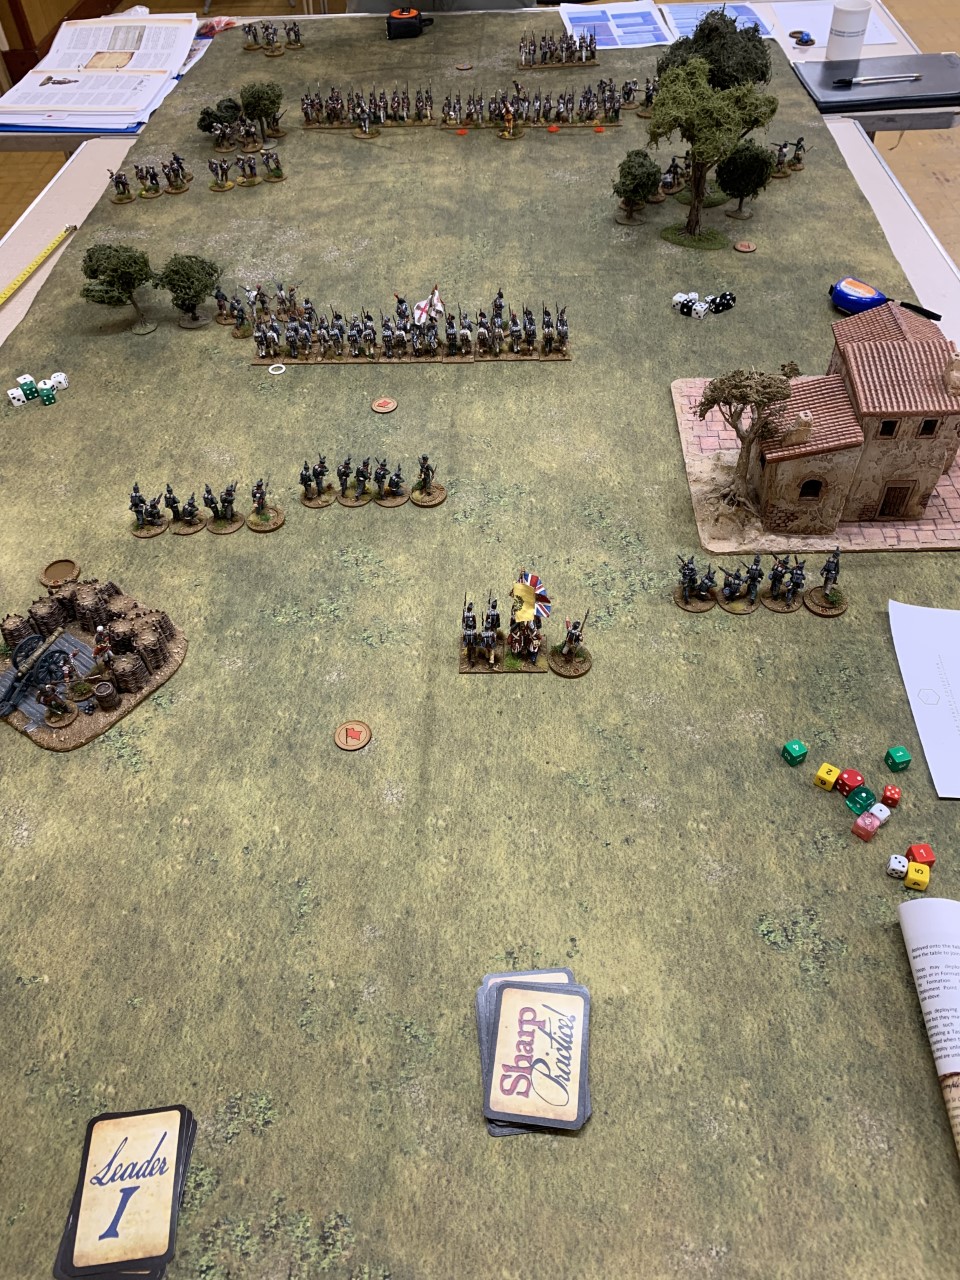
With the re-write of Triumph of The Will almost complete we decided to put on a big game to test out all the changes. Went pretty well all told.
There would be 4 players per side, only 2 have played the updated version, on a 16 foot table. Foot, Horse, Armoured Cars, Plains and an armoured Train all feature, so a good test of the rules and visually quite the spectacle.
I have played fast and loose with history here hopefully the purists will fogive me.
Baron Von Ungern Sternberg and his Asiatic Cossack Division, having "liberated" Mongolia have decided to march to link up with the remnant of Ataman Semyenov's White Army on the Manchurian border. In our game the two approach from different sides of the table planning to link up, the Reds must stop them to gain a draw and destroy at least one formation to get a win.
Originally we planned that all White players would be called Richard but we only had three so Si had to be an honorary Richard for the day. Rich H, Rich C and Rich L accompanied Simon with their counter-revolutionary, reactionary Gangsters.
The White Order of Battle was:
Baron Von Ungern Sternburg’s Asiatic Cavalry Division.
Mongolian Brigade
Regiment of 3 Sotnias of 7 Tribal Irregulars Militia Aggressive
Regiment of 2 Sotnias of 8 Chahar Mongols Drilled Aggressive
Cossack Brigade
2 Regiments of 3 Sotnias of 8 Cossacks Regular Aggressive
1 Tchanka
Infantry Brigade
Chinese Regiment of 4 companies of 8 Militia
2 Russian Regiments of 4 Companies of 8 Drilled
1 field gun
2 MG
Ataman Semenov’s “Army”
Cavalry Brigade
Regiment of 3 Cossack
Sotnias of 8 Regular Aggressive
Infantry Division
Infantry Regiment 4 Companies of 9 regulars
Infantry Regiment 4 companies of 8 Drilled
Infantry Regiment 4 Companies of 8 Militia
2 mg
1 field gun
1 armoured car
Armoured Train with 1 field gun
White Fighter roll of a 6 only, stays on 5 or 6
The Bolsheviki Red Revolutionaries had Chris F, Chris C, Jerry and Dave, their force consisted of ;
Cavalry Brigade
3 Regiments each 3 Sotnias of 8 Drilled
1 Feild Gun
2 Tchanka MG Carts
1st
Infantry Brigade
4 Regiments each of 4 Companies of 8 men Drilled
2 MGs
1 Field Gun
2 Supporting companies of 10 Naval Infantry Regulars
2nd
Infantry Brigade
3 Regiments each of 4 companies of 8 men Drilled
1 Field Gun
2 Supporting companies of 10 Naval Infantry Regulars
1 Armoured car
1 Red Fighter plane arrives on a 6 on D6 then 5
and so on. Stays on 4,5,6.
In terms of deployment then the Semyenov troops deploy from one end of the table with their train already at the edge of the village. Both the Barons forces and the reds come on at the other end of the table , deployed across the first 6 feet or so, with the armies separated by an extensive forest.
We were much clearer with leaders orders , a slip of paper has the order on it tucked under the leader so we dont forget, if they want to do something different they will need to roll against their command rating to change their forces orders.
Most of the below Bolsheviki are from Daves collection painted by chum Si.
Both sides had planes but both sides managed to roll dismally to bring them on.
The Semyonov troops decide to march out of the town and confront the Red forces, the reds meanwhile dispatch most of their infantry to slow down the Baron whilst the cavalry hurtle off to deal with the Semyonovski. The Baron initially sticks to plan to link up and marches on.
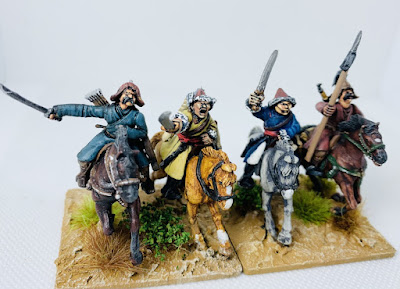
A regiment of Mongolian Tribal Cavalry scout ahead of the Barons main army.
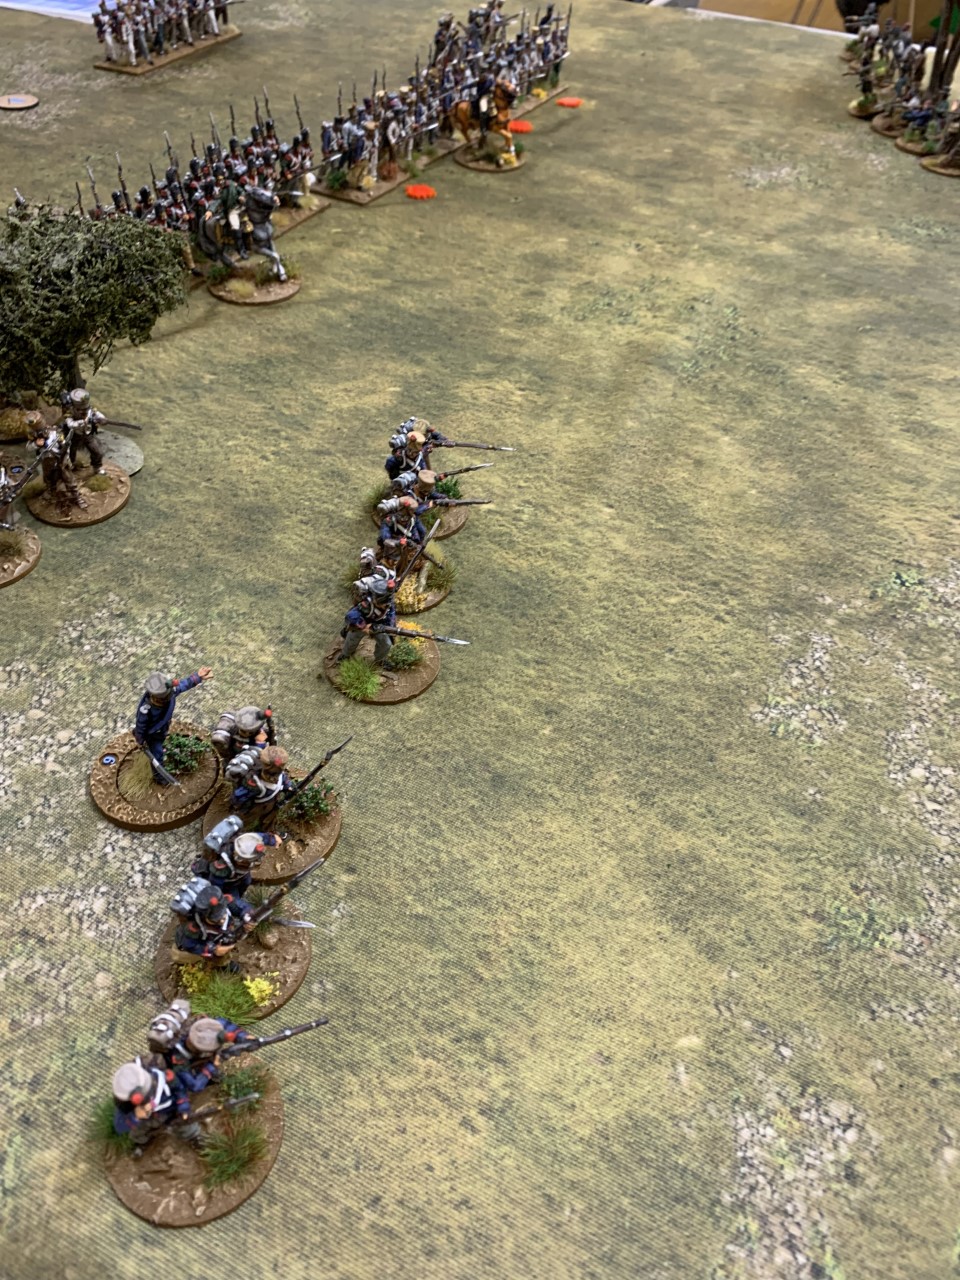
Daves Red infantry Brigade certainly gives the impression of hordes of khaki clad troops marching to destroy the White Terror, led by Veteran Naval Troops.
The Reds are not messing about and close the gap on the Baron quickly supported by their armoured car.
The White armoured car is also leading from the front as the Semyonov troops march out of their trenches to confront the hated Bolsheviks.Clearly they are confident.
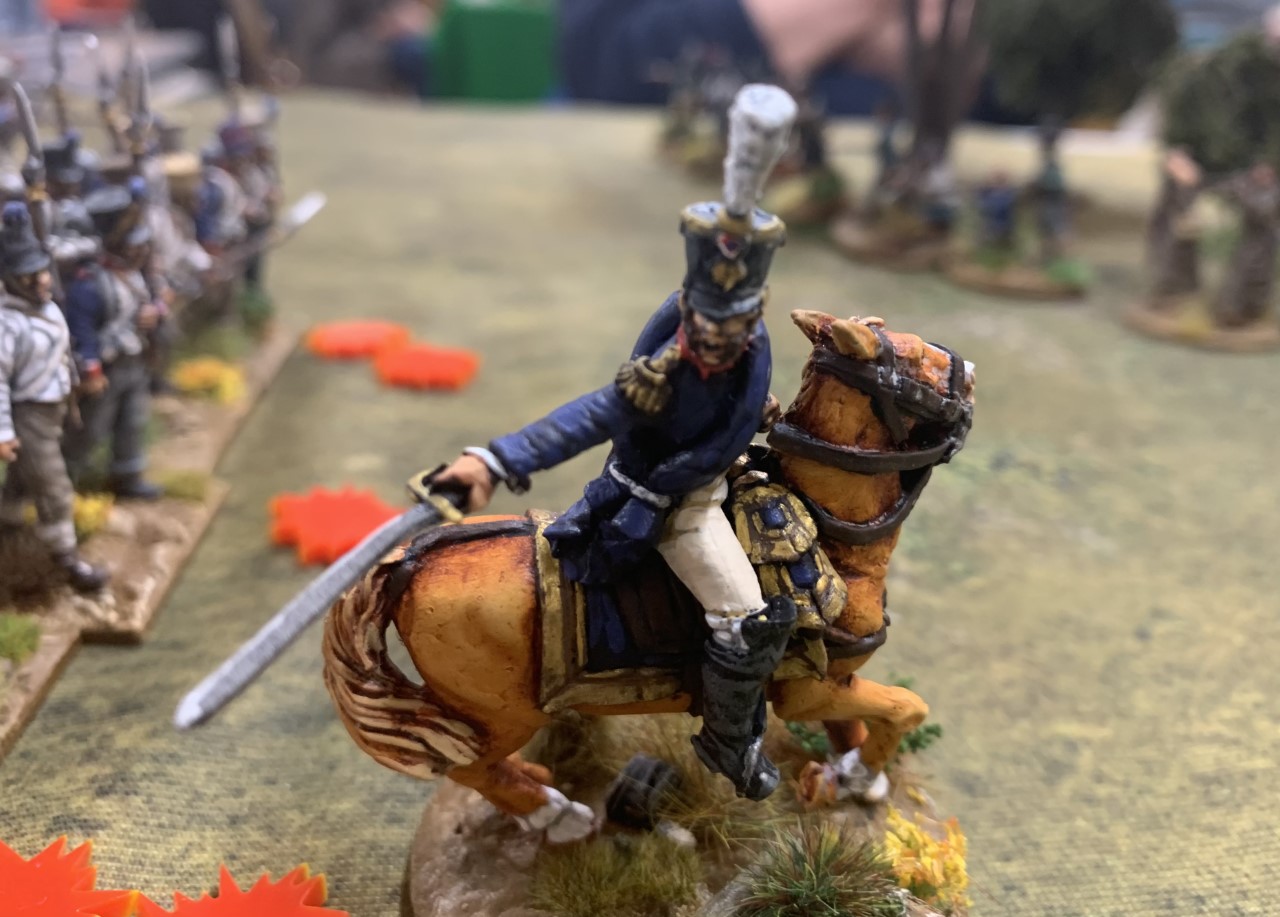
The Baron decides that his tribal Cavalry should take the forest to his front right and hold it against any flank attacks. Sound tactical decision by Rich C but it does slow down the potential link up between white forces. I was low on commanders for these guys so Chris C kindly lent me a Mongolian Princess, why not?
Jerry is looking at the stretch of forest his troops will have to march through to reach the Barons forces with a glum resignation. It may be some time before the first shots are fired that end of the table.
A large portion of the red army turns and marches to confront the Semyenovski whilst the rest push on to tackle the Baron.
Rich H is sticking to his orders, a few troops turn to cover his flank but the rest march on undaunted by the horde of Red troops marching towards them.
The shape of the game is pretty much decided now with two almost seperate battles begining to form as the Reds hope to destroy the two White forces in succession..
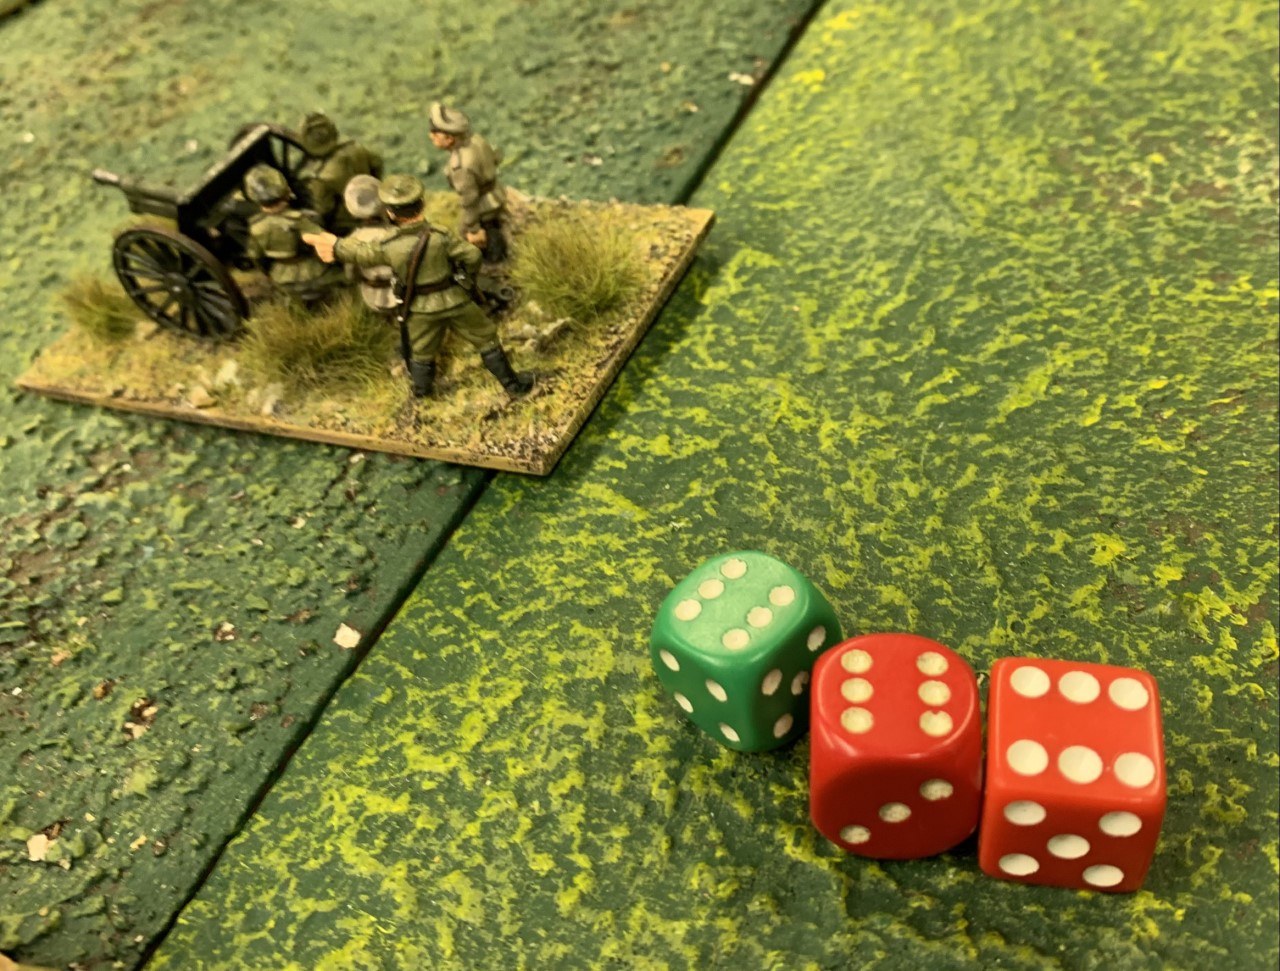
Probably the most interesting dice throw of the day. Three hits with the gun on Daves Red armoured Car.
Not surprisingly the armoured car did not cope well with three direct hits.
Its clear now that the Baron wont reach Semyonov without his flank being caved in, he rolls to change the orders for his troops, passes and turns his army to face the encroaching Reds.
The Mongolian Tribal cavalry pile into the forest just as Red infantry reach the other side of it.
The Barons army has completely reformed and is now advancing upon the Reds, a pretty large punch up is on the way in the middle of the table.
As the Reds march past the end line of forest the three units of Mongolian cavalry erupt into their flank. The result is pretty devastating and three companies of Red foot are wiped out.
The next two units of foot are able to form line so they are not hit in the flank but are non the less still steam rollered by the cavalry.
However the Mongols have taken casualties and the Red Cavalry is in position to counter charge.
The remaining Mongols are seen off by the Red cavalry having almost wiped out a whole regiment of Red infantry.
Un-photographed by your correspondant, the Semyonov troops exchange close quarter fire with the Reds, on the left the results are fairly even but on the White right a regiment of Militia face Red veteran Siberian Rifles and quickly fold. With their right flank in the air and exultant red cavalry advancing the Semyonovski retreat to the safety of their trenches and the supporting armoured train.
The planned link up now looks unlikely.
Meanwhile hordes of red infantry close with the Barons forces who advance to meet them.
Richard Hs White Cossack and foot regiments drive in to Daves reds as they reach the edge of the treeline.
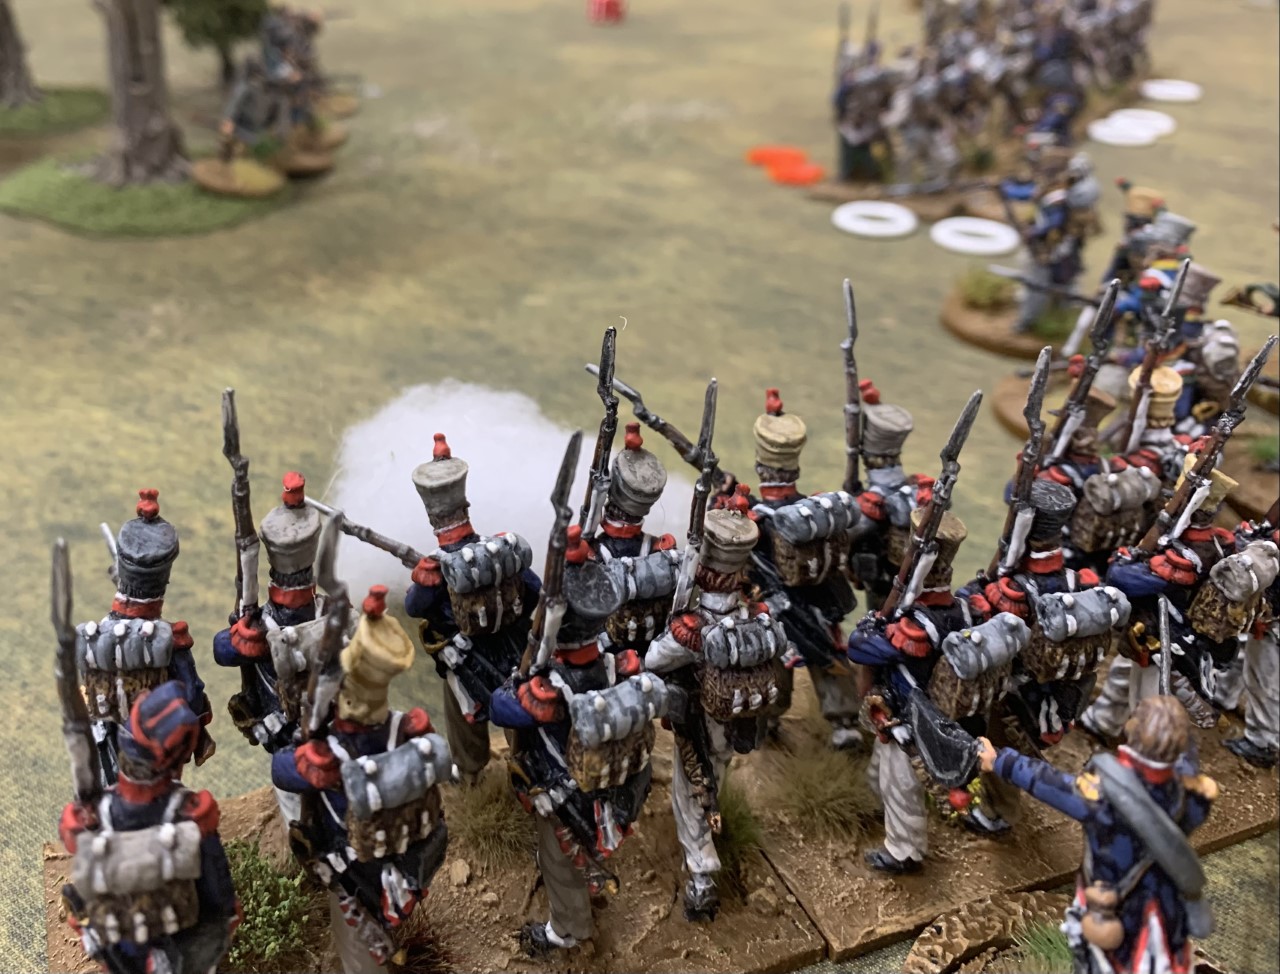
The White foot charge into the Reds before they can line to forest edge and fire into them. The results are devastating and the best part of a regiment of Reds are destroyed or forced to retreat.
The Cavalry are, un surprisingly, even more successful a full regiment charges two companies of Reds and wipes them out.
At this point we run out of time, with the Semyovski retreating and the Barons forces unable to advance further the Whites will not be able to link up, however the reds are not in a position to exploit their success and destroy either White faction leaving the end result a hard fought draw.
Overall then a really fun game and the rules held up well to a wider audience. The very large game with lots of elements was a real stress test that went better than might be expected.
Some Tweaks needed and gremlins to iron out. Frontage for different basing styles is important so needs to be defined pre game. Observation in woods needs to be more than 3 inches or troops can't support and end up closing when their order don't allow them to.
Overall a great game which I hope everyone enjoyed and showed the rules are very nearly where we want them.
Thanks everyone.

 Posts
Posts


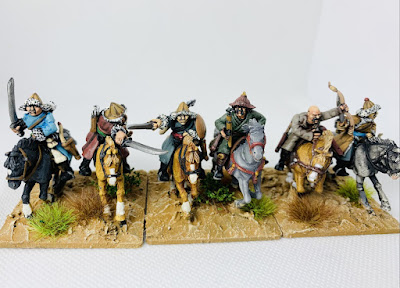
 With the next six 4 are Copplestone and the 4th and 5th from left are Fireforge plastic, they mix in reasonably well.
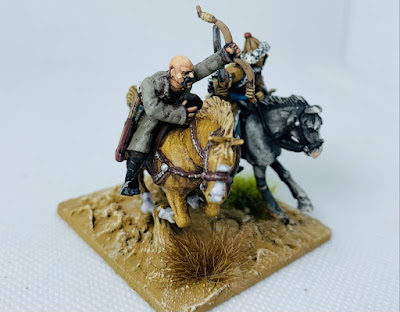
 The figure with his bow raised is my favourite of the Plastic Mongolians.
 These will all come in handy in finishing off the civil war collection.