

We use the Two Fat Lardies Triumph of the Will rules, suitably watered down for large tables and large numbers of troops. The table was 14 x 6 and I had designed the game for either 4 or 6 players so 5 worked just fine.
I did promise not to mention that Steve Shann commanded the Red army so hopefully I will remember not to mention his name anywhere.
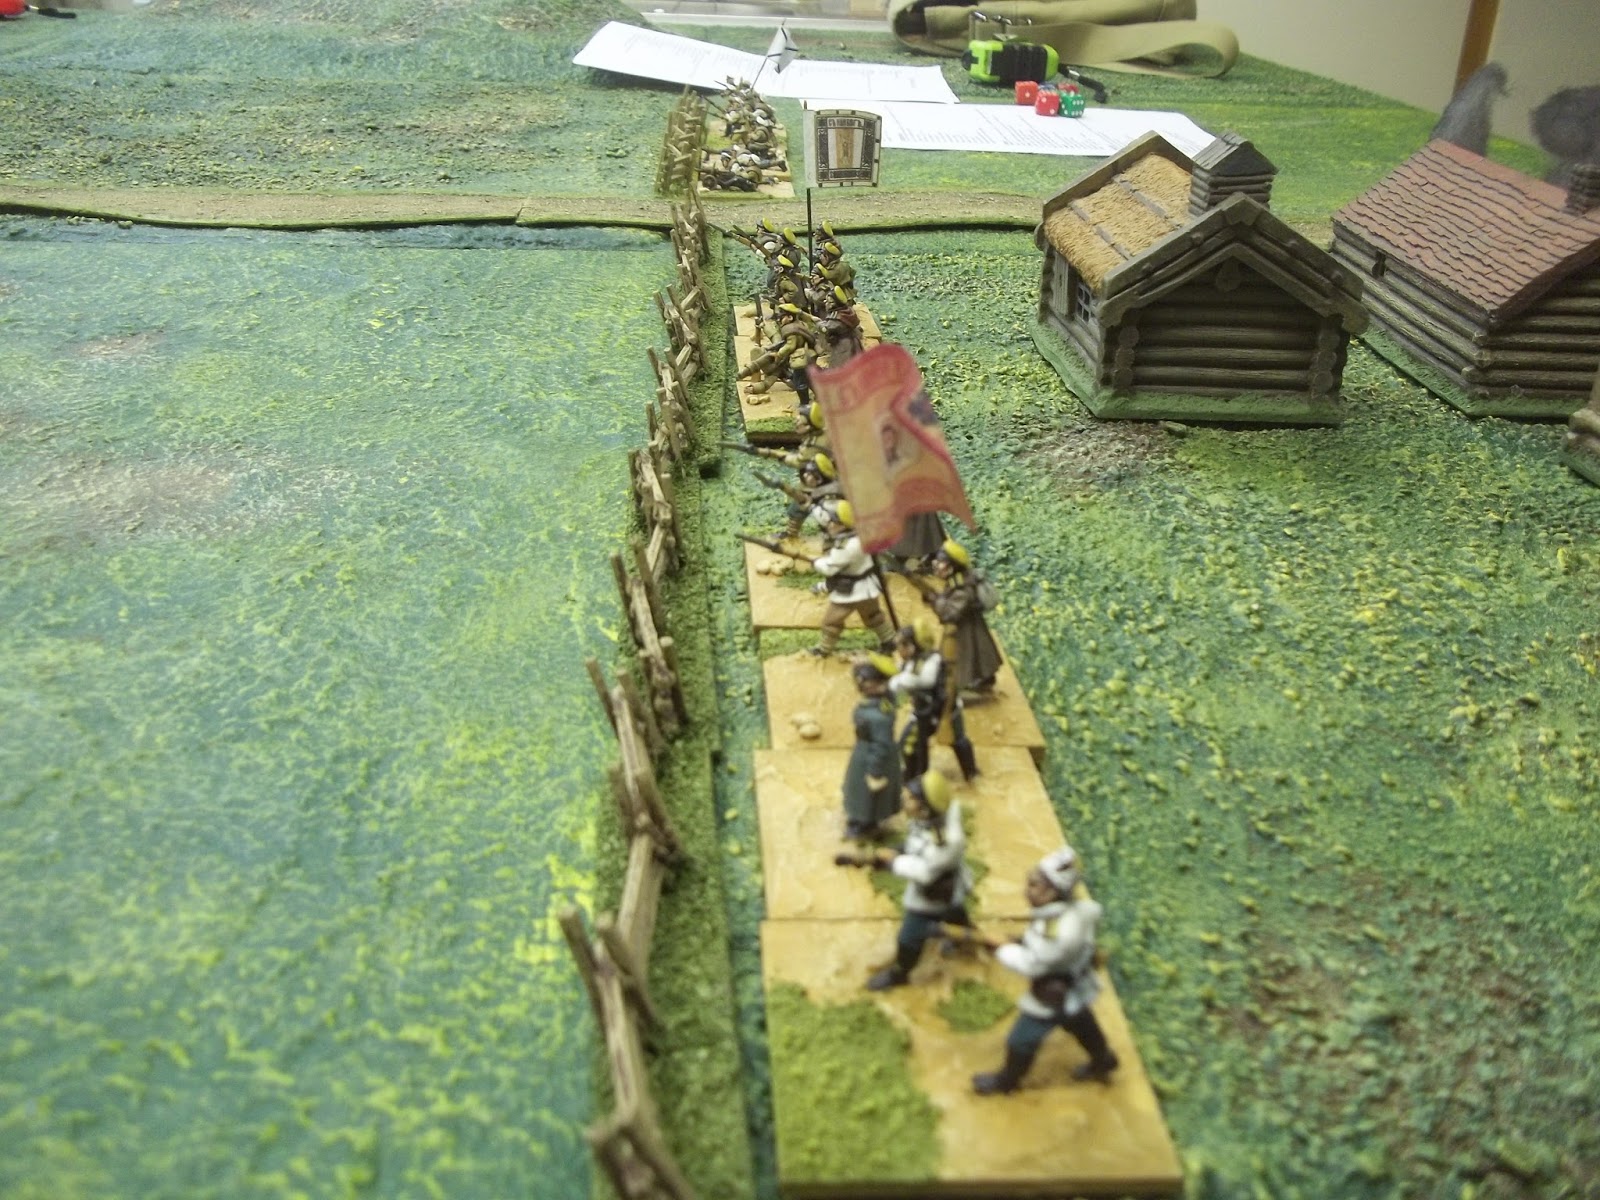
The premise of the game has a Red army in retreat, a small force of White Guards have blocked their retreat and the Reds must break through before the pursuing Whites catch and destroy them.
The Red forces were split into two Cavalry brigades and 4 foot brigades as follows.

2 X 9 Red Navy, aggressive regulars
2 x 8 Siberian Rifles, marksmen, regulars
1 x MG
2 x 7 Ex-POWS's trained
1 X MG
9 x 7 Red foot Militia (split into 2 brigades)
3 x 7 Red Cavalry trained
2 x Guns
1 x Aeroplane on the roll of a six.
1 x Armoured Car

The White Army had 3 foot and 2 Horse Brigades on table with a small Horse and foot brigade off table.

Blocking force
3 x 9 foot regulars aggressive
2 x 8 Polish Lancers
1 x MG
1 Gun
Pursuing Force
3 x 8 foot trained
3 x 8 foot trained
1 x Gun
1 x Tchanka
2 x 8 Cossacks Trained Aggressive
1 x 7 Cossacks Trained Aggressive
Off table
2 x 9 foot regulars aggressive
2 x 7 Mongol Horse Aggressive Militia
1 x armoured car
1 x aeroplane on roll of a six


As the White pursuers swept onto the Red rearguard the Red commander (Steve Shann) looks on pensively wondering if the rear guard has the fire power to slow the Whites.


At this point the Whites depress the reds further by rolling a 6 for their aircraft and a white plane (Yes I know I picked the wrong one up) sweeps into the red ranks, fortunately for the Reds ,Jerry promptly shot it down.


Chris's 2 brigades of Reds are almost annihilated but have held the left flank so that Jerry's troops break through almost untouched.
Johns defenders are reduced to one unit of almost untouched White guards whilst the rest of his cavalry is almost all destroyed.
The Red Cavalry is almost as badly off with only one units from 6 even vaguely capable of fighting, they have however put the pursuing Cossacks beyond the ability to carry the fight on.
Three almost untouched White foot brigades with their supporting Tchanks and Armoured car are still in pursuit but are a good 6 feet behind Jerry's Reds.
Only a third of the Reds will escape, but the remaining Whites are too far away to stop them, a great game thoroughly enjoyed by all, thanks gents.

So there you have it, a very bloody affair and whilst the Reds escaped, for a win I think a couple more units would have needed to escape. A draw? I will leave it to Chris, Jerry, Richard, John and Steve Shann to argue it out.
thanks for reading as ever, next up will be a couple of GNW command bases.

Looks great, beautiful vehicles and minis!
ReplyDeleteCheers Phil, very enjoyable game
DeleteGreat stuff as always
ReplyDeleteCheers Ken, really need to get a WW1 Palestine game in.
DeleteFascinating period and very well presented!
ReplyDeleteCheers Bruce, its a great period your right
DeleteWhat an interesting scenario and excellent recap of the action.
ReplyDeleteThanks Jonathan, was pretty balanced right till the end.
DeleteIt was a fix from the start. Dodgy scenario and biased umpiring!!!
ReplyDeleteYeah that umpire was particularly bad! Cheers Steve
DeleteCan I use Black Powder for this period?
ReplyDeleteIt certainly could work with some amendments. We have used it for Third Afghan War which is the same time frame and it worked quite well. You need to consider how technology changes both weapons and communication but you can certainly make it work.
ReplyDelete