Hi All, been a busy week for gaming with two Black Powder games in 4 days. The second one was from the first Carlist War and is based on the Battle of Barbastro 1837.
Being 2 years into the War both sides are much for seasoned and evenly matched, although the Isabelino's still have a minor advantage in guns and horse.
The battle sees the another effort by the Govornment forces to corner and destroy the main Carlist field army in the North.
For the game we have the village at one side of the table with a road running through and a crescent of low wooded hills in front occupied by the Carlist's.
The above map and the basis for my army lists is from the excellent book "All Honour is Lost" by Kings Carbine. Below is our table interpretation of this, say hello to Steve and Jerry opposing commanders on one flank.
Fairly last minute, wargaming chum Chris Charlton had to pull out as his family all came down with heavy colds, I re-drew the army lists to take out his two battalion per side, however in hindsight taking the Isabelino battalions from their initial attack force rather than the reserve and missing a second rocket battery left them without enough punch to get their attack going. As we will see it was to cost the Liberals dearly.
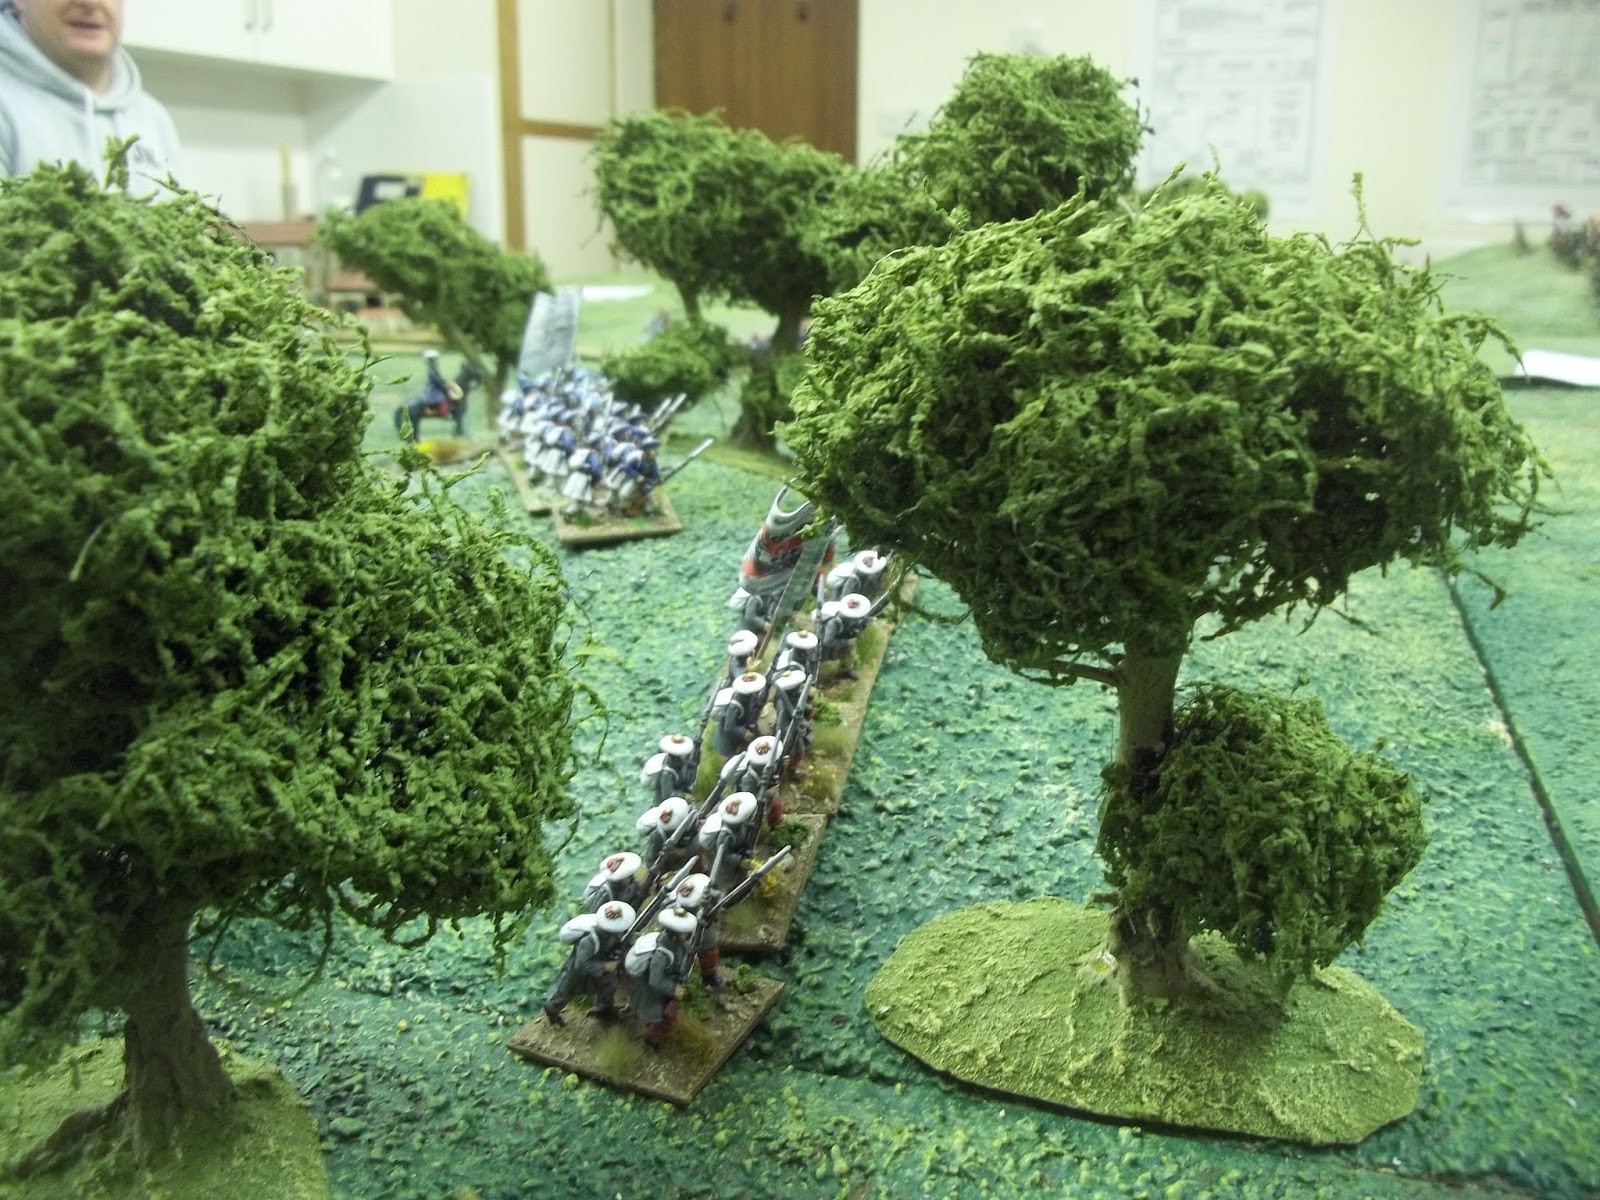
Above is the Carlist army, their actual initial deployment was amongst the wooded hills to their front. Below is the three brigades of the Isabelino advance Guard. Over all Orders of battle were.
Carlists.
Brigade 1 left of line, 3 line and one veteran battalion
Brigade 2 centre, 2 line and one veteran battalion
Brigade 3 right, 3 line, one veteran battalion and one field gun
Brigade 4 reserve 5 squadrons of lancers
Brigade 5 off table 3 line and one light mountain gun
Isabelino's
Brigade 1 left of line, 3 line one field gun
Brigade 2, centre, 3 line one rocket battery
Brigade 3, right, 3 line one field gun
Off table, 4 Battalions of Veteran Guard and French Legion with mountain gun
Off table Cavalry Brigade 1, 3 line lancers
Off table Cavalry Brigade 2, 3 Veteran Guard and Legion squadrons
The Carlist reserve came on the roll of a D4, THEY GOT A 1!
Isabelino's all came on go 2. reinforcements for both sides came on via the road.
The Isabelino advance guard quickly got forward and entered into a fairly ineffective firefight with the Carlists. The most effective thing on table at this point being the British rocket causing a fair bit of damage to the Carlists.
The guns of the Isabelino's were their advantage and they used them reasonably well to try and damage the exposed Carlists in the centre, meanwhile they themselves took plenty of damage on the left of the line under Jerry.
Malcolm's brigade on the right along with his British got forward as quickly as they could, to try and bring the Carlists into bayonet range.
Initially this was successful driving the Carlists out of the wood, but a particularly brutal melee saw one battalion of Carlists destroy two of Isabelino's, the third battalion in the Brigade fled the field without firing a shot taking the gun with it and leaving a large hole on the Isabelino right flank.
Meanwhile the Veteran Guard and Legion Brigade marched purposely forward to batter through the centre of the Carlist line Supported by a Brigade of line Cavalry.
The Carlist reserve was brought up to the right of centre whilst the Cavalry was split in half, with three squadrons advancing into the gap on their left whilst the other 2 waited to see where the Isabelino Cavalry would go.
At this point things went from bad to worse for the Govornment forces as an order to advance and clear the woods led to a blunder and the whole Veteran Brigade fell back two moves and pinned the Cavalry brigade behind it thus taking half of the Isabelino army out of the game for 2 moves at a crucial point in the game. As you can see Chris took this with a good grace (to be fair a far better grace than I would)
The British Brigade which was the Isabelino right flank continued to press forward against determinded opposition from Marks' Carlist Brigades, whilst the Guard Cavalry swept around the left flank and almost into the rear of the Carlists. Unfortunately the Carlists had foreseen this and 2 battalions of foot supported by a mountain gun and two squadrons of lancers awaited them.
Finally untangled, the rest of the Isabelino Cavalry decided on a do or die charge and try to punch a hole in the centre of the line whilst the Guards brigade advanced behind to take advantage of any success. It was not to be. They drove the Carlists back again and again but could not break them. Eventually only one of the three squadrons remained on the field. Below, Malcolm ponders what to do next and Chris digs purposefully into the rules.
Through all of this the only ray of sunshine was the British Rockets which caused severe damage to the Carlists again and again, capably wielded by Malcolm.
As the battle in the centre raged the Guard cavalry engaged the Carlist reserve. Again a do or die charge was the order of the day. They took the mountain gun but were repelled by the infantry then followed up by the Carlist Cavalry, very soon only a badly mauled French Foreign Legion squadron remained.
Frustrated by the accuracy of the rocket battery Mark's Carlists sent three whole squadrons of lancers to silence it, effectively taking the cavalry out of the game. By now the Carlist line had re-formed on the outskirts of the village and though damaged was still intact. The Isabelino's had lost one brigade of foot and both brigades of cavalry and would now have to attack a force which outnumbered their own and was out of range of their artillery. At this point the Govornment forces wisely conceded they would not be capturing the village without more reinforcements and conceded the game.
A really great, fun, hard fought game. A better approach to the army lists by me and the result may have been more in doubt. We again used the amends to Blackpowder where units fire before moving and had Brigade morales at over 50% rather than just removing the Brigade. Again the amends worked really well.
Thank you Chris for your hospitality and Mark, Jerry, Steve and Malcolm for a great days gaming. Get Well soon Mr Charlton and all the best to wargaming chum John Smith who is also un-well at the moment. Wishing you a speedy recovery John.
Thank you for reading as always.