Thursday 28 April 2016

1919 Russo Polish War project

I started a project a few months ago on the Russo Polish War of 1919. I already have a decent sized Russian Civil War collection so the reds are covered but I wanted to do the Poles as well. I was keen to enjoy the spectacle of post WW1 Cavalry clashes at Divisional level and also liked the idea of the enormous variety of the Polish Uniforms.


So I thought I would do a post on my progress with this "side project" in some part to keep me going with it.
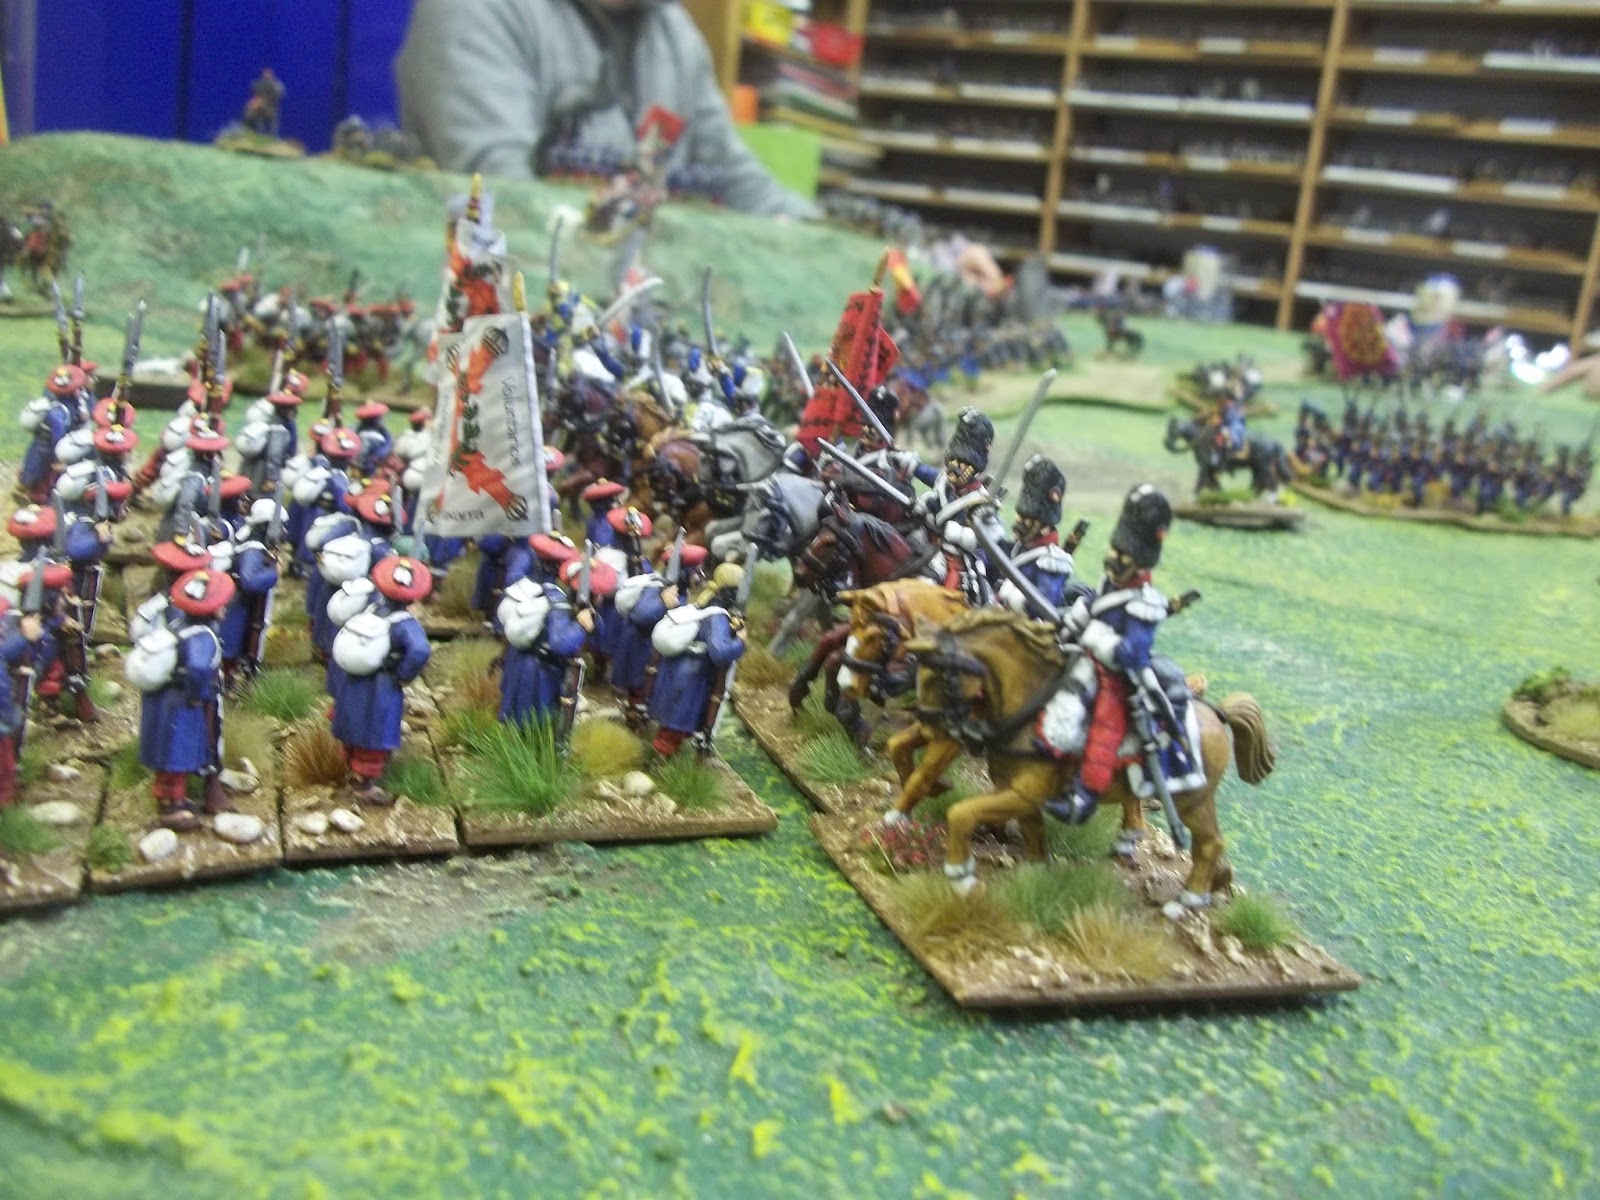
Polish Legion Cavalry

In 1919 with tensions growing between Soviet Russia and the newly formed country of Poland, Russia moved troops into the Ukraine and began a build up of troops. Poland realised they wouldn't be able to stop the Russians on the open plains of Poland and so decided on a pre emptive strike. Thus started the Russo Polish War, running consequtively with the Russian Civil War. The Russian plan was to over run Poland and then use this as a spring board to export Communism into Western Europe via Germany. It almost worked
Polish Lancers
 What is particularly unusual and attractive to this period is that the Poles during WW1 had fought for the armies of Russia, Austria, Germany and France often in Polish only units up to Brigade or even Divisional level in the uniforms of those countries suitably modified to be a bit more Polish and in each case on the promise from that Power of Polish independence if they won.


So you have an army that had a large portion of troops in French horizon blue, lots in German uniforms, some supplied after the war had ended, others in their Russian uniforms in which they had spent 1917 and 18 fighting the Bolshiviks as part of white forces in the Civil War and the Polish Legion which had fought in its own Polish uniforms in the Austrian army until they were disarmed.


Oh and lets not forget that in 1919 the Poles were raising new volunteer units wearing what was to become the standard grey green uniform of the Polish army
You can clearly see the German influence in this units uniform

The distances involved in the Russian Civil War and WW1 in the East meant that Cavalry still had a meaningful part to play in operations and this was a particularly strong arm in the new Polish army.
A home made Polish Tchanka machine gun cart
 I started off with the Polish Uhlans of the Imperial Guard, Well who wouldn't? These fought through the first world war and the first years of the Russian Civil War before marching into the newly formed Poland in 1918. Now I have to admit to taking some liberties with thse guys.
Polish Guard Uhlans

Its pretty unlikely that they all wore officers greatcoats as depicted here. I do think they wore the cherry topped caps though, but I wont swear to that, in termr of the grey horses, hands up I just wanted to paint lots of grey horses. My bad.

These were the first poles I did as they fought in the Civil War so were useful for that army. I had painted 12 but only need eight per squadron hence why I deced to add another 4 and have two squadrons.
The bandaged head is a swap and comes from Gripping Beast

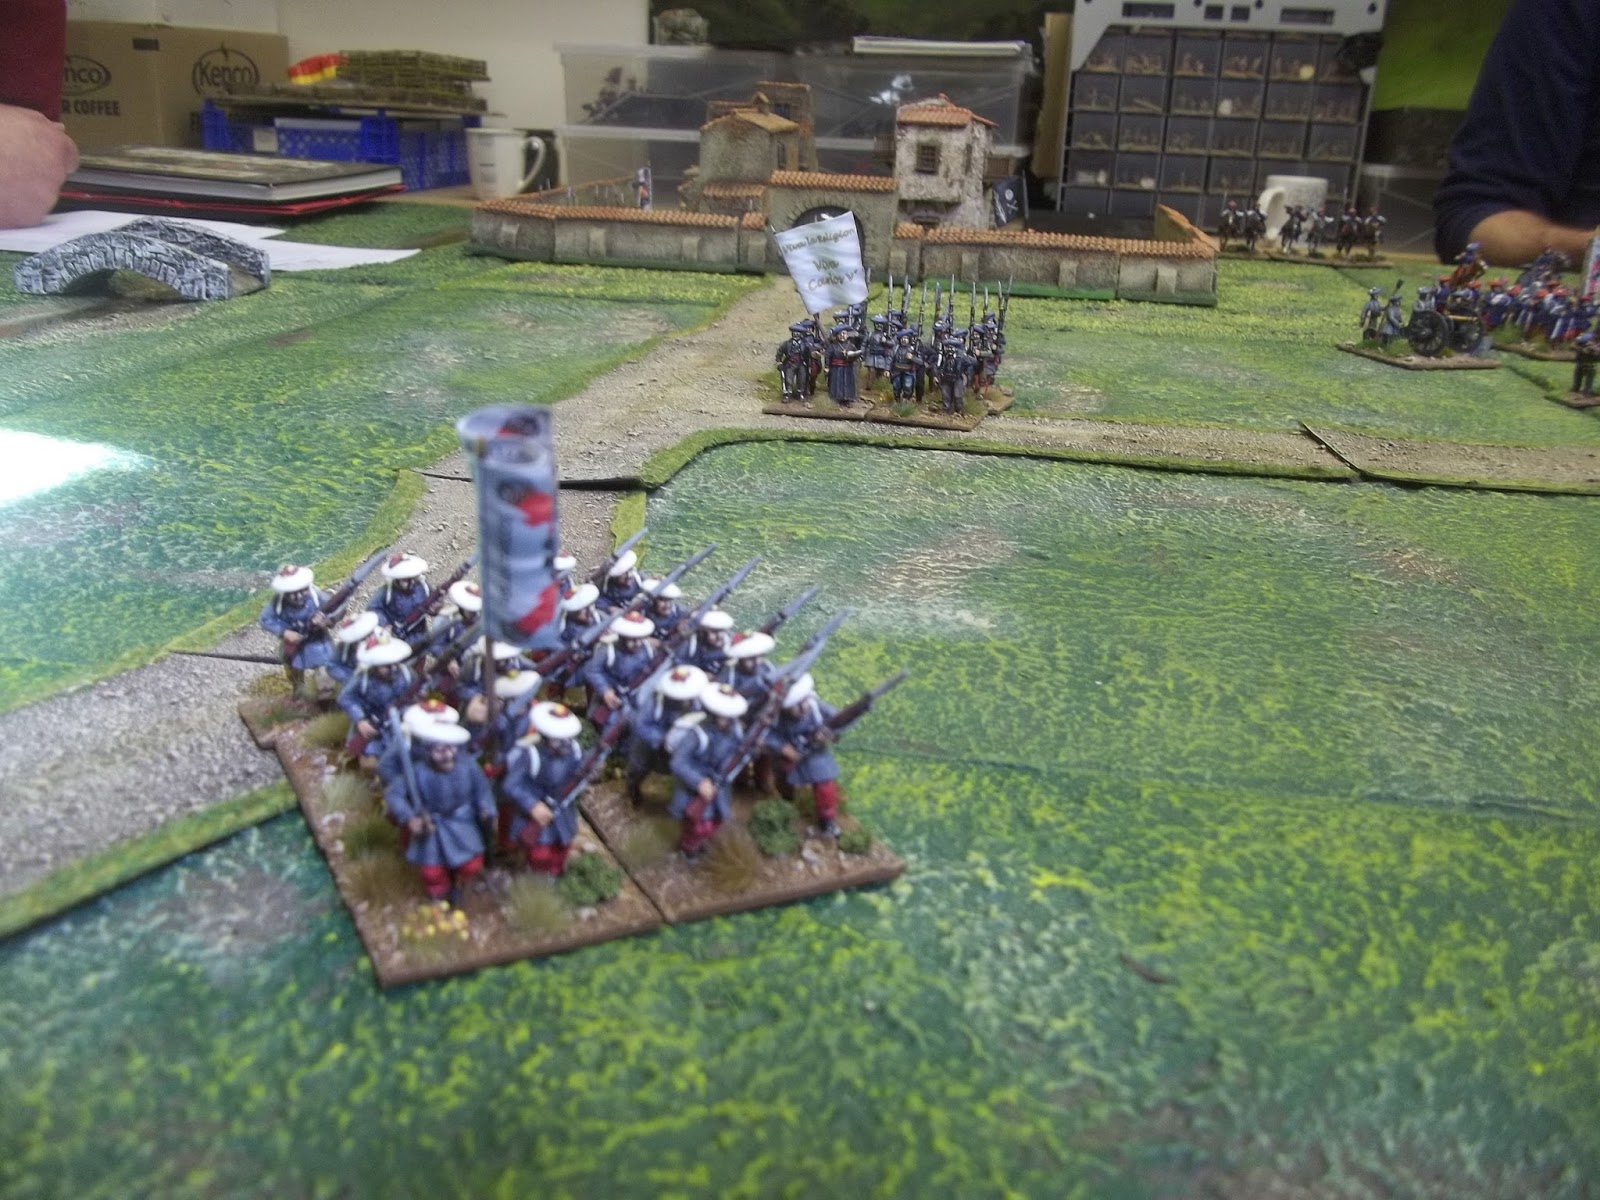
So when I decided to use Polish units proper the "Blue Army" seemed a good place to start. Basic French troops with a white eagle painted onto the helmet. I very soon got enthusiastic though and used Redoubt Miniatures caps to make square topped caps for these guys.

General Hallers Blue Army
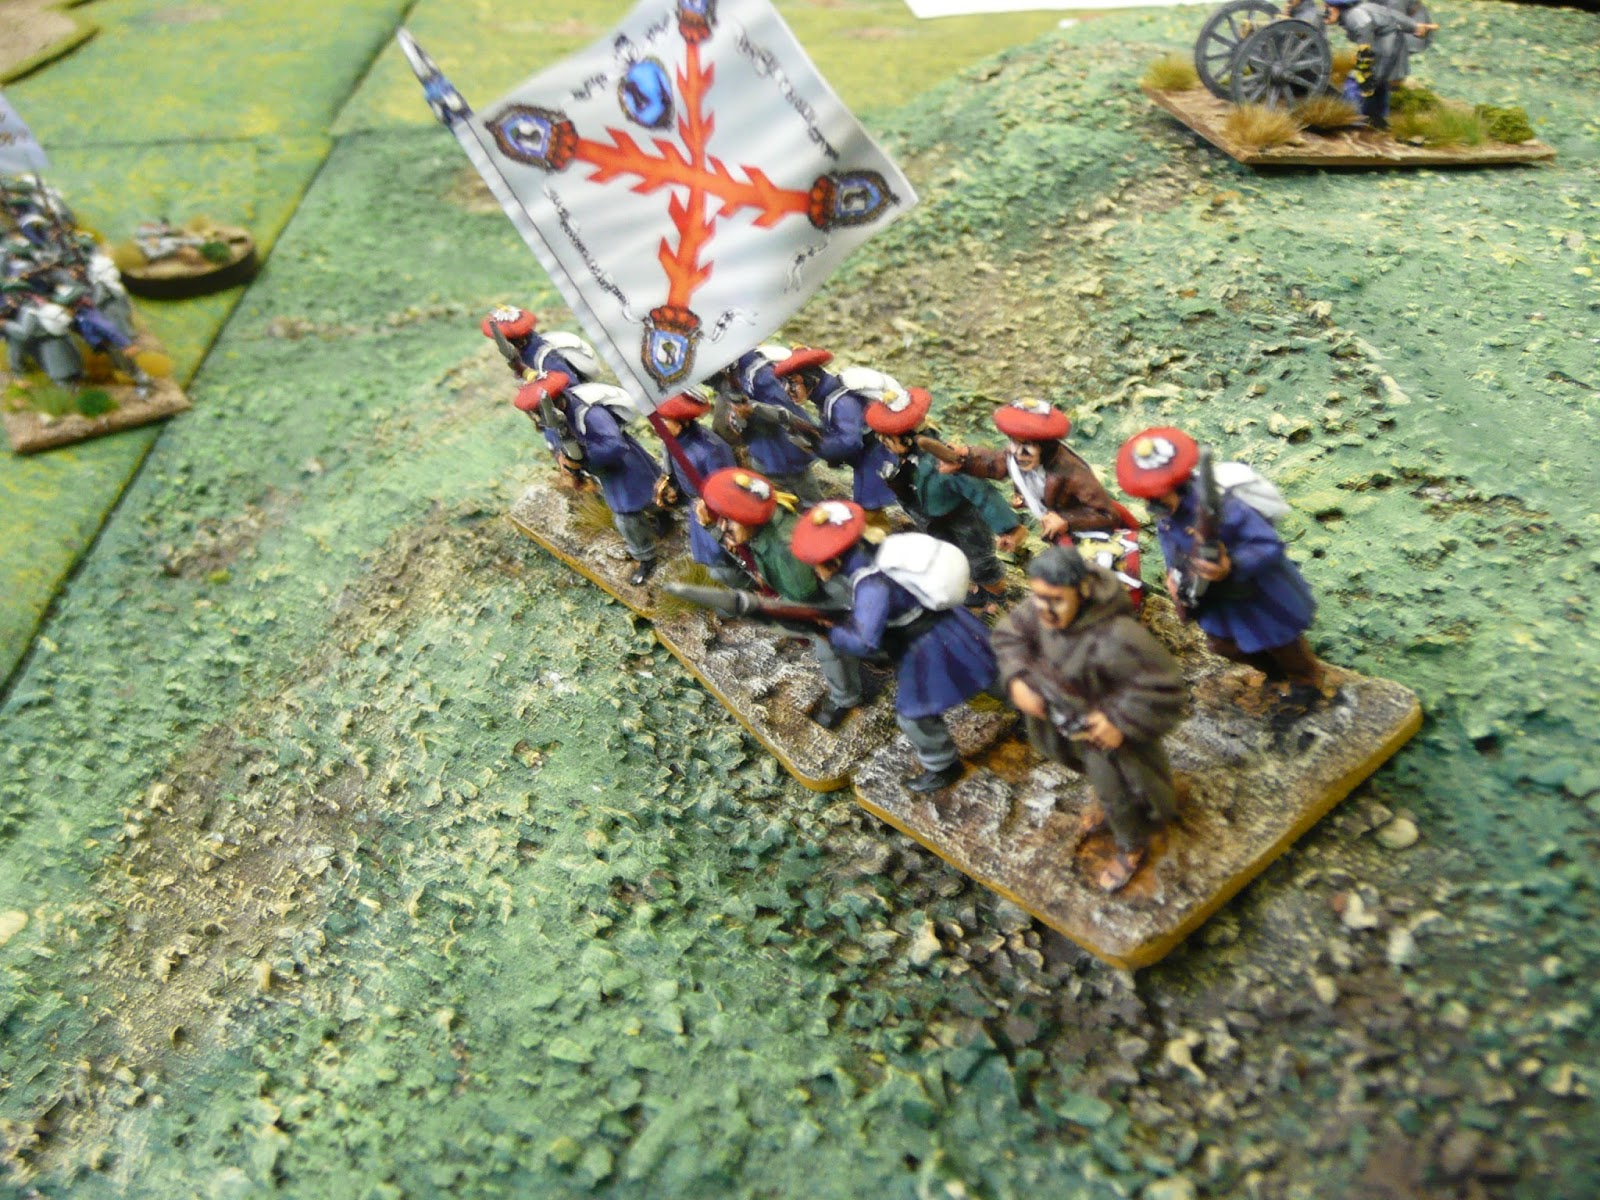

Legionaaires

The Polish legion were a harder prospect and troops I really wanted to have until I found Siberia Miniatures. This company have specific figures for the conflict and Legion Cavalry are very nice indeed with the hussar jacket over the shoulder. The photo is of the first four I have finished, I will have one unit of eight cavalry for the legion.
                          
Legion Foot

There were I think 2 divisions of the Legion, some of Polands best troops. The uniform s very Austrian in cut and colour but with a quite specific cap. As Siberia do separate heads for the Poles this came in very handy indeed.

More lancers to come.

I have now started work on more Lancers converted from renegade WW1 German cavalry and have also started to look at Gripping Beasts WW1 turks with separate heads to convert into Poles both for Legion and Volunteer units as below.

 
Work bench Legionaires using GB Turkish bodies.


There is a long way to go before I have enough for a decent game but I think this will be a really exciting collection when its done.

Thanks for reading. Great Northern War again next.......Honest!

Monday 25 April 2016

AWI playtest Black Powder amendments

Hi all. So fairly short notice Dave invited me over for an AWI Black Powder game on Sunday. I could only make it for 2 hours and unfortunately the other player, Howard, had to pull out so Daves re-fight of Guildford Courthouse was going to be ambitious, but we wanted to try out some rule changes so pressed on regardless.


Apologies for the quality of pictures I only had my mobile with me.
The first British brigade press forward

There are three brigades of British all veterans with charge bonuses. The first line of Americans is 4 battalions of Militia with 2 rifles battalions in support. First thing we noticed is that we can start very close and march straight up to short range, as firing comes first the British are actually out of range when they go first so the defenders will always get a shot in.


The second is that the British can now use their favoured tactic, a devastating short range volley and a bayonet charge through the smoke at a disordered enemy. In two out of four cases this carried the militia away. The other two proved very stubborn indeed, mainly due to some remarkable morale throws from Dave.
The American second line, I never actually reached this.

 The melees with the other two units take a bit of time to resolve and the brigades of British begin to break up slightly as un-engaged units press on to just outside musket range of the American second line. Now the fire then move rule gives the Americans a headache. They can try and overwhelm my exposed battalions whilst the rest are mopping up the first line. However I am out of range so they wont get to fire at me before they attack so the advantage passes to me. Wisely they remain static.


The first guards battalion taking serious casualties from a line of riflemen.


Our two cavalry forces clashed on the right wing and the British Legion are driven off, the first British guns begin to bombard the American second line and the Militia of the first line are finally broken. I can now start to consider my attack on the second line. My forces are all still here but 4 of my battalions are badly mauled from the fire of rifles and militia.


The game ended here, which is a real shame. However I had seen that the amendments worked.  -1 to hit if you are moving after firing and a -1 command modifier on your orders all seemed to work well. I didn't like the lack of first fire for the regulars on both sides but other than that I think it worked very well indeed.


Next I think we will be back to Great Northern War.

Wednesday 20 April 2016

Black Powder for First Carlist War

So I promised at the weekend to add more photos and let you know how I thought the rules played.


Carlist General

 First thing to say is that I do like Black Powder and in particular think they suit the First Carlist War with the mix of troops and generals concerned. Some of the guys I game with have had less happy things to sy about the rules but have persevered non the less. The most recent game has allowed me to see where we might make small changes to improve the flow of the game. 


 Isabelino Grenadiers of the Guard
 
The first thing we discussed was the potential for units to march up to an enemy volley them and with a good first round simply destroy before they can do anything at all, the defender remaining passively standing by whilst they are marched upon and destroyed. This didn't actual happen in the game (except to a Carlist gun that was wiped out before it could fire) but is none the less a concern.

Provincial Guard Grenadiers
 

 Our simple answer to this problem is to ensure units fire before they move. It will be interesting to see how this pans out, it will allow units to march up to close range, taking casualties along the way and follow a close range volley with a charge. A tactic often used by the Carlists, the British in the AWI and the Swedes in the Great Northern War. I will let you know how we get on with this one in particular.

Foreign Legion Mountain Gun
The next question was the orders section. Most Generals have a rating of 8. Needing an 8 or 7 to get one move, a 6 to get 2 moves then  5-1 gets 3 moves whilst a 9-12 gets none at all or a blunder. This feels dramatic at both ends you are far more likely to get no moves or 3 than to just get one or two moves. I don't have all the answers but there are a couple of things we will try. Firstly making it more likely to move once or twice so 8-7-6 move once and 5-4 move twice. Then considering higher staff ratings so no moves is slightly less often. I have also introduced the rule that if in attack column a unit always gets one order.

Carlist Grenadiers Courtesy Chris Charlton


Isabelino Guards Brigade

Navarese Guides above and Below 

The last thought then was around Brigade moral. Currently this kicks in at 50%. This is fine if a brigade is 3 battalions as 2 will have gone before the third follows. But with two battalion brigades or a brigade with a small cavalry contingent these could become very brittle. This is more about how I approach a scenario. So for future I may use two battalion brigades but only where I want them to be particularly brittle. For attached small cavalry units these will mostly not count towards brigade morale.
Legion Lancers in front of provincial Militia 

The Legion Advances with Elan 
 Legion Lancers charge the flank of the Carlists
Madrid Volunteers from Chris Charlton Collection 
Marinos lancers clash with Isabelino Line cavalry 
The Navarese brigade sees off the guard cavalry

Other than that we all agreed the rules played very well indeed. We will play again in early June where we can test the amendments and share with you on the blog.


Carlist Mountain gun 
The Navarese Brigade 
 Alavese marching out of the town.

The table at the start of the game 
Alavese holding the town
 British Legion from Mark Stimpson's collection
Urban Militia
That's it for now, hopefully back onto the Great Northern War next. Nearly completed my next unit of Swedes and a unit of Cossacks so watch this space.

Sunday 17 April 2016

First Carlist War AAR Battle of Oriamendi

We had the first Carlist War battle in quite some time today using Black Powder rules. This is the first of two posts I intend to share. This first will be an after action report with some Photos I got during the day. The second will be photos my friend Chris has taken along with feedback on how well the rules played and what we might consider changing in future.


The game itself was based on the Battle of Oriamendi. This is one of the scenarios in the Perry's book and also in Kingscarbine book All Honour is Lost. It also ahs the advantage of being one of the few scenarios with lots of British and as Mark wanted a game with his British Legion I thought this would make a good battle for us.
 The above is the map from the Perrys book.  The premise is that a combined Spanish and British army has captured a long ridge and forced the Carlist defenders back to a second line anchored on a fortified village. As dawn breaks about half of the Liberal army is advancing to capture a hill that overlooks the village in order to support an attacked with artillery and flanking fire.
Chris is seen head in hands as he realises he is attacking two brigades with only one of his own

Unfortunately for the Liberals a relief force of Carlists has marched through the night and launched their own dawn attack across the river and into the Liberal left flank which is defended by one British battalion and a brigade of Militia. Neither side was expecting dawn attacks from the other and so all the players have to start the game thinking on their feet.


In terms of numbers there were 19 Carlist Battalions of Foot and 20 Liberals, The Liberals also had an advantage in Cavalry with 6 squadrons to Carlist 4. But half of this Cavalry was off table and the Carlist foot was much better than the Liberals.


 The three battalions of Carlists on the left wing began to advance quite quickly and over ran the single British battalion with little trouble, however the white capped Carlists did get caught by Cavalry early on and reduce the attack on this wing.. The troops in the town stayed curiously motionless whilst the Navarese brigade between the hill and the town quickly got moving forward. 
 
Hoping to hold back the Navarese the French Foreign Legion advanced, I think the plan was to stop them joining forces with the Carlist flanking force.  The best troops on table and a nice rounded force with Cavalry and a light gun in support.
 Mean while to their right the next brigade of liberals took its time getting forward to try and capture the hill in the Carlist centre.

 Two small brigades of British also advanced on the hill, somewhat piecemeal it has to be said. I learnt the error of small brigades fairly early in this game. Brigade moral rules favour 3 battalion brigades.

The guards brigade advanced in fine style on the Liberal left but then spent most of the game caught in a desultory firing match with the Carlist left.


The Legion bravely stormed forward as the Carlist left began to falter and a brigade sized melee tied these troops and Navarese down fro three turns whilst the Liberal centre got going and assaulted the hill. The Carlist troops in the town seemed to still think it was siesta and did little more than form into column during this time.


 Finally one of the Battalions set off only to be charged in the flank by the Legion Lancers who they promptly drove off.

The right flank Carlists now began to punish the Militia to their front despite being outnumbered as the white caps are driven off by Liberal cavalry.


The Legion Etrangere


The British Legion on the Right Flank of the Liberal army.


 The centre of the Carlist line is now looking very shakey and the right is not much better (althrough the Liberal Militia have had a bit of a kicking here) at this point the Liberal Cavalry reserve of three squadrons arrive and we think its all over.  However as the Princessa Hussars and Grenadier Guard Cavalry get stuck in things begin to unravel for the Liberals.


 In the centre the Legion breaks after a desperate struggle with the Naverese, this is quickly followed by both the militia on the left and one of the British Brigades in the centre. the cavalry now outnumbered are also pushed back and then fairly quickly broken, only the Liberal right remains fairly intact.
Guard Grenadier Cavalry charge the Navaerese in a vain attempt to shore up the middle


 Carlist Gun
Hussars D'Arlaban and Princessa Hussars battle it out, all heavily converted Perry figures.

As over half of the Liberal army runs away the rest decide that it is better to live to fight another day and the retreat begins.

A really enjoyable game, I took some liberties with the army list to make it more playable. In reality the Carlist flanking force was 6 battalions not 3 and there was no cavalry reserve. In the end neither of these changes altered the outcome of a very hard fought game.

I do hope you enjoy reading this and as mentioned next up will be more pictures with our thoughts on how the rules played.

Thanks for reading.